Bread in Bag

This season, we’re bringing a splash of science into our kitchen with a unique STEMs-Giving menu. It’s packed with fun and simple Thanksgiving science experiments and activities that kids will absolutely love.
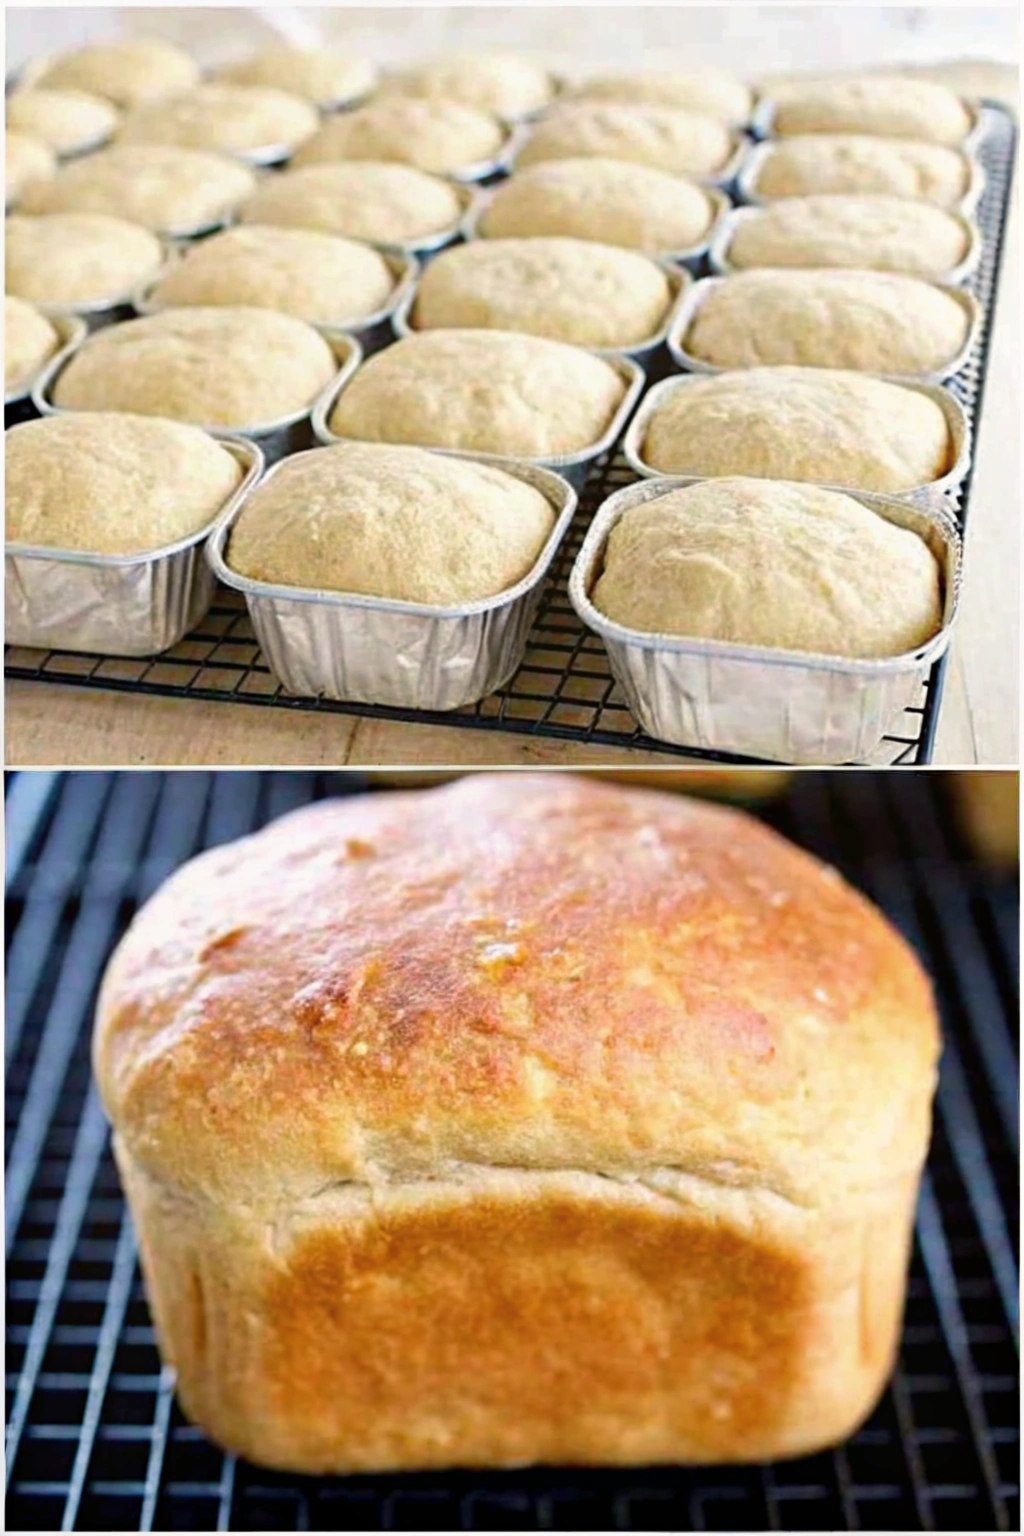
One of the highlights is baking Bread in a Bag—a delightful activity that you can enjoy with your kids at home or in the classroom. This hands-on experience not only lets you bake delicious bread but also explores how yeast works, making it the perfect blend of education and enjoyment.
From toddlers to teenagers, everyone adores a fresh slice of homemade bread. Using a zip-top bag makes it easy for tiny hands to get involved by squishing and kneading the dough.
Interested in a little science experiment? You’ll be using the same type of yeast that triggers an exothermic reaction!
Why You’ll Love This Recipe
This Bread in a Bag recipe is not just about baking; it’s about learning and having fun together. It’s a mess-free way to introduce kids to the joy of baking, and the end result is a warm, fresh loaf of bread that everyone will enjoy.
Kitchen Equipment You’ll Need
- 1 gallon-size freezer bag
- 9×5 inch bread pan
- Nonstick cooking spray
- Wire cooling rack
Ingredients
- 3 cups flour, divided
- 3 tablespoons sugar
- 2 ¼ teaspoons rapid rise yeast
- 1 cup warm water (110 to 120 degrees)
- 3 tablespoons vegetable oil
- 1 ½ teaspoons salt
Step-by-Step Instructions
- Add 1 cup flour, sugar, and yeast to the freezer bag. Seal the bag and shake it to combine the ingredients.
- Open the bag and pour in the warm water. Seal it again, then squeeze and shake the bag to blend the mixture.
- Let the bag rest on the counter for 10 minutes or until bubbles form inside.
- Open the bag, add the oil and another cup of flour. Seal and mix by squeezing and squishing the bag.
- Add the remaining flour to the bag, seal it, and knead until the flour is fully incorporated.
- Turn the dough out onto a lightly floured surface and knead for about 5 minutes until it bounces back when pressed.
- Shape the dough into a loaf and place it in a greased 9×5 inch bread pan. Cover and let it rise until doubled in size, about 60 minutes.
- Preheat the oven to 375 degrees while the dough rises.
- Bake the bread for 30 minutes or until it turns golden brown.
- Let the bread cool in the pan for 10 minutes before transferring it to a wire cooling rack.
Tips for Success
Ensure your water is at the right temperature (110 to 120 degrees) to activate the yeast. Be patient during the rising process—it’s key to a fluffy loaf!
Additional Tips and Variations
Add herbs like rosemary or thyme for a flavored twist. You can also incorporate seeds or nuts for added texture.
Nutritional Highlights (Per Serving)
Calories: 150 | Carbs: 28g | Protein: 4g | Fat: 3g | Fiber: 1g
Frequently Asked Questions (FAQ)
Can I use whole wheat flour? Yes, but it may alter the texture slightly. Try a mix of whole wheat and all-purpose flour for best results.
What if I don’t have rapid rise yeast? You can use active dry yeast, but the rising time will be longer.
Conclusion
We hope you enjoy this Bread in a Bag recipe as much as we do. It’s a fantastic way to combine learning and baking—perfect for family bonding. Give it a try and let us know how it goes. We’d love to hear about your experience!


