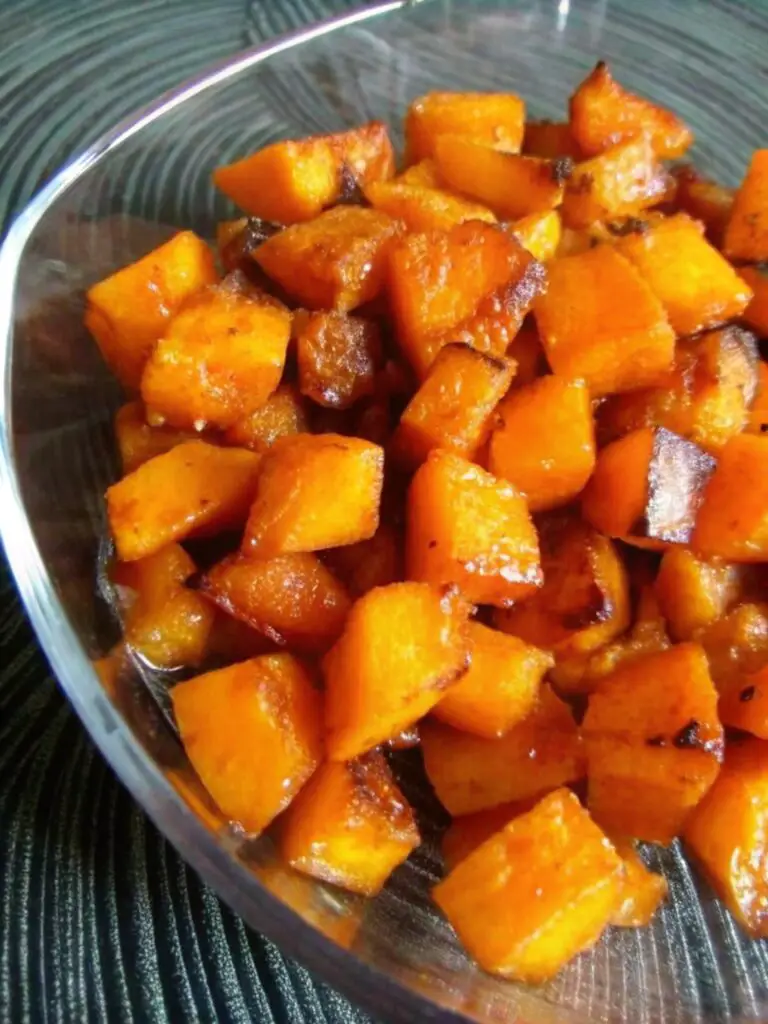
Sweet and Savory Glazed Baked Cauliflower

Looking for a delicious and nutritious side dish that impresses? Look no further than this Sweet and Savory Glazed Baked Cauliflower! This dish combines the rich, nutty flavor of roasted cauliflower with a sweet and savory glaze, making it a perfect complement to any meal.
One evening, I had some friends over for dinner, and I wanted to prepare something special that would highlight seasonal vegetables. Cauliflower was abundant at the farmer’s market, and I knew I had to incorporate it into my menu. I decided to create a sweet and savory glaze that would bring out the natural sweetness of the cauliflower while adding a touch of richness.
After a few experiments in the kitchen, I finally struck the right balance between sweet and savory. When I served it, the dish was met with rave reviews! The caramelization from roasting combined with the glaze really showcased how wonderful cauliflower can be. Now, it’s one of my go-to side dishes for gatherings and everyday meals alike!
Why You’ll Love This Recipe
This recipe is a fantastic way to enjoy cauliflower in a new and exciting way. The combination of sweet maple syrup or honey with umami-rich soy sauce creates a perfect balance of flavors. It’s simple to prepare, yet impressive enough for a dinner party. Plus, it’s vegan-friendly if you choose maple syrup and tamari!
Kitchen Equipment You’ll Need
- Oven
- Baking sheet
- Parchment paper
- Large mixing bowl
- Small bowl
- Whisk
Ingredients
- For the Cauliflower:
- 1 large head of cauliflower, cut into florets
- 2 tablespoons olive oil
- Salt and pepper, to taste
- For the Glaze:
- 1/4 cup maple syrup (or honey if not strictly vegan)
- 2 tablespoons soy sauce (or tamari for gluten-free)
- 1 tablespoon apple cider vinegar
- 1 teaspoon garlic powder (or 2 cloves minced garlic)
- 1/2 teaspoon ginger powder (or fresh ginger, grated)
- Optional: Sesame seeds and chopped green onions for garnish
Instructions
- Preheat your oven to 425°F (220°C) and line a baking sheet with parchment paper for easy cleanup.
- In a large mixing bowl, toss the cauliflower florets with olive oil, salt, and pepper until well coated.
- Spread the cauliflower in a single layer on the prepared baking sheet. Roast in the preheated oven for 20-25 minutes, or until golden brown and tender, turning halfway through cooking.
- While the cauliflower is roasting, whisk together the maple syrup, soy sauce, apple cider vinegar, garlic powder, and ginger powder in a small bowl until combined.
- Once the cauliflower is roasted, remove it from the oven and drizzle the glaze over the florets. Toss gently to coat evenly, then return the baking sheet to the oven for an additional 5-7 minutes.
- Once the glaze is caramelized and bubbly, remove the cauliflower from the oven, garnish with sesame seeds and chopped green onions if using, and serve warm!
Tips for Success
- Ensure your cauliflower florets are roughly the same size for even roasting.
- Don’t overcrowd the baking sheet; this allows the cauliflower to roast rather than steam.
- If using fresh garlic and ginger, ensure they are finely minced or grated for the best flavor distribution.
Additional Tips or Variations
Feel free to add a pinch of red pepper flakes for a bit of heat. You can also experiment with different vinegars, like rice vinegar, for a different flavor profile.
Nutritional Highlights (Per Serving)
This dish is low in calories and rich in vitamins C and K, thanks to the cauliflower. The glaze adds a touch of sweetness without being overly indulgent.
Frequently Asked Questions (FAQ)
Can I use frozen cauliflower? Yes, but be sure to thaw and thoroughly pat dry to remove excess moisture before roasting.
What can I use instead of soy sauce? Coconut aminos are a great alternative for those avoiding soy.
Conclusion
This Sweet and Savory Glazed Baked Cauliflower is a must-try for anyone looking to elevate their side dish game. It’s easy, delicious, and sure to please even the pickiest of eaters. Give it a try and let me know how it turns out! Share your experiences and any tweaks you made in the comments below. Enjoy!