Southern Fried Chicken Recipe
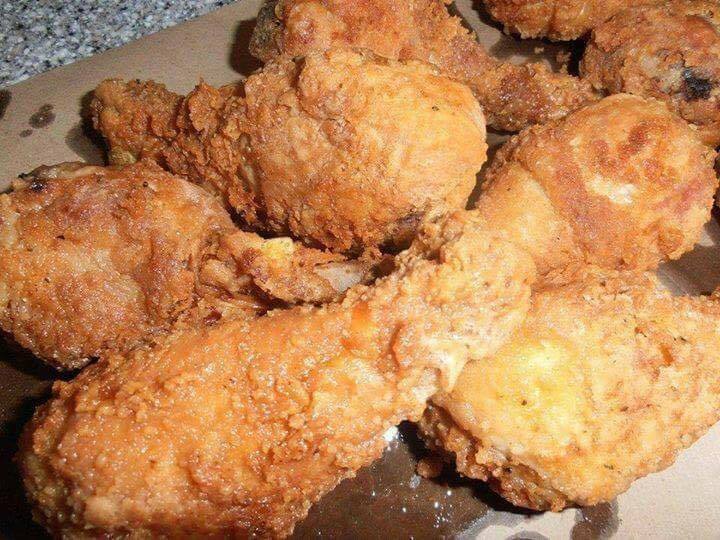
An Irresistible Southern Fried Chicken Recipe
There’s something about Southern fried chicken that brings comfort and joy to the table. Whether you’re young or old, the crispy, golden crust paired with tender, juicy chicken is a delight that can’t be resisted. My husband often calls me the champion of fried chicken, and while I might not claim the title myself, those who have tasted my version swear by it. Today, I’m sharing my tried-and-true recipe that I hope will help you master this beloved Southern tradition.
Why You’ll Love This Recipe
This recipe is perfect for anyone looking to recreate authentic Southern fried chicken at home. The double-dipping process ensures an extra crispy crust, and the buttermilk soak keeps the chicken juicy and flavorful. It’s versatile enough to use with any chicken cut, and if you’re a fan of fried chicken livers, this method works wonders for them too!
Kitchen Equipment You’ll Need
- Mixing bowls
- Wire whisk or fork
- Frying pan or deep fryer
- Tongs
- Slotted spoon or strainer
- Paper towels or napkins
- Waxed paper (optional)
Ingredients
- 8 pieces chicken breast tenderloins, boneless, skinless
- 2 cups buttermilk (or enough to cover chicken pieces)
- 3 to 4 cups unbleached plain or White Lily® unbleached self-rising flour
- 1 Tbsp (rounded) Rumford baking powder (if using plain flour)
- Approximately 3-4 cups cooking oil
- 1/2 tsp salt per cup of flour used (if using plain flour)
- Salt and pepper to taste
- 2 cups sweet milk (regular milk)
- 2 eggs
Step-by-Step Instructions
- Soak the chicken in buttermilk for at least 30 minutes to an hour. Overnight is also fine for extra tenderness.
- In a separate bowl, stir the eggs into the milk using a fork or wire whisk.
- Prepare three bowls or pans: two with flour and one with the milk-egg mixture. Keep extra flour handy to replenish as needed.
- For double-dipping, place waxed paper under the pans to minimize mess. Remove chicken pieces from the buttermilk and proceed as follows:
- Dip in egg/milk mixture
- Coat in flour
- Dip again in egg/milk mixture
- Coat again in flour for a thick, crispy crust
- Heat 2 to 3 inches of oil in your frying pan. Maintain a medium-high temperature to ensure crispy, golden chicken.
- Carefully turn chicken pieces while frying using tongs. Fry 7 or 8 pieces at a time for about 20 minutes per batch.
- Fry chicken until it reaches a golden brown color. Be cautious when dealing with hot oil.
- If frying multiple batches, remove crumbs from the oil with a slotted spoon or strainer between batches. Add more oil as needed for subsequent batches.
- Drain the chicken on paper towels or napkins.
Tips for Success
- Ensure the oil temperature is just right; too hot and the chicken will burn, too cold and it will be soggy.
- Do not cover the pan while frying to maintain crispiness.
Additional Tips and Variations
Try adding your favorite spices to the flour mixture for a personalized flavor. You can also experiment with different cuts of chicken, like thighs or wings, for variety.
Nutritional Highlights (Per Serving)
This dish offers a hearty portion of protein and a deliciously satisfying crunch. Pair it with a side of vegetables for a balanced meal.
Frequently Asked Questions (FAQ)
Can I use a different type of milk?
Yes, you can use any milk you prefer, but the buttermilk adds a unique tenderness to the chicken.
What oil is best for frying?
Use a neutral oil with a high smoke point, such as canola or vegetable oil.
How do I know when the chicken is fully cooked?
The internal temperature should reach 165°F (75°C). Additionally, the juices should run clear.
Conclusion
Now that you have the secrets to making Southern fried chicken, it’s time to roll up your sleeves and give it a try! I’d love to hear how it turns out for you, so please feel free to leave a comment with your thoughts or any variations you tried. Happy cooking!