The Best Cherry Bars
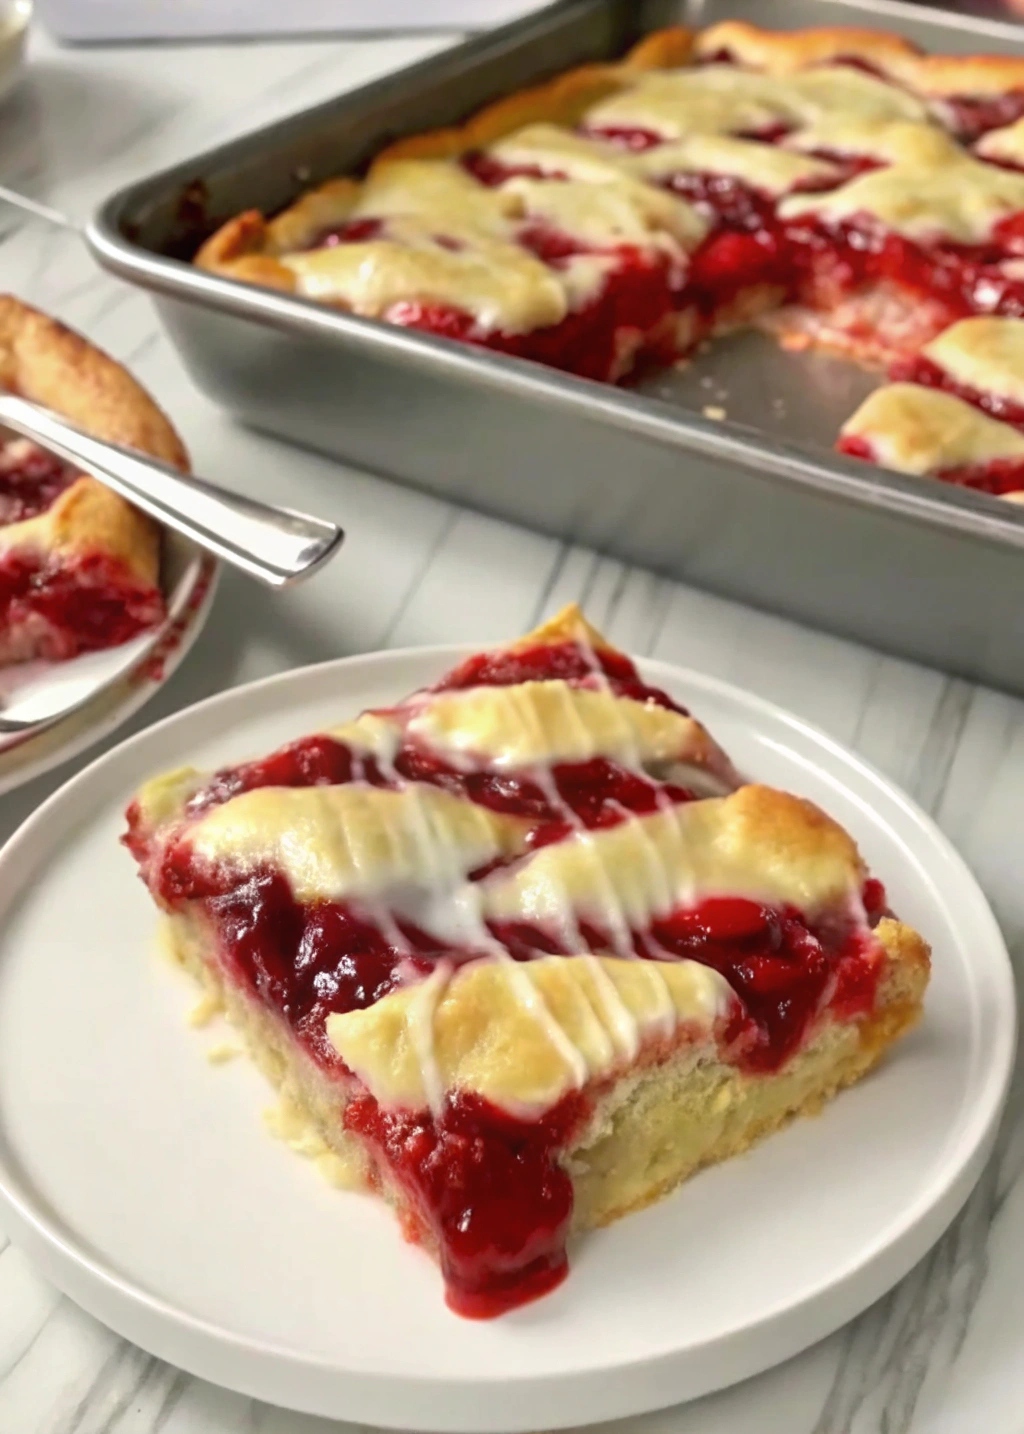
Summer is the perfect time to indulge in fresh fruit, and if you’re a cherry lover, you’re in for a treat. The Best Cherry Bars recipe captures the sweet and tart essence of cherries, layered over a buttery crust and topped with crunchy nuts and a drizzle of icing. It’s a dessert that impresses with both its flavor and simplicity, using ingredients you likely already have in your pantry. Whether you’re preparing for a last-minute gathering or simply craving a homemade treat, these cherry bars are a delightful choice. And if cherries aren’t in season, canned cherry filling works just as well. You can even substitute with other fruits like blueberries or strawberries for a fun twist.
Why You’ll Love This Recipe
These cherry bars are the perfect balance of sweet and tart, with a texture that’s both soft and crunchy. The recipe is incredibly versatile, allowing for substitutions and variations that suit your taste. Plus, it’s easy to prepare, making it a great option for both experienced bakers and beginners.
Kitchen Equipment You’ll Need
- Electric mixer
- Large mixing bowl
- 15x10x1-inch baking pan
- Wire rack
- Small bowl
Ingredients
- ½ cup butter, softened
- ½ cup shortening
- 1¾ cups sugar
- 1½ teaspoons baking powder
- ½ teaspoon salt
- 3 eggs
- 1 teaspoon vanilla
- 3 cups all-purpose flour
- 2 21-ounce cans cherry pie filling
- ½ cup sliced almonds, optional
- Icing:
- 1½ cups confectioner’s sugar
- ¼ teaspoon vanilla or almond extract
- 3 – 4 teaspoons milk
Step-by-Step Instructions
- Preheat your oven to 350 degrees F.
- In a large mixing bowl, beat the butter and shortening with an electric mixer on medium speed for 30 seconds.
- Add the sugar, baking powder, and salt. Mix until combined, occasionally scraping the sides of the bowl.
- Beat in the eggs, one at a time, and add the vanilla until well combined.
- Mix in the flour.
- Reserve 1½ cups of the dough.
- Spread the remaining dough in the bottom of an ungreased 15x10x1-inch baking pan.
- Bake for 12 minutes.
- Spread the pie filling over the crust in the pan. Spoon the reserved dough into small mounds on top of the pie filling. Sprinkle with nuts if using.
- Bake for about 30 more minutes or until the top is light brown. Cool in the pan on a wire rack for 10 minutes.
- Drizzle the top with icing and cool completely.
- To make the icing, mix the confectioner’s sugar and extract in a small bowl. Gradually add milk until you achieve a smooth consistency that will drizzle.
Tips for Success
- Ensure your butter is softened for easy mixing.
- For a nut-free version, simply omit the almonds.
- If you prefer a thicker icing, reduce the amount of milk slightly.
Additional Tips or Variations
Feel free to experiment with different fruit fillings—blueberry and strawberry are excellent choices. For a more decadent treat, consider adding chocolate chips to the dough.
Nutritional Highlights (Per Serving)
While exact nutritional values can vary, these cherry bars are a sweet treat best enjoyed in moderation. Each serving typically contains a balance of carbohydrates, fats, and sugars.
Frequently Asked Questions (FAQ)
Can I use fresh cherries instead of canned? Absolutely! Just pit and chop the cherries, and consider cooking them down with a bit of sugar for a homemade filling.
How should I store the cherry bars? Store them in an airtight container at room temperature for up to 3 days or in the refrigerator for up to a week.
Can I freeze these bars? Yes, they freeze well. Wrap them tightly in plastic wrap and store in a freezer-safe container for up to 3 months.
Conclusion
These cherry bars are a delicious way to enjoy the flavors of summer or any time of year. Give this recipe a try and let the delightful combination of sweet cherries and buttery crust win you over. We’d love to hear how your cherry bars turned out, so feel free to share your experiences and any creative variations you tried!

