Strawberry Shortcake Crunch Cake with Cream Cheese Frosting

Hey Y’all!
So many of you have been requesting strawberry dessert recipes, and while I’d love to fulfill all your sweet desires, there’s a little hiccup—I’m allergic to strawberries! Yes, indeed, I have to avoid them. But fear not, because I have a delightful strawberry shortcake cheesecake recipe that uses strawberry gelatin instead. This way, I get to enjoy the flavor without the risk! If you’re one of those lucky folks who can eat strawberries (I envy you—haha!), you can add fresh strawberries to the cake batter. I’ll include directions for that below.
Why You’ll Love This Recipe
This Strawberry Shortcake Crunch Cake with Cream Cheese Frosting is truly a showstopper. The blend of vanilla and strawberry layers, combined with the creamy frosting and crunchy topping, creates a symphony of flavors and textures that will satisfy your sweet tooth. Although it’s a bit time-consuming, using boxed cake mixes and homemade frosting makes it manageable and absolutely worthwhile.
Kitchen Equipment You’ll Need
- Four 8” round cake pans
- Parchment paper
- Cooking spray
- Hand mixer
- Large bowl
- Wire racks
- Ziploc bag
- Rolling pin
- Cake plate
- Parchment strips
Ingredients
For the Cake
- 1 box vanilla cake mix (plus ingredients called for on box)
- 1 box strawberry cake mix (plus ingredients called for on box)
For the Frosting
- 1 1/2 cups butter, softened
- 6 cups powdered sugar
- 2 teaspoons pure vanilla extract
- 6 tablespoons heavy cream
For the Strawberry Crunch
- 1 cup freeze-dried strawberries
- 1/2 box Nilla wafers, crushed
- 3 tablespoons melted butter
- Fresh strawberries, for garnish
Step-by-Step Instructions
- Preheat your oven to 350°F. Line four 8” round cake pans with parchment paper and grease them with cooking spray.
- Prepare the vanilla and strawberry cake mixes according to their package instructions. Divide the batter between the prepared pans, making two vanilla cakes and two strawberry cakes.
- Bake as directed on the package. Allow the cakes to cool in the pans for 10 minutes, then invert them onto wire racks to cool completely.
- For the frosting, use a hand mixer to beat the butter and half of the powdered sugar in a large bowl until smooth. Add the remaining powdered sugar, vanilla, and 4 tablespoons of heavy cream, beating until fluffy. If the frosting is too stiff, add more cream.
- To make the strawberry crunch, crush freeze-dried strawberries and Nilla wafers in a Ziploc bag using a rolling pin. Add the melted butter and toss until evenly combined.
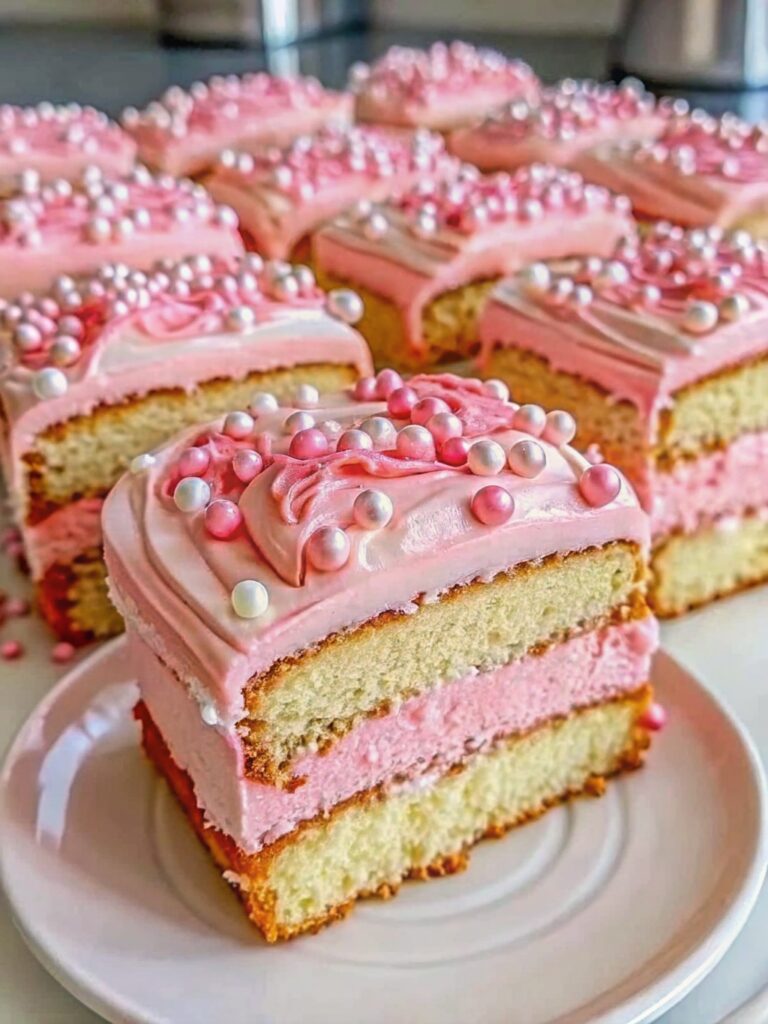
- Place a dab of frosting on a cake plate to keep the first cake layer in place, and put parchment strips around the edges of the plate. Begin with a strawberry cake layer, add frosting, then a vanilla cake layer, and continue alternating. Frost the sides and top of the cake.
- Press the strawberry crunch mixture into the entire surface of the cake.
- Garnish with fresh strawberries, if desired, and serve.
Tips for Success
- Ensure your butter is softened for a smooth frosting.
- Use parchment paper to keep the cake layers from sticking to the pans.
- Allow cakes to cool completely before frosting to prevent melting.
Additional Tips and Variations
If you can enjoy fresh strawberries, fold them into the cake batter or use them as a garnish. For a twist, try adding a hint of lemon zest to the frosting for a refreshing citrus kick.
Nutritional Highlights (Per Serving)
- Calories: Approximately 450
- Fat: 22g
- Carbohydrates: 62g
- Protein: 3g
Frequently Asked Questions (FAQ)
Can I use fresh strawberries instead of freeze-dried?
Yes, but keep in mind that fresh strawberries will change the texture of the crunch. You might want to dry them slightly before using.
How do I store the cake?
Keep the cake in an airtight container in the refrigerator for up to 5 days.
Conclusion
I hope this Strawberry Shortcake Crunch Cake with Cream Cheese Frosting brings you as much joy as it does for me! It’s a delightful treat that’s perfect for any occasion. Give it a try, and don’t forget to share your experiences in the comments below. Happy baking!

