Deconstructed Stuffed Bell Pepper Bake
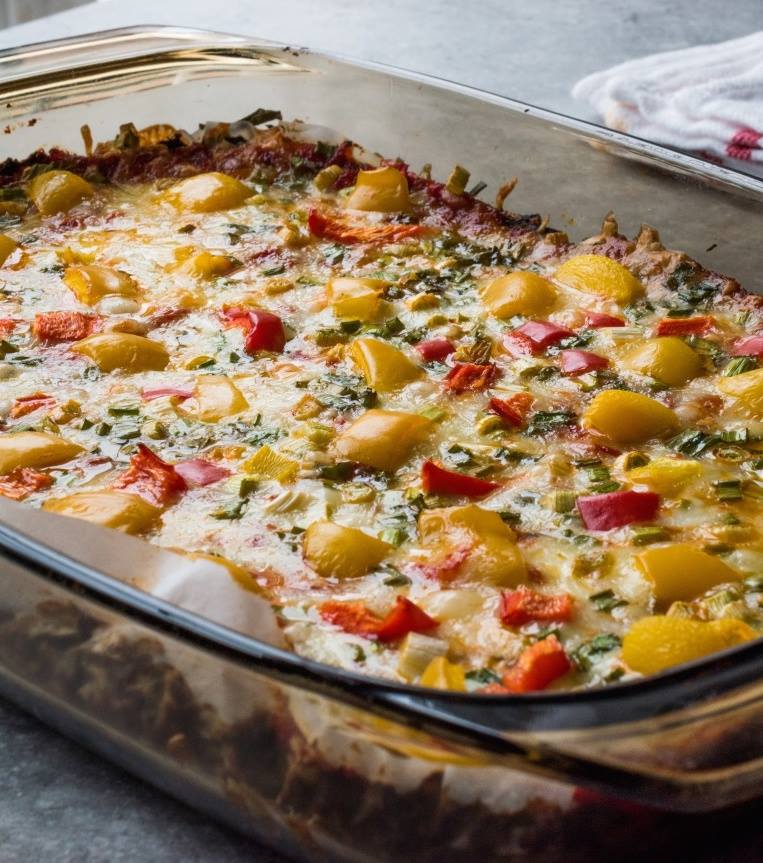
Stuffed bell peppers are a classic favorite in our household. They offer a delightful mix of flavors and textures, and while they might seem fancy, they’re surprisingly easy to make. Recently, we decided to put a twist on this beloved dish by creating a Deconstructed Stuffed Bell Pepper Bake. This casserole-style version retains all the delicious ingredients of traditional stuffed peppers but presents them in a simpler, more accessible form. Imagine a vibrant blend of rice, meat, and diced bell peppers, all mingling together under a gooey blanket of cheese. This recipe not only simplified our dinner routine but also brought a burst of excitement to the table, with everyone eagerly digging in for seconds.
Why You’ll Love This Recipe
This Deconstructed Stuffed Bell Pepper Bake is perfect for anyone who loves the taste of stuffed peppers but wants a quicker, less hands-on preparation. You’ll love this dish because it’s:
- Easy to make, with minimal preparation time.
- Bursting with flavor, thanks to a mix of Italian seasoning, balsamic vinegar, and Worcestershire sauce.
- Customizable, allowing you to use your favorite color bell peppers.
- Perfect for family dinners, serving 4-6 people.
Kitchen Equipment You’ll Need
- A large skillet
- A 9×13-inch casserole dish
- Parchment paper or cooking spray
- Knife and cutting board
- Mixing spoon
Ingredients
- 1 pound ground turkey
- 1 ½ cups cooked rice
- 2 bell peppers, diced
- 1 medium yellow onion, diced
- 1 (15 oz) can tomato sauce
- 2 cups mozzarella cheese, shredded
- 1 teaspoon garlic powder
- 1 tablespoon Italian seasoning
- 1 tablespoon balsamic vinegar
- 1 tablespoon Worcestershire sauce
- 2 scallions, chopped
- 1 teaspoon kosher salt
- ½ teaspoon black pepper
Step-by-Step Instructions
- Preheat your oven to 375°F. Line the bottom of a 9×13-inch casserole dish with parchment paper or coat it with cooking spray.
- In a large skillet over medium-high heat, cook the ground turkey, breaking it apart until it’s just cooked through.
- Add the diced onions and bell peppers to the skillet and sauté until they are just softened.
- Stir in the garlic powder, salt, pepper, Italian seasoning, balsamic vinegar, and Worcestershire sauce, mixing gently to combine.
- Add the cooked rice and tomato sauce to the skillet, stirring until all ingredients are well mixed.
- Transfer the mixture to the prepared casserole dish. Top it with shredded mozzarella cheese and sprinkle the chopped scallions over the top.
- Bake uncovered for 18-22 minutes, or until the cheese is completely melted and the dish is bubbly.
Tips for Success
- Ensure the rice is cooked and cooled slightly before adding to the mixture to prevent clumping.
- For a richer flavor, consider using a mix of cheeses such as cheddar and provolone along with mozzarella.
Additional Tips or Variations
- For a vegetarian version, substitute ground turkey with cooked lentils or a plant-based ground meat alternative.
- Mix in some chopped spinach or kale for added greens and nutrients.
Nutritional Highlights (Per Serving)
While nutritional values can vary, this dish is a good source of protein from the turkey and cheese, and provides vitamins and minerals from the bell peppers and onion.
Frequently Asked Questions (FAQ)
Can I prepare this dish in advance?
Yes, you can assemble the casserole a day ahead and store it in the refrigerator. Just bake it when you’re ready to serve.
What is the best way to store leftovers?
Store the leftovers in an airtight container in the refrigerator for up to 3 days. Reheat in the oven or microwave before serving.
Can I freeze this casserole?
Yes, this casserole freezes well. Wrap it tightly and store in the freezer for up to 2 months. Thaw overnight in the refrigerator before reheating.
Conclusion
This Deconstructed Stuffed Bell Pepper Bake is a delightful twist on a classic dish, offering all the flavor with less fuss. We invite you to try this recipe at home and make it your own. Don’t forget to share your experiences and any personal touches you added in the comments below. Happy cooking!

