Beef and Cheese Chimichanga

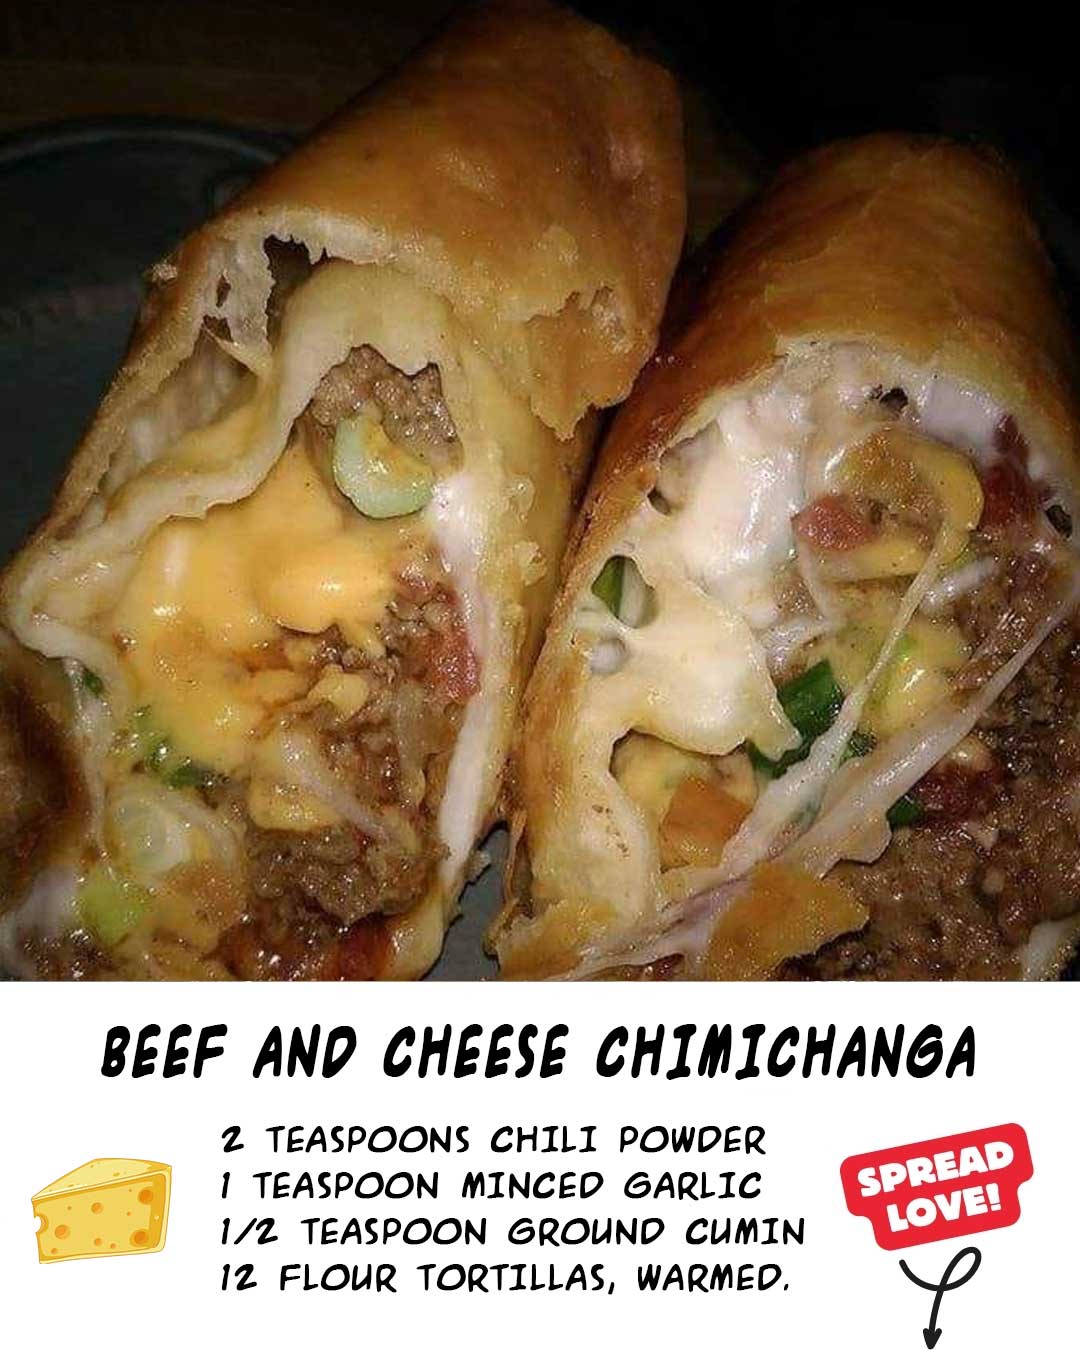
There’s something undeniably satisfying about biting into a crispy, cheesy chimichanga, and when it’s homemade, the experience is even better. Today, we’re diving into a delicious Beef and Cheese Chimichanga recipe that promises to bring a taste of restaurant-quality Mexican food right to your kitchen. Imagine a golden, crunchy tortilla wrapped around a savory mix of seasoned beef and beans, topped with melted cheese and a spicy jalapeno tomato sauce—pure bliss!
Why You’ll Love This Recipe
This Beef and Cheese Chimichanga recipe is a hit for several reasons. The combination of hearty beef, creamy refried beans, and a blend of spices creates an irresistible filling. The crispy fried exterior adds a delightful texture, while the melted cheese and tangy sauce take it over the top. Plus, it’s a versatile dish that’s perfect for meal prep; simply freeze the chimichangas and reheat them for a quick and satisfying meal whenever the craving strikes.
Kitchen Equipment You’ll Need
- Large skillet
- Large saucepan
- Electric skillet or deep-fat fryer
- Toothpicks
- Paper towels
Ingredients
- 1 pound ground beef
- 1 can (16 ounces) refried beans
- 1/2 cup finely chopped onion
- 3 cans (8 ounces each) tomato sauce, divided
- 2 teaspoons chili powder
- 1 teaspoon minced garlic
- 1/2 teaspoon ground cumin
- 12 flour tortillas (10 inches), warmed
- 1 can (4 ounces) chopped green chilies
- 1 can (4 ounces) chopped jalapeno peppers
- Oil for deep-fat frying
- 1-1/2 cups shredded cheddar cheese
Step-by-Step Instructions
- In a large skillet, cook the ground beef over medium heat until it’s no longer pink. Drain any excess fat.
- Stir in the refried beans, onion, 1/2 cup of tomato sauce, chili powder, minced garlic, and cumin.
- Spoon about 1/3 cup of the beef mixture off-center on each warmed tortilla. Fold the edge closest to the filling up and over to cover, then fold in both sides and roll up the tortilla. Secure with toothpicks.
- In a large saucepan, combine the chopped green chilies, jalapeno peppers, and the remaining tomato sauce. Heat through.
- In an electric skillet or deep-fat fryer, heat 1 inch of oil to 375°F. Fry the chimichangas for 1-1/2 to 2 minutes on each side until they’re golden brown and crispy. Drain on paper towels.
- Sprinkle the chimichangas with shredded cheddar cheese and serve with the prepared sauce.
Tips for Success
- Ensure the oil is hot enough before frying to achieve a crispy texture without absorbing too much oil.
- Use toothpicks to secure the tortillas tightly, preventing them from unraveling during frying.
- Warm the tortillas before filling to make them more pliable and easier to roll.
Additional Tips and Variations
- For a healthier version, bake the chimichangas instead of frying them. Brush them with a bit of oil and bake at 400°F for about 20 minutes, or until golden and crispy.
- Add some chopped cilantro or a squeeze of lime juice to the sauce for extra freshness.
- Customize the filling by adding corn, black beans, or cooked rice.
Nutritional Highlights (Per Serving)
- Calories: 450
- Protein: 22g
- Carbohydrates: 45g
- Fat: 20g
- Fiber: 6g
Frequently Asked Questions (FAQ)
Q: Can I freeze these chimichangas?
A: Absolutely! After frying, let them cool completely, wrap individually, and store in a freezer bag. Reheat in the oven for best results.
Q: What can I serve with chimichangas?
A: Serve with a side of shredded lettuce, sour cream, salsa, or guacamole for a complete meal.
Q: Can I make these vegetarian?
A: Yes, simply replace the ground beef with a plant-based meat substitute or extra beans and vegetables like bell peppers and mushrooms.
Conclusion
There you have it—an easy and delicious Beef and Cheese Chimichanga recipe that’s sure to impress your family and friends. Whether you’re making them for a special occasion or just because, these chimichangas are a treat worth trying. Let us know how they turn out for you, and feel free to share your own tips or variations in the comments below!


