Rice Krispie Treat Cheesecake
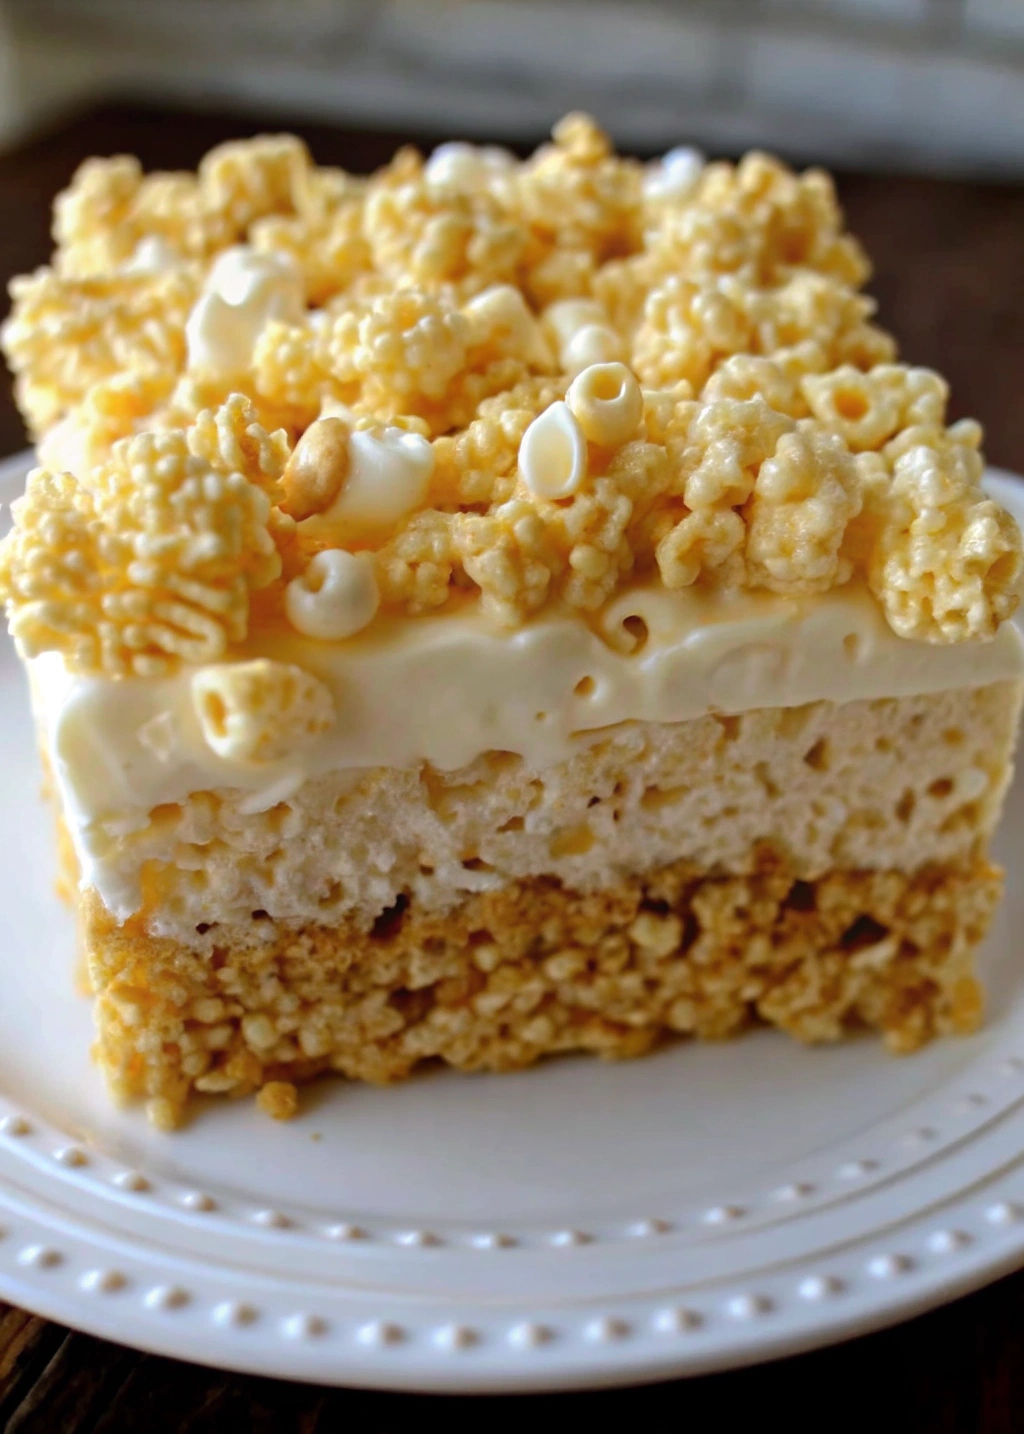
Today, I’m coming at ya with this AMAZING Rice Krispie Treat No-Bake Cheesecake. And it’s a doozy!
So. I’m struggling.
Summertime’s in full swing in Sacramento, and to call it ‘sweltering’ would be an understatement. Girl, it’s HOT here. Like denim shorts fusing to your skin hot. Like sweating profusely on a morning walk hot. Like if you turn on the oven, I’m going to scream at you hot.
So no-bake treats? We need them desperately.
I’m on a mission to create as many no-bake treats as I can this summer to avoid turning on my oven as much as possible. Of course, I’m still going to bake traditional goodies like cookies, regular cheesecakes, and cupcakes, but I want to save those for days when I’m feeling ambitious and somewhat sadistic.
Thus, this wonderful No-Bake Cheesecake was born!
Why You’ll Love This Recipe
This Rice Krispie Treat Cheesecake is perfect for hot summer days when the last thing you want is a hot oven heating up your kitchen. It combines the nostalgic flavor of Rice Krispie treats with the creamy delight of cheesecake. Plus, it’s incredibly easy to make, requiring no baking whatsoever!
Kitchen Equipment You’ll Need
- 9″ or 10″ springform pan
- Large bowl
- Medium saucepan
- Stand mixer or hand mixer
- Greased glass cup (for pressing the crust)
Ingredients
- For Crust:
- 6 cups Rice Krispies cereal
- 1/4 cup salted butter
- 1 (10 oz pkg) miniature marshmallows
- For Filling:
- 1 (8 oz pkg) cream cheese, softened
- 1/2 cup sugar
- 1 tsp vanilla extract
- 1 (7 oz jar) marshmallow creme/fluff
- 1 (8 oz pkg) Cool Whip, thawed
- For Garnish:
- Whipped cream
- Cubed & prepared Rice Krispy Treat Squares (I used the ones from the box)
Instructions
- Liberally grease a 9″ or 10″ springform pan with cooking spray. Set aside.
- In a large bowl, add the Rice Krispies cereal. Set aside momentarily. In a medium saucepan, melt the salted butter and marshmallows together over low heat, stirring constantly, until melted and smooth. Pour the melted marshmallow mixture over the cereal and toss until totally combined. Pour the cereal into the prepared pan and, using a greased glass cup, press the cereal mixture into the pan, forming a base and sides. Put aside to set, about 20 minutes.
- While the crust sets, make your filling. In a large bowl of a stand mixer, cream together the cream cheese, sugar, and vanilla until smooth, about 1 minute. Beat in the marshmallow creme until smooth. Lastly, fold in the Cool Whip by hand until combined.
- Spread the filling mixture into the crust, smoothing out the top. Garnish with whipped cream piped along the perimeter of the cheesecake and top with stacked prepared & cubed Rice Krispy Treats in the center. Chill for at least 2 hours in the fridge before cutting into slices.
Tips for Success
- Ensure the cream cheese is fully softened to achieve a smooth filling.
- Press the crust firmly into the pan to create a solid base.
- Allow enough chilling time for the cheesecake to set properly.
Additional Tips and Variations
- For an extra chocolatey twist, drizzle melted chocolate over the top before chilling.
- Add some fresh berries on top for a pop of color and flavor.
Nutritional Highlights (Per Serving)
While exact values may vary, this dessert is primarily a sweet treat and should be enjoyed in moderation. Each serving is approximately 300 calories, with varying amounts of fat, sugar, and carbohydrates.
Frequently Asked Questions (FAQ)
- Can I make this cheesecake ahead of time? Yes, this cheesecake can be made a day in advance and stored in the refrigerator until ready to serve.
- Can I use homemade whipped cream instead of Cool Whip? Absolutely! Homemade whipped cream can be used for a fresher taste.
- How long does this cheesecake last in the fridge? It can be stored in the refrigerator for up to 3 days.
Conclusion
This Rice Krispie Treat Cheesecake is a delightful no-bake dessert that perfectly combines childhood nostalgia with sophisticated taste. It’s a fun and easy recipe that’s sure to impress your friends and family. Give it a try and let me know how it turns out! I’d love to hear about your experience and any creative variations you come up with.

