Mini Sponge Cake

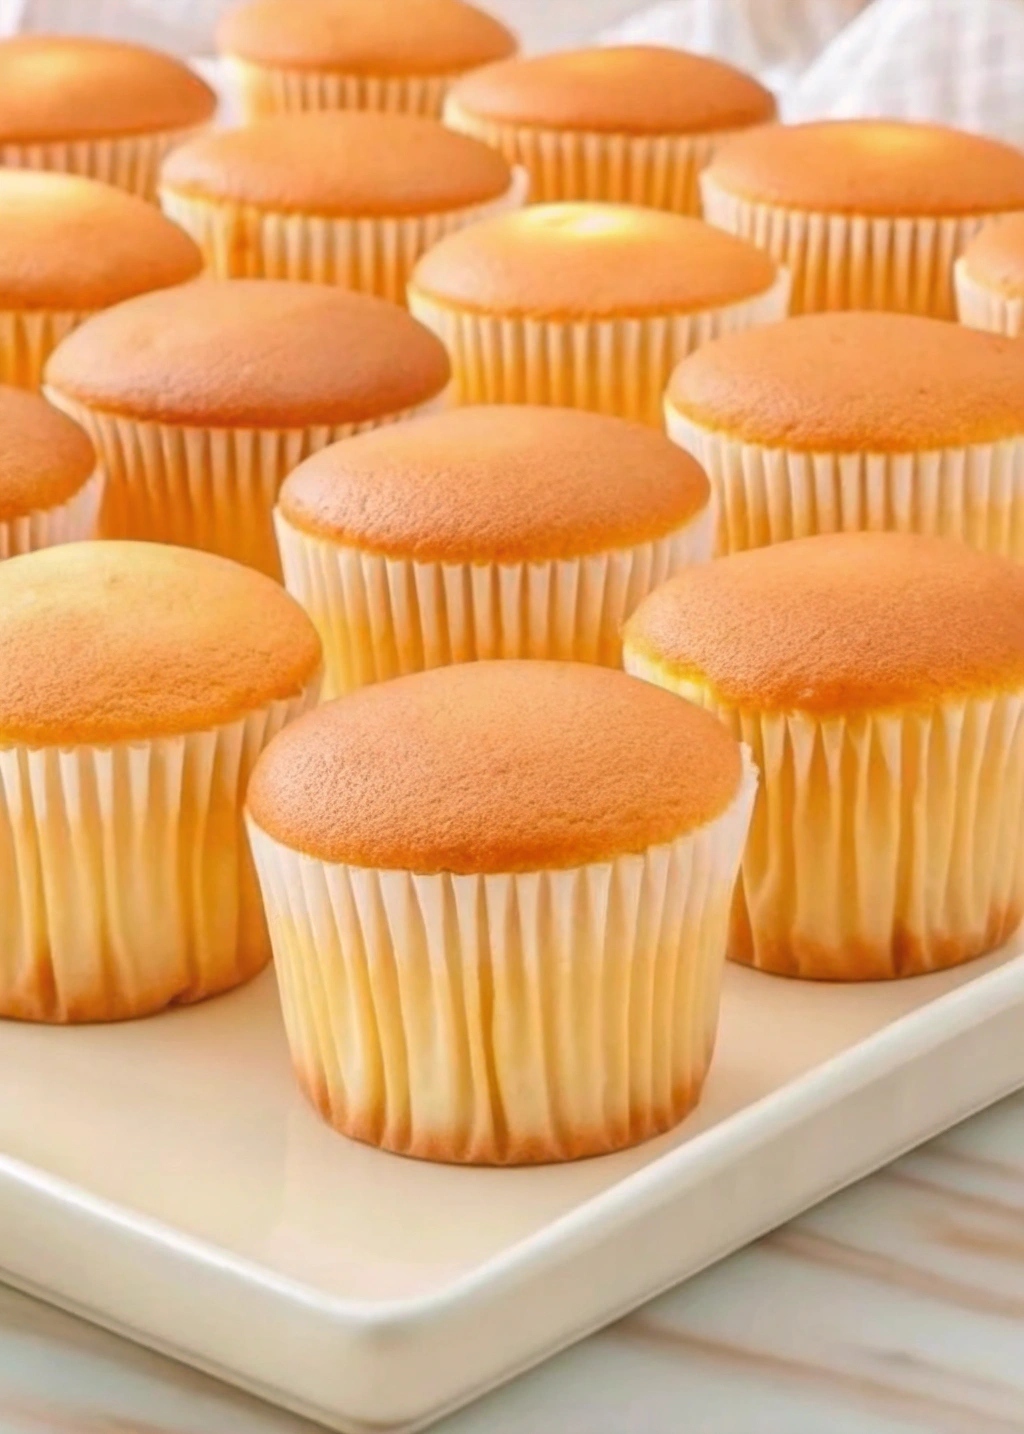
If you’re searching for a delightful treat that’s as charming as it is delicious, look no further than these Mini Sponge Cakes. Perfect for a spring or summer gathering, these mini Victoria sponge cakes are a classic addition to any afternoon tea. With layers of buttery cake, vanilla buttercream, and a hint of raspberry jam, they’re a sophisticated yet simple dessert that everyone will adore.
Why You’ll Love This Recipe
These Mini Sponge Cakes are a true crowd-pleaser. Their petite size makes them perfect for a tea party or any special occasion. The combination of fluffy cake, creamy buttercream, and fruity jam offers a delightful taste experience. Plus, they’re easy to make and look stunning on any dessert table.
Kitchen Equipment You’ll Need
- Muffin pan
- Handheld electric mixer
- Mixing bowls
- Sifter
- Wire rack
- Paring knife
- Piping bag
Ingredients
Mini Sponge Cakes:
- 1 cup all-purpose flour
- 1 teaspoon baking powder
- ½ teaspoon salt
- ¼ teaspoon baking soda
- ½ cup unsalted butter, at room temperature
- ⅔ cup granulated white sugar
- 2 large eggs, at room temperature
- ½ tablespoon pure vanilla extract
Vanilla Buttercream:
- ½ cup unsalted butter, at room temperature
- 3 tablespoons heavy whipping cream
- 2 teaspoons pure vanilla extract
- 2 ½ cups powdered sugar, sifted
- ⅛ teaspoon salt
Other:
- Butter and flour for the cake pan
- 10 tablespoons raspberry or strawberry jam (or slightly more as needed)
- 1 tablespoon powdered sugar for dusting on top
Step-by-Step Instructions
For the Cakes:
- Preheat the oven to 350°F. Butter and flour 10 wells in a muffin pan.
- Sift together the flour, baking powder, salt, and baking soda in a medium bowl.
- Use a handheld electric mixer to cream together the butter and sugar in a large bowl. Beat in the eggs and vanilla, continuing to beat until the mixture turns pale yellow and thickens. Beat in the dry ingredients just until combined; the batter will be thick.
- Divide the batter between the prepared muffin wells, evening out the tops with a spoon.
- Bake until the cakes are golden and a toothpick inserted in the center comes out clean, about 15 to 20 minutes.
- Cool for 10 minutes in the baking pan, then run a paring knife along the outside of each cake to help remove them. Transfer to a wire rack to finish cooling. Once cooled, slice each cake in half horizontally.
For the Vanilla Buttercream:
- While the cakes are cooking, make the buttercream filling.
- Add all ingredients to a large bowl and use a handheld electric mixer to beat until smooth and creamy, about 5 minutes.
- Transfer the buttercream to a piping bag.
To Assemble:
- Dollop or pipe the buttercream onto the cut side of each cake.
- Spoon or pipe about 1 tablespoon of raspberry jam on top of the buttercream on each cake.
- Place the top of each cake sandwich on top.
- Dust the tops with powdered sugar.
- Serve.
Tips for Success
- Ensure all your ingredients are at room temperature before starting.
- Be careful not to over-mix the batter to keep the cakes light and fluffy.
Variations and Additional Tips
- Try using different jams like strawberry or apricot for a new flavor twist.
- Add a drop of food coloring to the buttercream for a festive touch.
Nutritional Highlights (Per Serving)
Each mini sponge cake contains approximately:
- Calories: 250
- Fat: 15g
- Carbohydrates: 28g
- Protein: 3g
Frequently Asked Questions (FAQ)
Can I make these cakes in advance? Yes, you can bake the cakes a day ahead and assemble them on the day you plan to serve them.
What can I use instead of a piping bag? A plastic sandwich bag with the corner snipped off works as a great alternative.
Conclusion
I hope you enjoy making these delightful Mini Sponge Cakes as much as I do. They’re a wonderful way to celebrate any occasion or simply enjoy a sweet treat with loved ones. If you try this recipe, I’d love to hear how it turned out for you! Share your experiences and any creative twists you’ve added. Happy baking!


