Coconut Raspberry Poke Cake
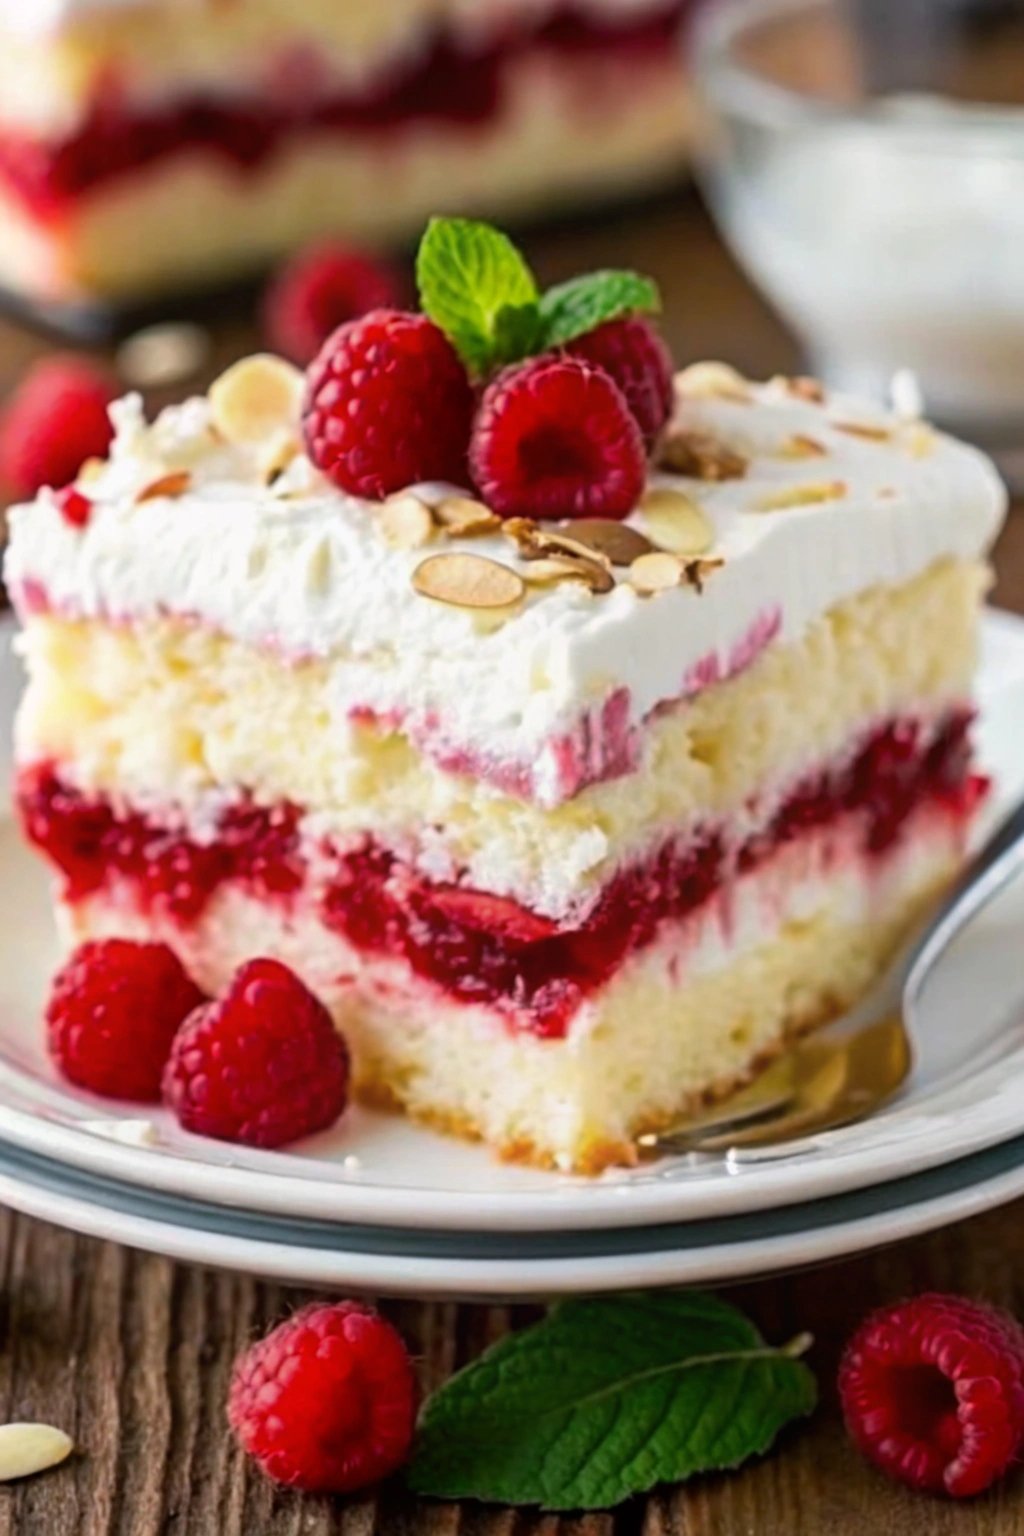
If you’ve never experienced the delightful pairing of raspberry and coconut, you’re in for a treat! This Coconut Raspberry Poke Cake combines these two flavors in a way that will quickly become one of your favorites. Imagine a moist white cake infused with raspberry goodness, topped with fluffy whipped cream and a sprinkle of coconut flakes — pure bliss in every bite!
Poke cakes are a fun twist on traditional cakes. They’re called ‘poke’ cakes because you poke holes in the baked cake and pour a flavorful filling over it. In this recipe, we’re using a white cake base, raspberry Jello, and raspberry preserves to create a refreshing summer dessert. It’s all topped off with whipped cream and coconut for a perfect finish.
This recipe is as simple as it is delicious, thanks to the convenience of a boxed cake mix. Of course, if you’re feeling adventurous, you can make the cake from scratch. But when quick and easy is the goal, this poke cake hits the mark with just six ingredients and five easy steps.
Why You’ll Love This Recipe
This Coconut Raspberry Poke Cake is a crowd-pleaser for several reasons:
- The combination of raspberry and coconut is a refreshing twist on classic flavors.
- It’s incredibly easy to make, perfect for last-minute gatherings.
- The cake stays moist and flavorful, thanks to the raspberry Jello infusion.
- It’s a versatile dessert that can be dressed up or down for any occasion.
Kitchen Equipment You’ll Need
- 9×13 inch baking pan
- Mixing bowls
- Wooden spoon (for poking holes)
- Microwave (for melting preserves)
Ingredients
- 1 box white cake mix (+ ingredients listed on the box to prepare cake)
- 1 box raspberry flavored gelatin (Jello)
- 2 cups hot water
- 1 jar (10 oz.) raspberry preserves
- 1 tub (8 oz.) Cool Whip, thawed
- 1 bag (7 oz.) shredded coconut
Step-by-Step Instructions
- Preheat your oven and prepare the cake mix according to the package directions. Pour the batter into a 9×13 inch baking pan and bake as directed.
- Once baked, remove the cake from the oven and let it cool completely. Then, using the handle of a wooden spoon, poke holes about an inch apart all over the cake, pressing only halfway down.
- Mix the raspberry gelatin with hot water until dissolved. Carefully pour the mixture over the cake, ensuring it fills the holes.
- Microwave the raspberry preserves for about 30 seconds until they become easy to spread. Evenly spread the preserves on top of the cake.
- Spread the Cool Whip over the top of the cake and sprinkle with shredded coconut. Refrigerate the cake for at least 4 hours before serving to allow the flavors to meld.
Tips for Success
- Make sure the cake is completely cooled before poking the holes to retain its structure.
- Use the back of a wooden spoon for evenly sized holes.
- Pat the coconut dry if it’s too moist to prevent sogginess.
Additional Tips and Variations
- For a tangy twist, consider adding a layer of lemon zest to the Cool Whip.
- If you’re not a fan of coconut, you can omit it or replace it with white chocolate shavings.
- Consider using fresh raspberries as a garnish for added texture and flavor.
Nutritional Highlights (Per Serving)
While specific nutritional values can vary, each serving of this cake is approximately:
- Calories: 250
- Fat: 10g
- Carbohydrates: 35g
- Protein: 3g
Frequently Asked Questions (FAQ)
Can I use homemade cake instead of boxed mix?
Absolutely! A homemade white cake can be used in place of the boxed mix. Just be sure to adjust the cooking time accordingly.
How long does this cake keep?
Stored in the refrigerator, this cake should keep well for up to 3 days. Keep it covered to maintain freshness.
Can I freeze the poke cake?
It’s not recommended to freeze this cake, as the gelatin and whipped topping can alter in texture when thawed.
Conclusion
This Coconut Raspberry Poke Cake is a delightful dessert that’s sure to impress your family and friends. Its vibrant flavors and simple preparation make it a go-to recipe for any occasion. Give it a try, and don’t forget to share your experiences in the comments. Happy baking!

