Chili Cheese Hand Pies
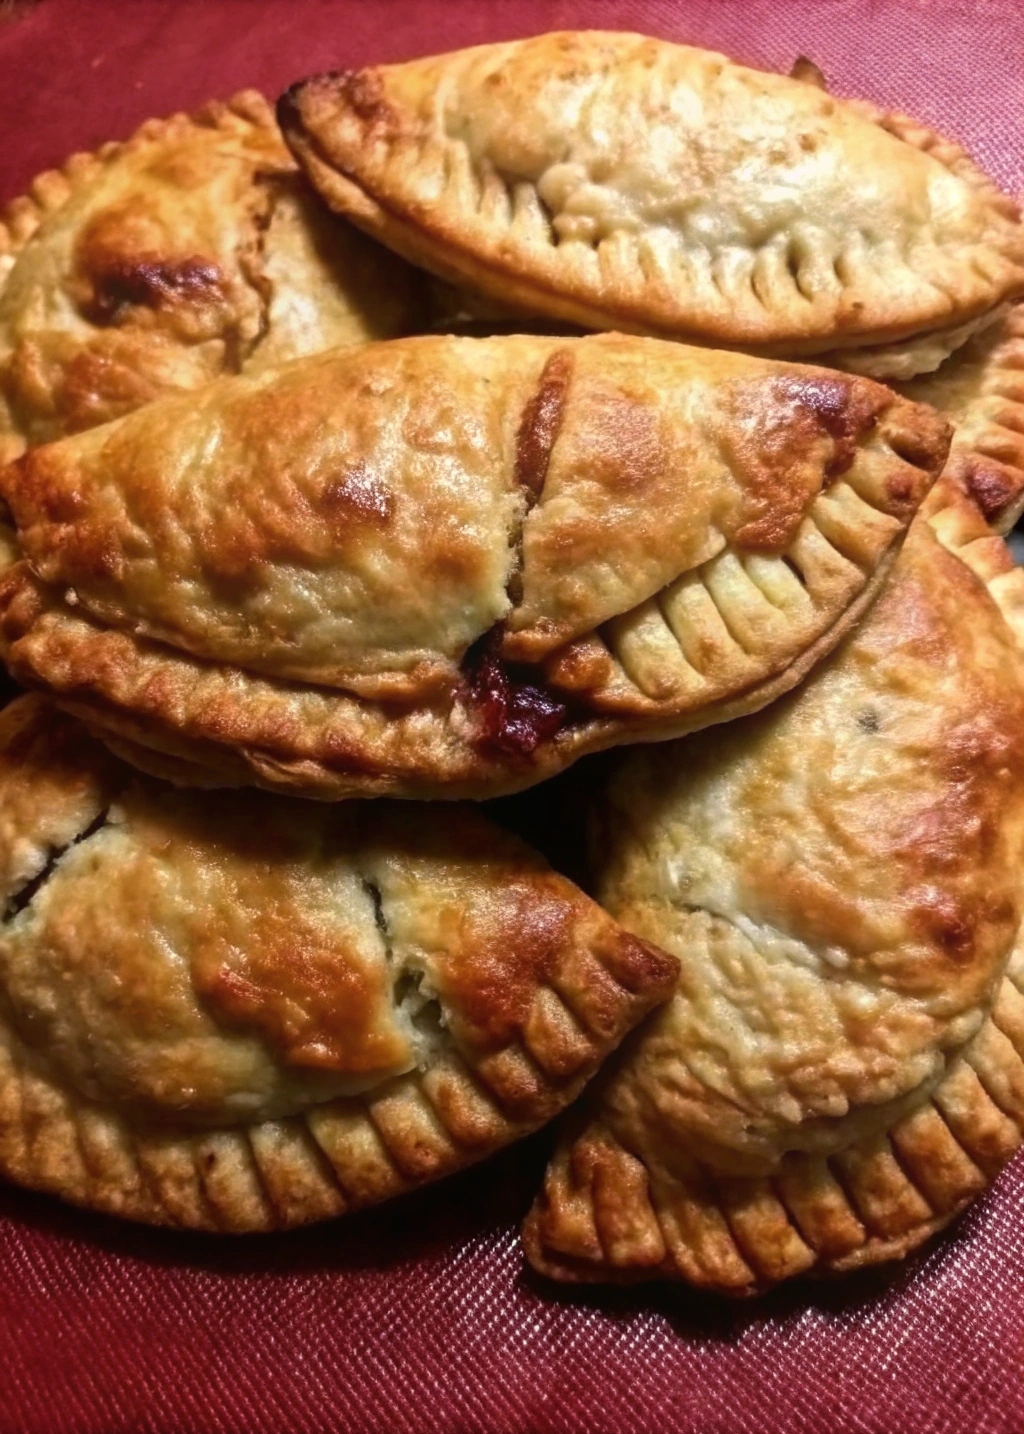
When I think of hearty meals, chili is always in my top 10. The savory filling of these chili cheese hand pies delivers on that classic flavor. Served inside a flaky half-moon pie crust, these little pies are perfect for times when you want something that sticks to your ribs and tastes great while doing it!
This recipe is wonderfully easy to make, thanks to frozen pie crust. The time saved on making the crust is used to make a from-scratch chili filling that’s out of this world.
The chili filling is a lively mix of beef, beans, tomatoes, bell pepper, and onion. Like most chilis, the spices in this filling really make the dish. Cumin, honey, oregano, chili powder, and garlic powder give it a rounded flavor profile that’s not too spicy.
Why You’ll Love This Recipe
These chili cheese hand pies combine the comforting flavors of chili with the convenience of a portable pie. They’re perfect for a quick lunch, a fun dinner, or even a tasty snack. Plus, using store-bought pie crusts makes them a breeze to prepare!
Kitchen Equipment You’ll Need
- Large stockpot
- Cookie sheet
- Rolling pin
- Fork
- Whisk
- Bowls for mixing and as a template
Ingredients
- 1 1/2 tsp olive oil
- 1/2 lb ground beef
- 1/2 cup chopped onion
- 1/4 cup chopped green bell pepper
- 1 1/2 teaspoon chili powder
- 1/2 teaspoon ground cumin
- 1/2 teaspoon garlic powder
- 1/4 teaspoon salt
- 1/8 teaspoon black pepper
- 1/8 teaspoon dried oregano leaves
- 1/4 teaspoon brown sugar or honey
- 1/2 cup tomato sauce
- 1 (14 oz) can diced tomatoes, drained
- 1 cup canned pinto beans, drained, rinsed
- 1 (15 oz) box refrigerated pie crusts, thawed
- 3/4 cup (2 oz) shredded Cheddar cheese
- 1 egg
- 1 Tbsp water
Step-by-Step Instructions
- In a large stockpot, heat the olive oil over medium heat. Add the ground beef and cook until browned, about 3-5 minutes. Add the onion and green bell pepper and cook until softened, stirring several times.
- Add the spices, sugar, tomato sauce, tomatoes, and beans. Simmer for 15 minutes, stirring often.
- Preheat your oven to 350˚F. Roll out the pie crusts and cut 3 large circles from each crust using a bowl as a template. Combine the scraps, roll out again, and cut more circles from the re-formed dough.
- Place the circles on a cookie sheet. Spoon 3-4 tablespoons of chili onto each circle and top with a little cheese.
- Whisk together the water and egg. Place a little egg wash around the edges before folding the pies in half to form half moons. Press the edges together with the back of a fork. Press the tines of the fork into the tops of each pie 3 times to allow steam to escape.
- Brush the remaining egg wash over the tops of the pies. Bake for 12-15 minutes or until golden on top.
Tips for Success
Ensure the chili filling is not too watery, as this might make the crust soggy. If needed, simmer the filling longer to reduce excess liquid. Use a sharp knife or a pastry cutter for even and neat edges on your pie circles.
Additional Tips and Variations
For a spicier kick, add a pinch of cayenne pepper to the chili filling. You can also experiment with different cheeses such as Monterey Jack or Pepper Jack for a different flavor profile. If you’re vegetarian, swap the ground beef for a meat substitute or simply add more beans and vegetables.
Nutritional Highlights (Per Serving)
Enjoy these hand pies knowing they are packed with protein and fiber from the beef and beans. The cheese adds calcium, while the vegetables contribute essential vitamins and minerals.
Frequently Asked Questions (FAQ)
Can I make these hand pies in advance? Absolutely! You can prepare the filling ahead of time and assemble the pies when you’re ready to bake.
How should I store leftovers? Store any leftover hand pies in an airtight container in the refrigerator for up to three days. Reheat them in the oven to maintain their crispiness.
Conclusion
These chili cheese hand pies are a delightful twist on a classic dish, perfect for any occasion. I invite you to try this recipe and share your experiences. Did you make any variations? Let me know how it turned out in the comments below!

