Chicago-Style Bakery Apple Slices
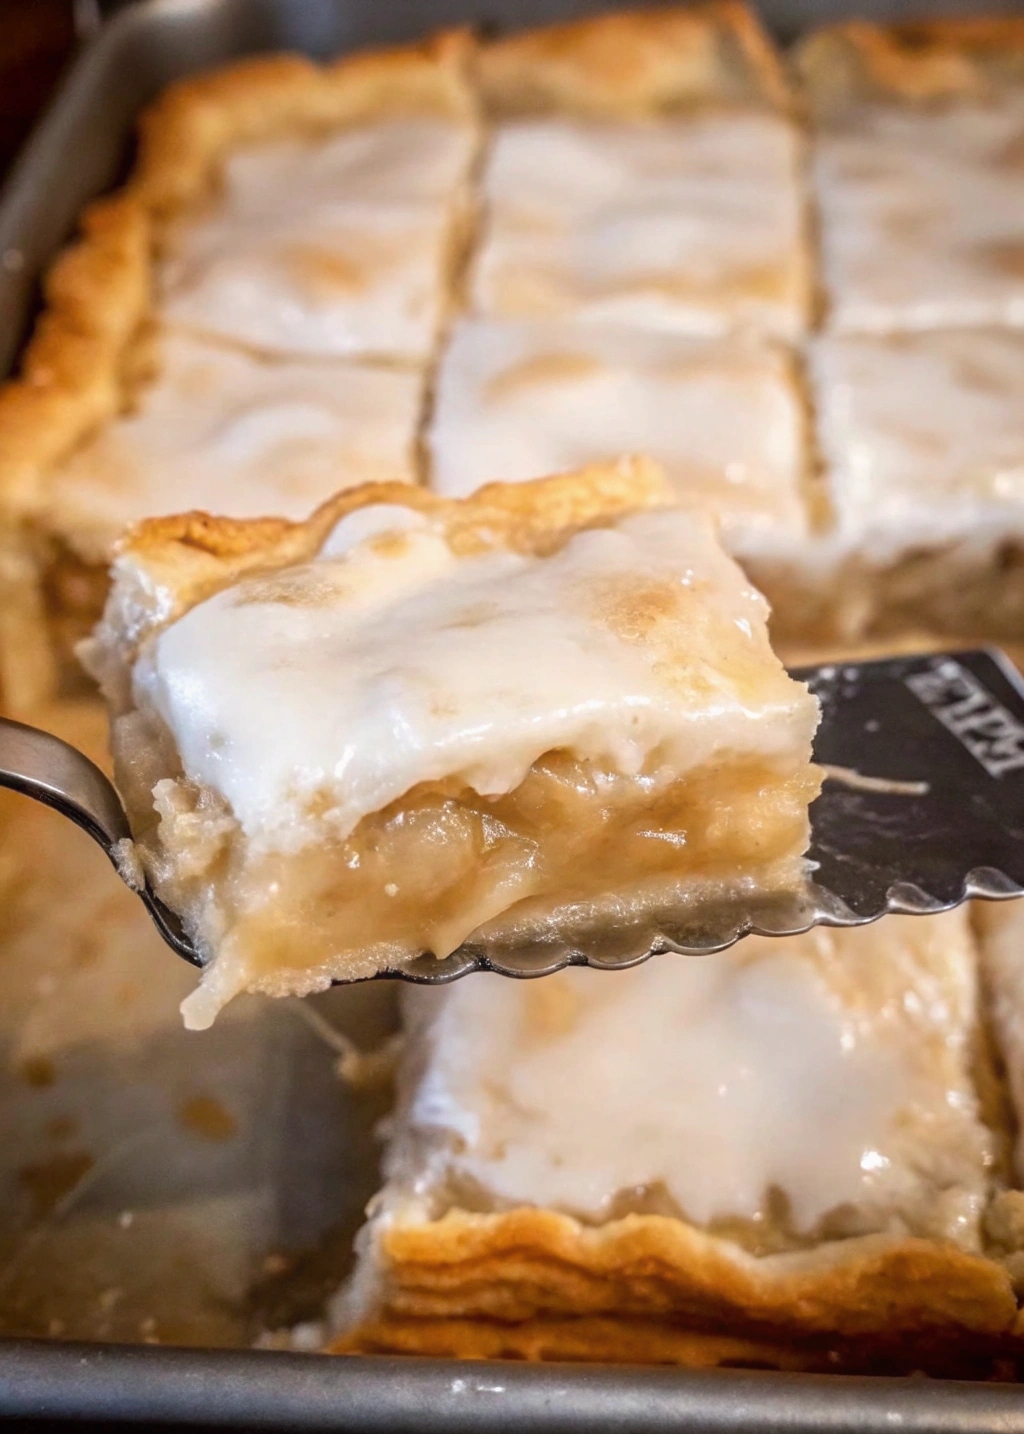
I have to confess something. I’ve never actually been to Chicago. So I’ve never actually eaten a Chicago-Style Bakery Apple Slice in a Chicago bakery. But! I did come across them on the internet and as soon as I saw that gooey apple filling peeking out of flaky pie crust and encrusted in thick sugary glaze, I wanted in. One of the nice things about cooking is that you can kind of travel the world right in your own kitchen and while my kitchen is very much not a Chicago bakery, it can at least taste a little like one with these in it. And yours can too. All you need is some pie crust, apple filling, and a quick little icing to top it all off.
Why You’ll Love This Recipe
These Chicago-Style Bakery Apple Slices are a delightful combination of flaky crust, sweet apple filling, and a luscious glaze on top. They’re perfect for impressing guests or enjoying as a comforting treat at home. Easy to make yet indulgent, these slices bring a taste of Chicago right to your kitchen.
Kitchen Equipment You’ll Need
- Large bowl
- Cheese grater
- Pastry blender or forks (optional)
- 9×13-inch jelly roll pan
- Rolling pin
- Wire rack
Ingredients
For the Pie Dough:
- 4 cups all-purpose flour
- 1 tablespoon granulated sugar
- 1 teaspoon salt
- 1 1/4 cups unsalted butter, chilled (2 1/2 sticks)
- 1/2 cup ice water, plus more as needed
For the Filling:
- 4 cups apple pie filling (canned is fine)
For the Glaze:
- 1 cup powdered sugar
- 2 tablespoons unsalted butter, softened
- 1 teaspoon vanilla
- 2 tablespoons whole milk
Step-by-Step Instructions
- For the pie dough: In a large bowl, stir together the flour, sugar, and salt.
- Remove one stick of butter from the fridge and using a cheese grater, grate butter over the flour mixture. If butter gets too soft, place in the freezer until firm again and start on the next stick of butter. Continue grating until all butter is used, stirring into the flour mixture in between sticks. (Alternatively, you can cube or slice the butter and cut in using a pastry blender or two forks.)
- Create a well in the center of the flour mixture and add the 1/2 cup ice water. Using a fork, toss quickly to combine.
- Refill ice water container, then drizzle in 2 tablespoons of cold water at a time, stirring after each addition, until dough is moist and holds together easily. Try not to add any more water than you need — dough shouldn’t be sticky. You should be able to see small pieces of butter throughout the dough.
- On a lightly floured work surface, quickly and gently knead dough just to bring it together. Divide in half, then flatten each half into a 1-inch thick rectangle.
- Wrap each rectangle in plastic wrap and chill at least 30 minutes.
- When ready to bake, preheat oven to 400°F and set aside a 9×13-inch jelly roll pan.
- Lightly dust a work surface with flour, then roll out one rectangle of dough roughly the same size as jelly roll pan. Press into the bottom of the pan.
- Spread apple filling over the pie dough.
- Roll the remaining rectangle of dough out to the same size, then pick up and lay on top of the apple filling. (You can also use a rolling pin to roll the dough up to make transferring easier.) Pinch edges of dough together but don’t worry too much about sealing completely.
- Slice a few vents in top crust to release steam, then bake until crust is golden brown, about 40 minutes, rotating pan halfway through. Remove to a wire rack to cool.
- When pie has cooled, make the glaze: Beat together the sugar, butter, vanilla, and milk until smooth, then spread glaze over the top of the crust evenly. Let set and harden, then slice into squares and serve. Enjoy!
Tips for Success
- Ensure your butter is chilled for the flakiest crust.
- Don’t overwork the dough to keep it tender.
- Use canned apple pie filling for convenience or homemade for a personal touch.
Additional Tips and Variations
- For a spiced version, add a teaspoon of cinnamon to the apple filling.
- Try using different fruit fillings like cherry or peach for variation.
Nutritional Highlights (Per Serving)
Each serving of Chicago-Style Bakery Apple Slices is rich in carbohydrates and sugars due to the crust and filling. For a lighter option, consider reducing the amount of glaze or using a sugar substitute.
Frequently Asked Questions (FAQ)
Can I use store-bought pie crust? Yes, store-bought crust works if you’re short on time.
How should I store leftovers? Store in an airtight container at room temperature for up to two days, or refrigerate to keep fresh longer.
Can I freeze these apple slices? Yes, wrap them tightly and freeze for up to three months. Thaw before serving and reheat in the oven for a few minutes.
Conclusion
These Chicago-Style Bakery Apple Slices are a must-try for any dessert lover. Bringing a slice of Chicago’s bakery charm into your kitchen has never been easier. Give this recipe a try and let the flavors whisk you away to the Windy City. We’d love to hear about your baking adventures, so be sure to share your experiences in the comments below!


