New Orleans Beignets
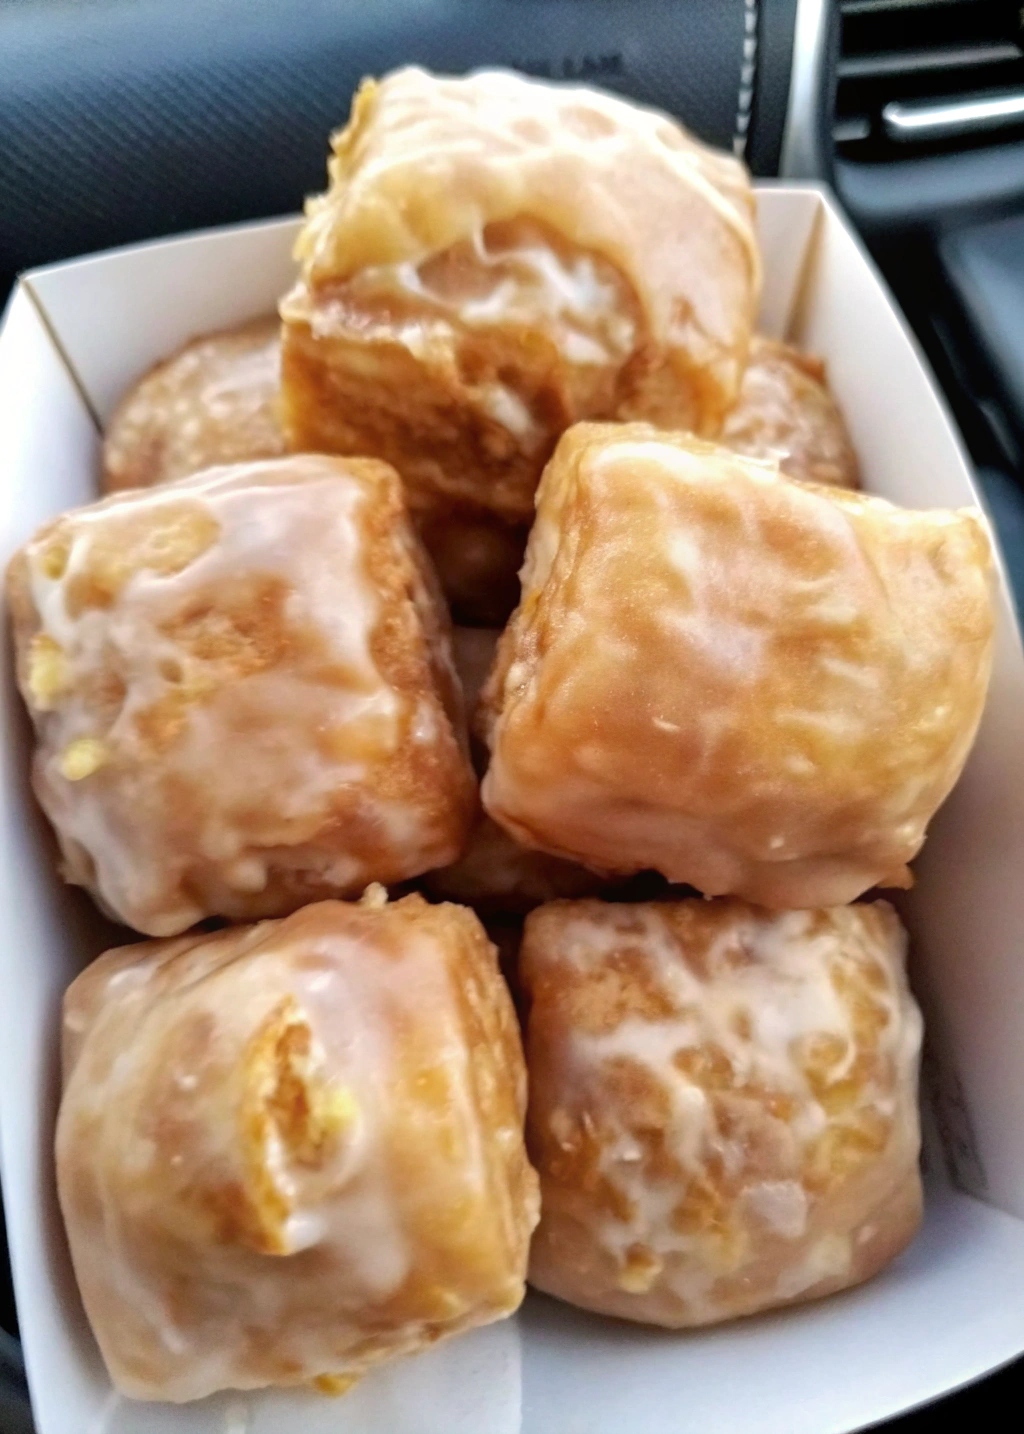
Imagine strolling down the vibrant streets of New Orleans, a fresh breeze carrying the sweet aroma of powdered sugar and fried dough. That’s the essence captured in a warm, delightful beignet! With this recipe, you can bring a piece of that magic into your own kitchen.
Why You’ll Love This Recipe
These New Orleans Beignets are the perfect treat for anyone with a sweet tooth. They’re light, fluffy, and generously dusted with powdered sugar, making them an irresistible indulgence. Plus, they’re a great way to impress guests with a homemade version of this classic Southern delicacy.
Kitchen Equipment You’ll Need
- Mixing bowls
- Large mixing spoon
- Rolling pin
- Cookie sheet
- Cellophane
- Slotted spoon or fry basket
- Paper towels
- Frying pan or deep fryer
Ingredients
- 1 cup milk
- 2 Tablespoons butter
- 1 Tablespoon brown sugar
- 1 Tablespoon granulated sugar
- 3 cups flour
- ½ teaspoon nutmeg
- ½ teaspoon cinnamon
- 1 egg
- 1 teaspoon salt
- 1 package yeast
- Powdered sugar
Step-by-Step Instructions
- In a small bowl, mix together the flour, nutmeg, cinnamon, and salt.
- Heat the milk until it’s steaming but not boiling.
- In a large mixing bowl, place the butter and sugars. Pour the scalding milk over them and stir until the butter melts and the sugar dissolves. Allow the mixture to cool to lukewarm.
- Add the yeast and stir it in gently.
- Mix in the egg and half of the dry ingredients, beating well.
- Add the rest of the dry ingredients and mix thoroughly.
- Knead the dough on a floured counter for about 2-3 minutes until it is soft and pliable.
- Place the kneaded dough into a large greased bowl, cover, and let it rise for about 1 hour, or until doubled in size.
- Roll the dough out on a floured counter to about ¼ inch thick and cut into triangles or squares.
- Place the dough pieces on a greased cookie sheet, cover with greased cellophane, and let them rise for 30 minutes to 1 hour.
- Heat canola oil to 385 degrees Fahrenheit.
- Scoop the dough into the oil using a slotted spoon or fry basket. Fry each side for 1-2 minutes until golden brown.
- Remove the beignets and place them on paper towels to cool slightly.
- Dust generously with powdered sugar and enjoy!
Tips for Success
Ensure the milk mixture is only lukewarm before adding yeast to avoid killing it. Allow the dough ample time to rise for fluffier beignets.
Additional Tips and Variations
For a twist, try adding a splash of vanilla extract to the dough. You can also experiment with different shapes for a fun presentation.
Nutritional Highlights (Per Serving)
These beignets are a treat, so enjoy them in moderation. They are rich in carbohydrates and sugars, perfect for an occasional indulgence.
Frequently Asked Questions (FAQ)
Q: Can I make the dough ahead of time?
A: Yes, you can prepare the dough a day in advance and store it in the refrigerator until you’re ready to fry.
Q: What type of oil is best for frying?
A: Canola oil is recommended for its high smoke point and neutral flavor.
Conclusion
There’s nothing quite like a homemade beignet fresh from the fryer. I invite you to try this recipe and bring a taste of New Orleans into your home. Don’t forget to share your beignet adventures and any creative twists you come up with!