You’ll Never Buy Butter From The Store Again After You’ve Made This Yourself (Two Ingredient Recipe)
An Engaging Introduction
Imagine waking up to the smell of fresh toast topped with creamy, homemade butter. Not only is this experience delicious, but it’s also healthier! Store-bought butter often contains pasteurized milk and trans fats, whereas homemade butter is packed with vitamin A, which is great for your eyes, skin, and teeth. Plus, with just two ingredients, this recipe is so simple, you’ll wonder why you ever bought butter from the store.
Why You’ll Love This Recipe
This homemade butter recipe is incredibly easy and fun to make. With only two ingredients, you can whip up a batch in no time. It’s cost-effective, healthier than store-bought alternatives, and the taste is unbeatable. Whether you spread it on freshly baked bread or use it in your favorite recipes, this butter will add a rich, creamy touch to any dish.
Kitchen Equipment You’ll Need
- Food processor, stand mixer, or electric whisk
- Sieve
- Bowl
- Tea towel or cheesecloth
Ingredients
- 3 cups (24 floz/720ml) heavy cream (high fat content)
- 1 teaspoon salt
- 5 tablespoons ice water
Step-by-Step Instructions
- Pour the cold cream into your food processor. You can also use an electric whisk or stand mixer.
- Whip the cream until it separates. After about 2 ½ minutes, it will start to thicken. Continue whipping for around 4 minutes until you see yellow buttery solids and a cloudy liquid.
- Once separated, pour in the ice cold water to help further separate the butter from the buttermilk.
- Place a sieve over a bowl and pour the mixture through it.
- The liquid collected is buttermilk. Save it in the fridge for baking or marinating meat.
- Squeeze the butter solids with your hands to remove any remaining buttermilk. Use a tea towel or cheesecloth if necessary.
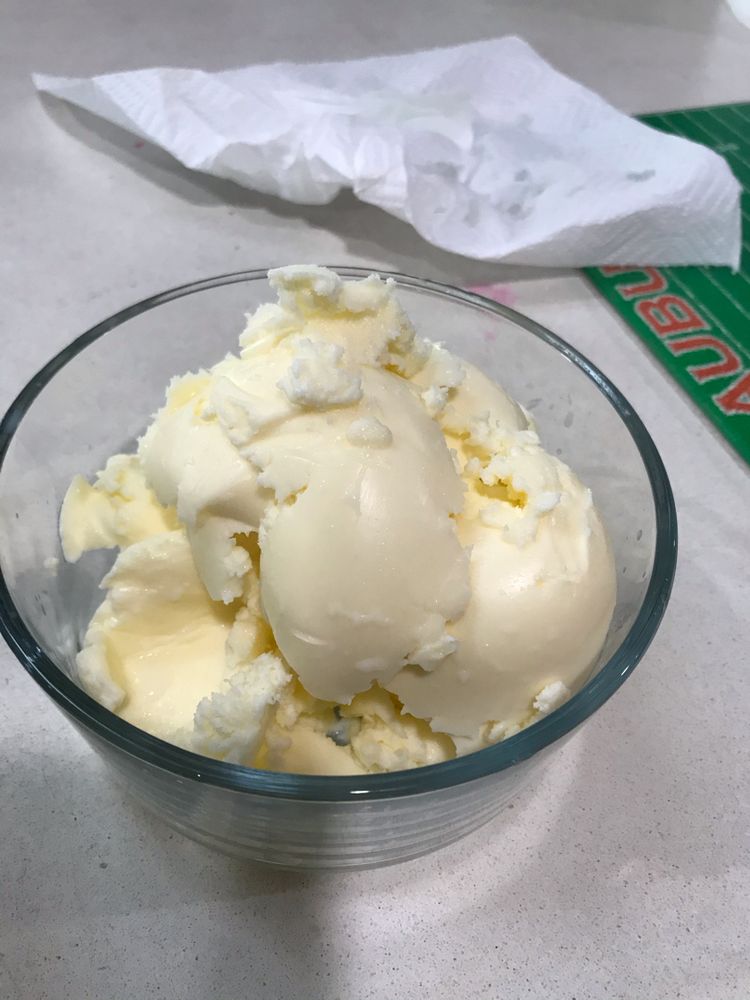
- Stir in some salt or other flavors to your soft butter. This recipe yields over 2 sticks/10oz/300g of butter.
- Store in the fridge for up to 6 weeks. Use it in baking, savory dishes, or simply spread on toast.
Tips for Success
- Ensure your cream is cold before starting to achieve the best results.
- Use cream with a high fat content for richer butter.
- Make sure to remove all buttermilk to prevent the butter from becoming wet.
Additional Tips and Variations
Feel free to experiment with flavors by adding herbs, garlic, or honey to your butter. Remember, dairy-free milk will not work for this recipe; you need dairy cream.
Nutritional Highlights (Per Serving)
Homemade butter retains the natural goodness of cream, providing you with healthy fats and vitamin A, which are beneficial for your overall health.
Frequently Asked Questions (FAQ)
Q: Can I use a hand whisk?
A: Yes, but it will take longer and require more effort.
Q: How long does homemade butter last?
A: It can last up to 6 weeks if stored properly in the fridge.
Q: What should I do if my butter is too wet?
A: Squeeze out more buttermilk using a tea towel or cheesecloth.
Conclusion
Making your own butter is not only rewarding but also a fantastic way to enjoy a healthier and more flavorful product. Give this simple recipe a try and let us know how it turns out. Share your experiences and any creative variations you come up with. Happy butter-making!

