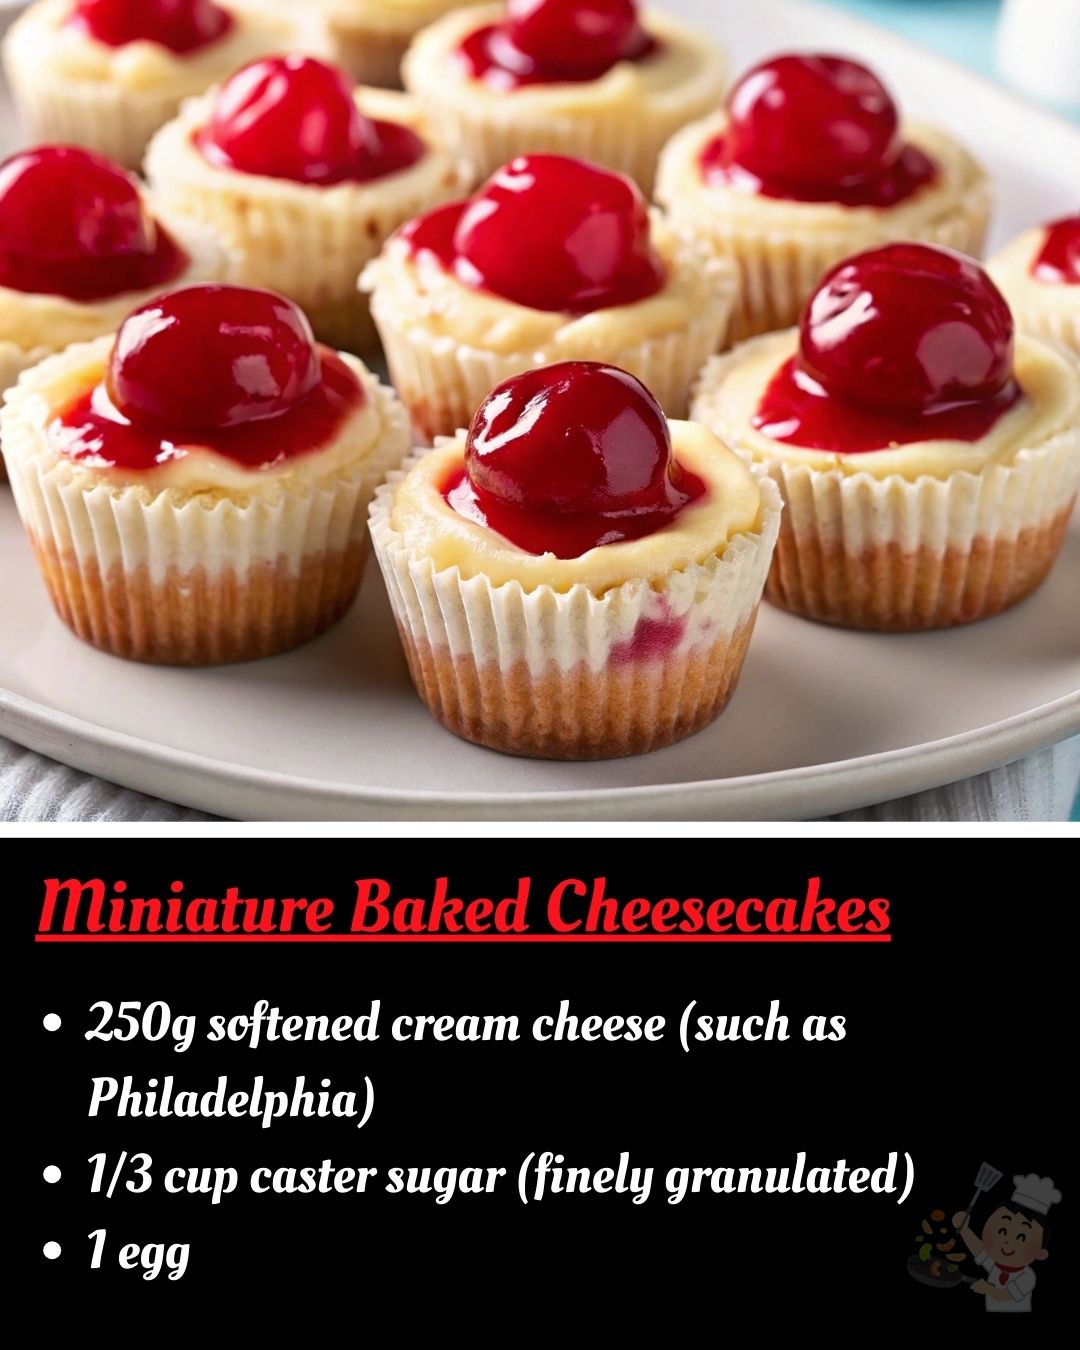
Miniature Baked Cheesecakes
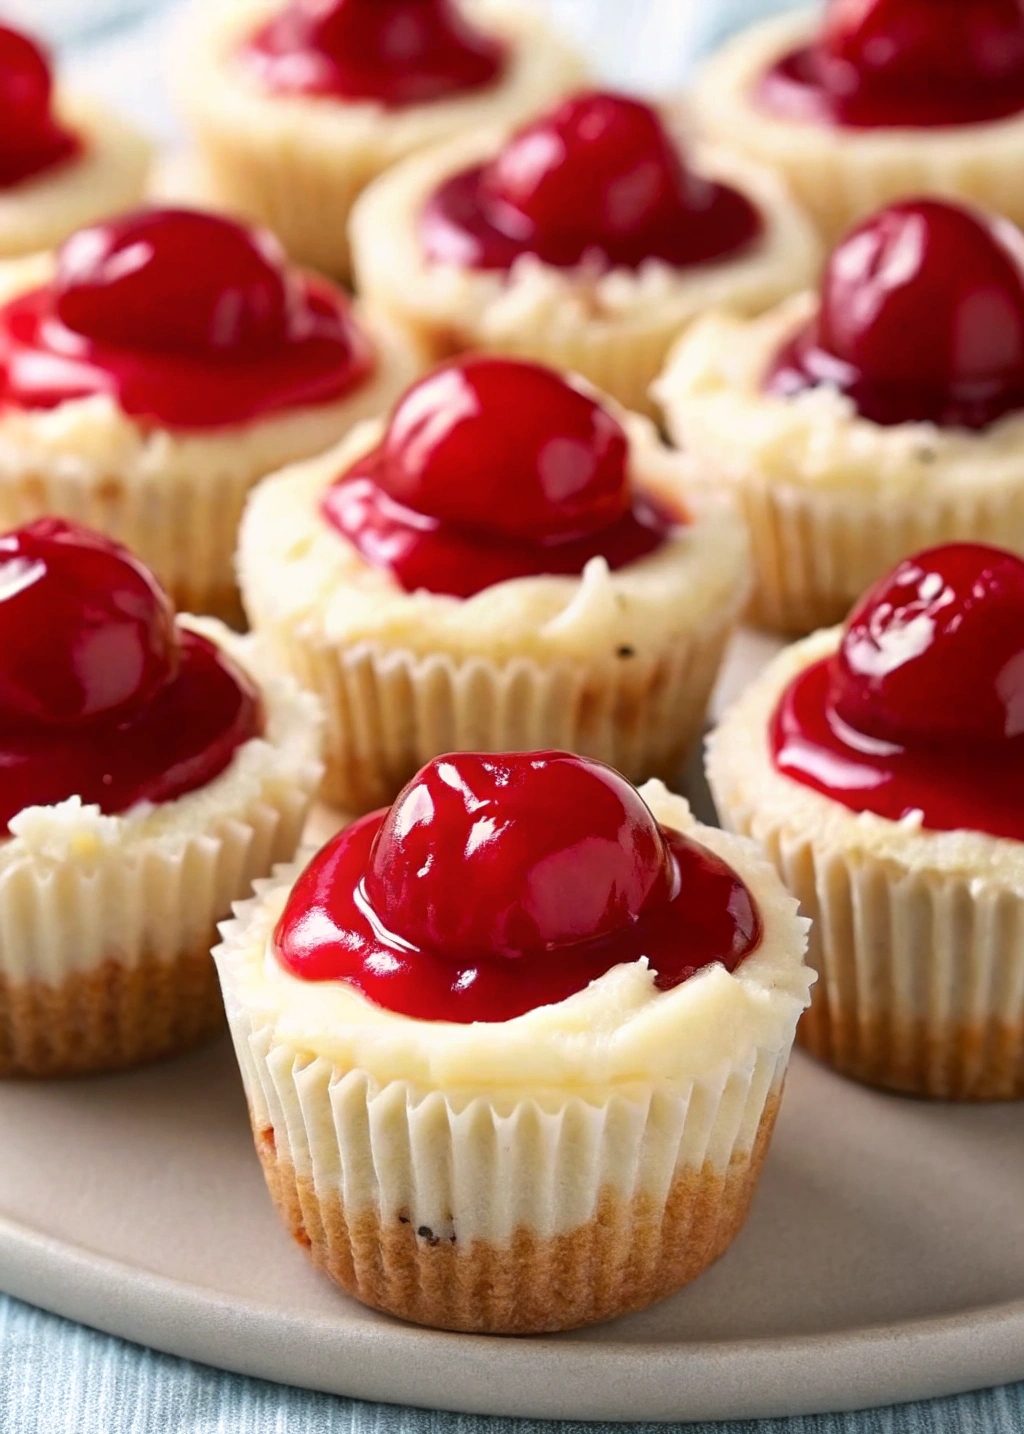
Miniature Baked Cheesecakes
Imagine sinking your teeth into a creamy, dreamy cheesecake that’s perfectly portioned just for you. These miniature baked cheesecakes are the ideal dessert for any occasion, offering a delightful blend of rich cream cheese, a hint of lemon, and a buttery biscuit base. They’re not only adorable but also incredibly delicious, making them a hit with both kids and adults alike.
Why You’ll Love This Recipe
These miniature cheesecakes are not just a treat for the taste buds—they’re also wonderfully easy to make. You’ll love the balance of creamy filling and crunchy base, and the versatility allows you to get creative with toppings. Whether you’re hosting a dinner party or simply treating yourself, these cheesecakes are a perfect choice.
Kitchen Equipment You’ll Need
- Oven (preheated to 160°C for fan-forced, or 170°C for conventional)
- Food processor or rolling pin
- Muffin tin
- Paper cupcake cases
- Mixing bowl
- Electric mixer or hand mixer
Ingredients
- 250g softened cream cheese (such as Philadelphia)
- 1/3 cup caster sugar (finely granulated)
- 1 egg
- 1-2 tablespoons lemon juice (for extra zing, use 2 tablespoons)
- 5 tablespoons thickened cream (at least 35% fat)
- 150-200g biscuits (cookies, like Arnotts Nice or Ginger Nuts)
- 70-100g melted butter (use more if you prefer a thicker base)
Step-by-step Instructions
- Crush the biscuits into fine crumbs using a food processor. Alternatively, place them in a freezer bag and crush with a rolling pin or heavy object.
- Stir in the melted butter until well combined. Opt for salted butter to complement the sweet biscuits.
- Line a muffin tin with paper cupcake cases.
- Press the biscuit mixture firmly into the cupcake cases, leveling the surface as it will be visible when served. Set aside.
- In a mixing bowl, combine cream cheese and sugar until smooth and creamy using a mixer.
- Add the egg and beat until fully combined.
- Pour in the lemon juice and cream, beating gently to combine. Avoid overbeating to prevent cracking.
- Spoon the mixture into the cupcake cases, filling them about half a centimeter below the rim.
- Bake in the preheated oven for 20 minutes.
- Allow to cool, then refrigerate to firm up before removing from the cases.
- Decorate as desired—try a dollop of thickened cream, diced strawberries soaked in liqueur, or a drizzle of chocolate.
- Serve with a homemade berry coulis and a dusting of icing sugar for a stunning presentation.
Tips for Success
- Ensure cream cheese is softened for a smoother mixture.
- Press the biscuit base firmly to prevent crumbling.
- Avoid overbeating the filling to prevent cracks.
- Chill well before serving for a firmer texture.
Additional Tips and Variations
Try experimenting with different biscuit flavors for the base, such as chocolate or digestive biscuits. For a festive touch, consider topping with caramel sauce or crushed nuts.
Nutritional Highlights (Per Serving)
Note: Nutritional values may vary based on specific ingredients and portion sizes.
- Calories: Approximately 250
- Fat: 18g
- Carbohydrates: 18g
- Protein: 4g
Frequently Asked Questions (FAQ)
Can I make these cheesecakes ahead of time?
Absolutely! These cheesecakes can be made a day in advance and stored in the refrigerator.
How do I prevent my cheesecakes from cracking?
Avoid overbeating the mixture and ensure an even, gentle baking temperature.
Can I freeze these cheesecakes?
Yes, these cheesecakes freeze well. Just wrap them individually and thaw in the refrigerator before serving.
Conclusion
These miniature baked cheesecakes are a delightful addition to any dessert spread and are sure to impress family and friends. Give them a try, and don’t forget to share your creations and experiences. Enjoy every creamy, delicious bite!
