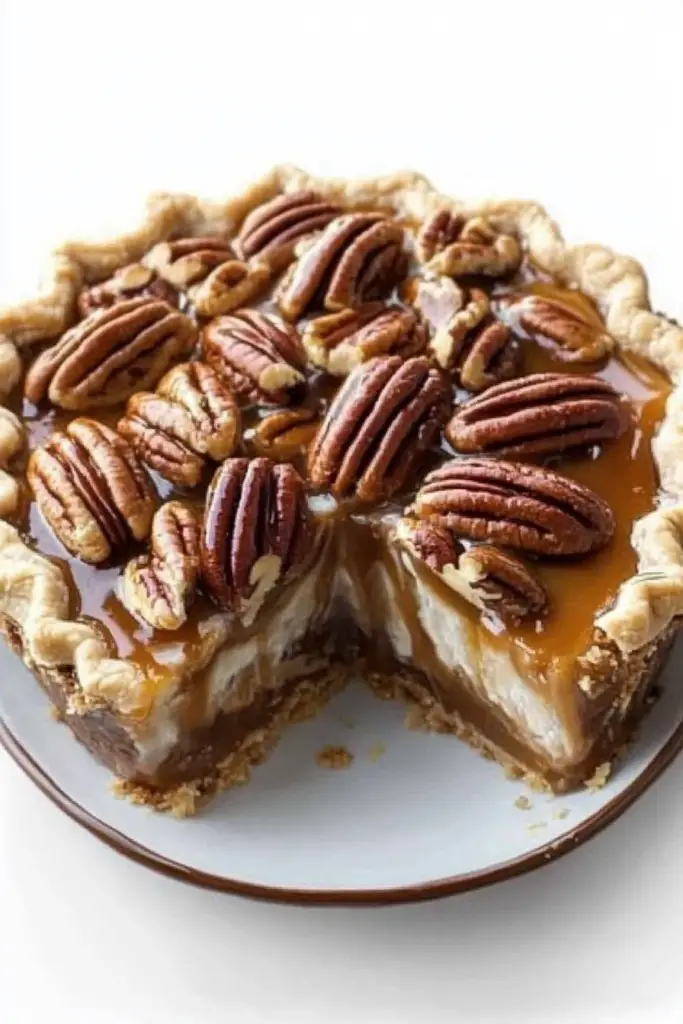
Diabetic No Bake Sugar Free Strawberry Cheesecake
An Irresistible Treat: Diabetic No Bake Sugar-Free Strawberry Cheesecake
Who says you can’t enjoy a luscious dessert if you’re watching your sugar intake? This Diabetic No Bake Sugar-Free Strawberry Cheesecake is a delightful surprise that’s both easy to make and delicious. With its creamy texture and fresh strawberry layers, this dessert is sure to impress, whether it’s for a family dinner or a casual gathering with friends. The best part? There’s no added sugar, making it a guilt-free indulgence!
Why You’ll Love This Recipe
This cheesecake is a perfect blend of rich creaminess and fruity freshness, all without the need for baking. It’s quick to prepare and doesn’t require any special culinary skills, making it accessible to everyone. Plus, it’s diabetic-friendly, with no added sugar, so you can satisfy your sweet tooth without the worry.
Kitchen Equipment You’ll Need
- Mixing bowls
- 8-inch pie dish
- Electric mixer
- Rubber spatula
- Refrigerator
Ingredients
- 3/4 cup graham cracker crumbs
- 3 tablespoons butter, melted
- 1/4 teaspoon ground cinnamon
- 1/4 teaspoon ground nutmeg
- 1 (8 ounce) package cream cheese, softened
- 1 1/2 cups milk
- 1 (1 ounce) package cheesecake flavor sugar-free instant pudding mix
- 2 pints fresh strawberries, sliced
Step-by-Step Instructions
- In a bowl, mix together the graham cracker crumbs, melted butter, cinnamon, and nutmeg.
- Press the crumb mixture into the bottom of an 8-inch pie dish to form the crust. Refrigerate while you prepare the filling.
- In a separate mixing bowl, beat the softened cream cheese with an electric mixer on medium speed until it’s smooth.
- Reduce the mixer speed to low, and gradually add the milk to the cream cheese, beating continuously until the mixture is watery. Use a rubber spatula to scrape down the sides of the bowl as needed.
- Once combined, beat in the sugar-free instant pudding mix until the filling thickens and becomes smooth.
- Spoon half of the cream cheese filling evenly over the prepared crust.
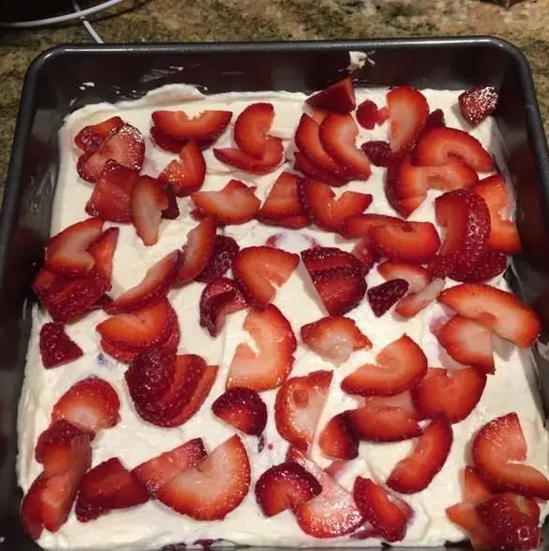
- Layer half of the sliced strawberries over the filling.
- Repeat the layers with the remaining filling and strawberries.
- Chill the cheesecake in the refrigerator until it is set and cold, which should take at least 1 hour.
Tips for Success
- Ensure the cream cheese is fully softened before mixing to achieve a smoother filling.
- Chill the crust while you prepare the filling to help it set better.
- For a more intense strawberry flavor, consider adding a few drops of strawberry extract to the filling.
Additional Tips and Variations
- Try swapping the strawberries for other berries like raspberries or blueberries for a different twist.
- For a nutty crunch, sprinkle some chopped almonds or pecans on top before serving.
Nutritional Highlights (Per Serving)
This dessert is low in sugar and makes a great option for those managing their sugar intake. However, the exact nutritional values will depend on the specific brands and products used.
Frequently Asked Questions (FAQ)
Q: Can I use a different type of crust?
A: Yes, a nut-based crust or gluten-free alternative can also work well with this recipe.
Q: How long can I store this cheesecake?
A: This cheesecake can be stored in the refrigerator for up to 3 days. Make sure to cover it to prevent it from drying out.
Q: Can I freeze this cheesecake?
A: Freezing is not recommended as it may alter the texture of the filling.
Conclusion
This Diabetic No Bake Sugar-Free Strawberry Cheesecake is a testament to the fact that healthier desserts can be just as delicious. I invite you to try this recipe and experience its creamy, fruity goodness for yourself. Don’t forget to share your thoughts and variations with us. Happy cooking!

