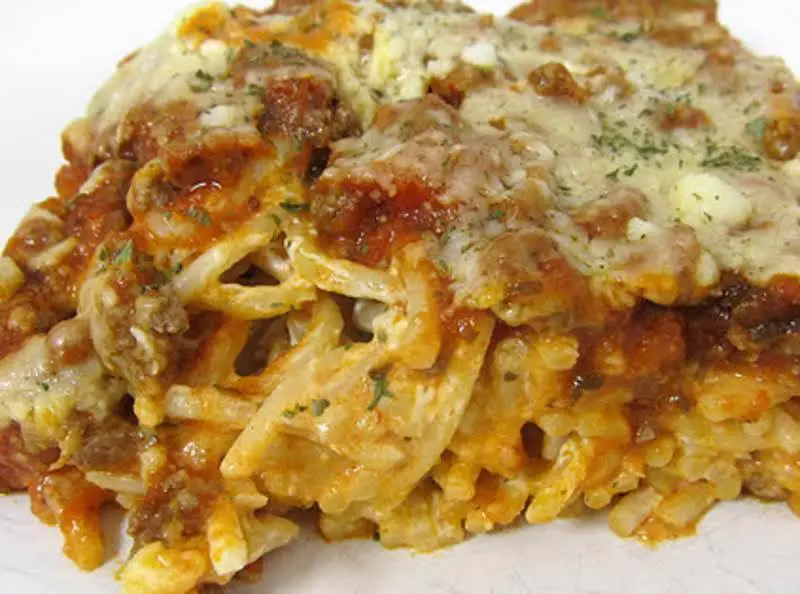
Cheesy Cattle Drive Casserole

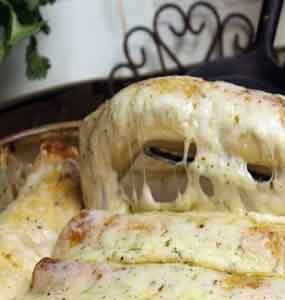
If you’re in the mood for a hearty, comforting meal that’s packed with flavor, look no further than the Cheesy Cattle Drive Casserole. This dish is like a warm embrace on a chilly day, combining spicy beef, creamy toppings, and a biscuit base that soaks up all the deliciousness. Whether you’ve been on a cattle drive or not, this casserole promises to energize and satisfy like no other.
Why You’ll Love This Recipe
This casserole is a medley of flavors that come together beautifully. The spicy beef filling is complemented by a creamy topping of green chiles, sour cream, and mayo. The biscuit base adds a perfect balance to the bold flavors, making it suitable not just for dinner but also for breakfast or lunch. Plus, it’s easy to prepare and sure to be a hit with the whole family.
Kitchen Equipment You’ll Need
- Large pan or skillet
- 9×13-inch baking dish
- Mixing bowls
- Whisk
- Non-stick spray
Ingredients
- 1 1/2 pounds ground beef
- 1 (10 oz.) can fire-roasted diced tomatoes with green chiles
- 1 (4 oz.) can diced green chiles
- 1 (1.25 oz.) packet taco seasoning
- 2 1/2 cups biscuit mix
- 1 3/4 cups sharp cheddar cheese, shredded, divided
- 1 red bell pepper, diced
- 1/2 yellow onion, diced
- 1 cup water
- 1/2 cup sour cream
- 1/2 cup mayonnaise
- 1 teaspoon garlic powder
- Kosher salt and freshly ground pepper, to taste
Step-by-Step Instructions
- Preheat your oven to 350º F and lightly grease a 9×13-inch baking dish with non-stick spray.
- In a large pan or skillet over medium-high heat, cook the ground beef, onion, and red bell pepper until the meat is browned and the vegetables are softened. Drain off the excess grease.
- Mix in the taco seasoning, and season with salt and pepper to taste. Set aside.
- In a medium bowl, whisk together the sour cream, mayonnaise, 1 cup of cheddar cheese, green chiles, and garlic powder.
- In a separate bowl, combine the biscuit mix with 1 cup of water, adding a little more water if needed, until a soft dough forms.
- Press the dough into the bottom of the greased baking dish and bake for 5-7 minutes, or until lightly golden.
- Remove the dish from the oven and spread the beef mixture over the biscuit layer. Then, layer with the diced tomatoes.
- Spread the sour cream mixture over the tomatoes and sprinkle with the remaining cheddar cheese.
- Return the baking dish to the oven and cook for 30 minutes, or until everything is warmed through.
- Remove from the oven, serve, and enjoy!
Tips for Success
- Make sure to drain the grease from the beef to avoid a greasy casserole.
- The biscuit layer should be slightly golden before adding the beef mixture to ensure it holds up well.
- Adjust the amount of taco seasoning to suit your spice preference.
Additional Tips or Variations
- Try adding some jalapeños for an extra kick.
- Substitute ground turkey for a lighter version of the casserole.
- For a vegetarian option, replace the beef with black beans and corn.
Nutritional Highlights (Per Serving)
This casserole is high in protein, thanks to the ground beef and cheese, and offers a good amount of calcium. It’s a filling option that provides a well-rounded meal.
Frequently Asked Questions (FAQ)
Can I make this casserole ahead of time?
Yes, you can prepare the beef and biscuit layers in advance, then assemble and bake when ready to serve.
How can I store leftovers?
Store leftovers in an airtight container in the refrigerator for up to 3 days. Reheat in the oven for best results.
Can I freeze this casserole?
Yes, you can freeze the baked casserole. Let it cool completely, wrap tightly, and freeze for up to 3 months. Thaw in the refrigerator before reheating.
Conclusion
Cheesy Cattle Drive Casserole is a must-try for anyone who loves a good, hearty meal. It’s a comforting dish that’s perfect for any occasion, and we hope you’ll give it a try. If you do, we’d love to hear about your experience. Share your thoughts and any variations you tried in the comments below!


