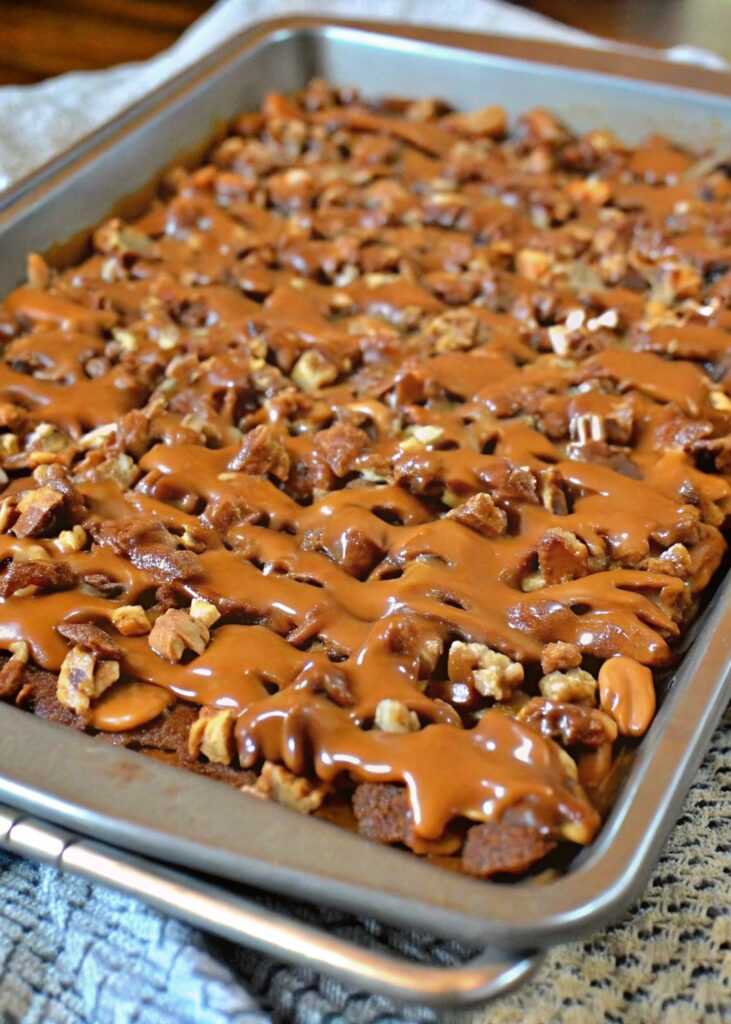
BANANA PUDDING BROWNIES
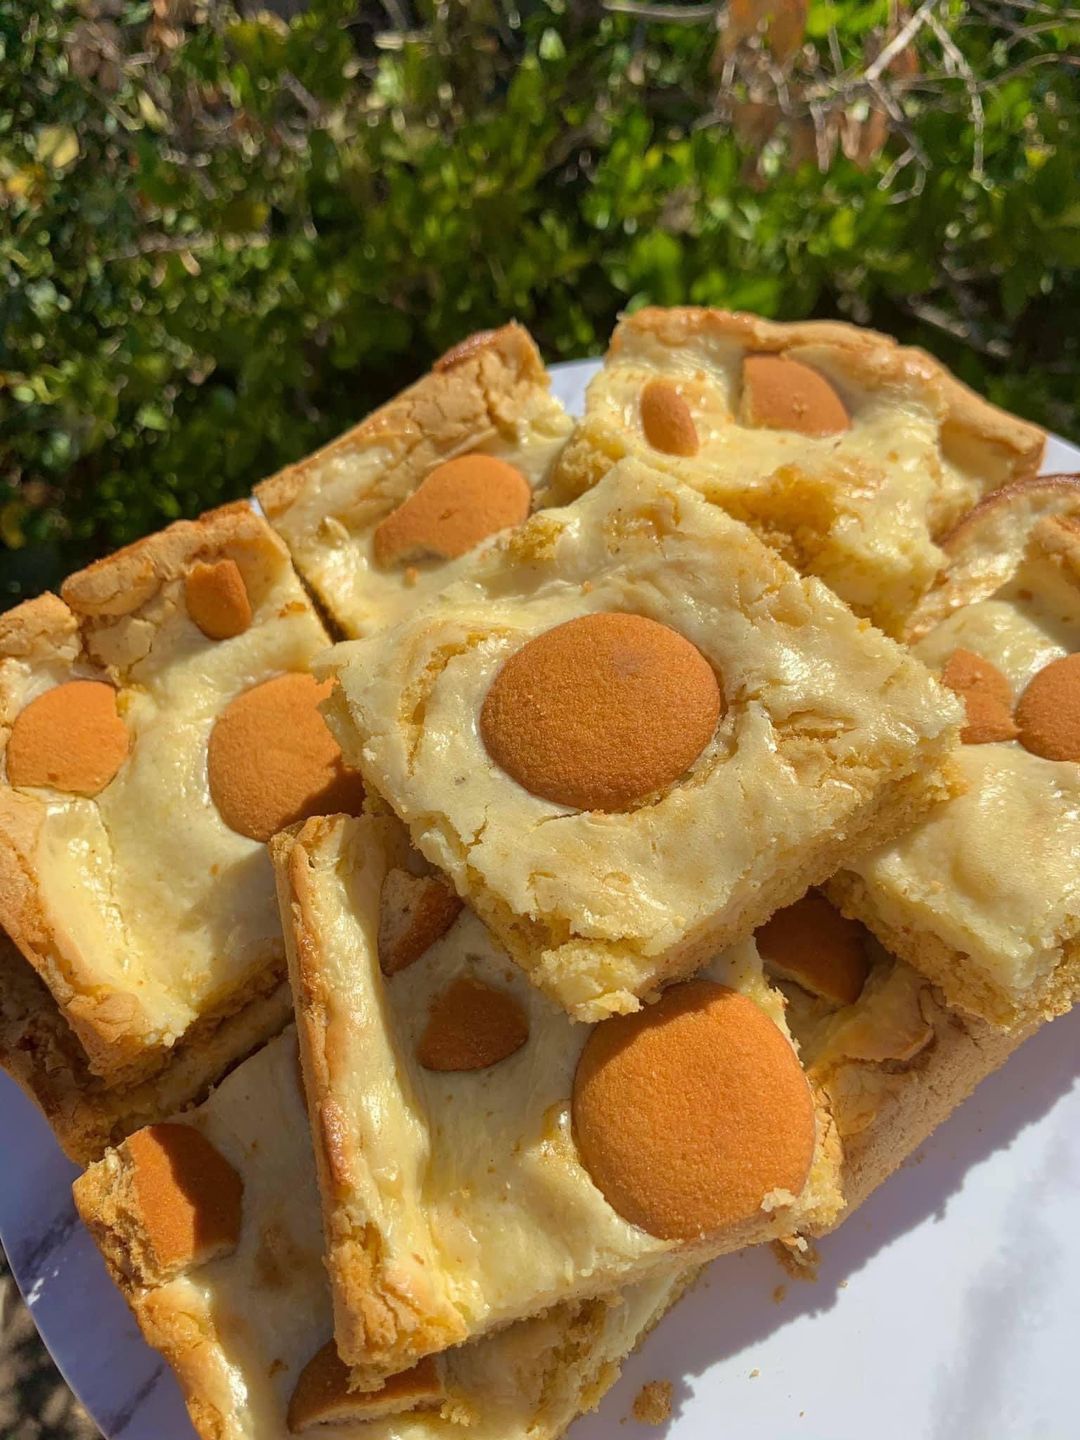
Hey there, beloved readers of Life with Jeviko! 🌟 Have you ever been caught in the great dessert debate? You know, that internal struggle when you can’t decide between the soft, fruity charm of banana pudding and the chocolatey richness of a classic brownie. Why not enjoy both worlds in one divine dessert?
Wondering How?
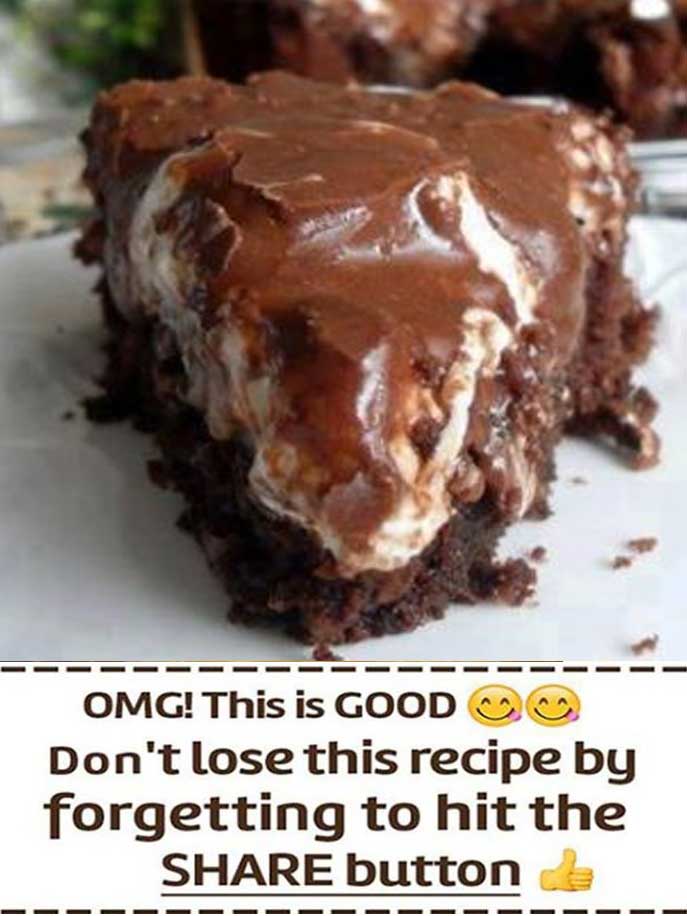
I present to you the Banana Bliss Brownies—a scrumptious treat that seamlessly marries the comfort of banana pudding with the indulgent depth of brownies.
Why You’ll Love This Recipe
Apart from solving your dessert dilemma, these brownies offer a rich, velvety texture infused with the natural sweetness and aroma of ripe bananas. It’s the ultimate comfort food that hits all the sweet spots!
If you can mash bananas and mix ingredients in a bowl, you’re more than qualified. The recipe is beginner-friendly but offers room for the more adventurous to get creative.
Absolutely! They store well, which makes them a fantastic option for meal prep or a last-minute dessert when friends drop by.
From casual gatherings to holiday feasts, the Banana Bliss Brownies are versatile. They’re like that little black dress that works for every occasion. 😉
Kitchen Equipment You’ll Need
- 9×13 inch baking pan
- Large mixing bowl
- Whisk or electric mixer
- Spatula
- Measuring cups and spoons
Ingredients:
- 1 cup (2 sticks) unsalted butter, melted and cooled to room temperature
- 1¾ cups granulated sugar
- 3 large eggs
- 2½ cups all-purpose flour
- 1 teaspoon baking powder
- ½ teaspoon baking soda
- ½ teaspoon salt
- 1 cup mashed overripe bananas
- 1 can (14 ounces) sweetened condensed milk
- 1 tub (8 ounces) whipped cream, for that glorious topping
Optional:
- Dark chocolate chips for a deeper, richer flavor
- ½ cup sour cream for added moistness
- Chopped nuts or additional chocolate chips for an extra crunch
Instructions:
- Preheat and Prep: First thing’s first, set your oven to 350°F (175°C). Grease a 9×13 inch baking pan and dust it lightly with flour. This ensures that your brownies slide right out, like a dream!
- Butter & Sugar Symphony: Take a large mixing bowl and blend together your melted butter and granulated sugar. Ah, the sweet alchemy of butter and sugar! It should look light and fluffy when you’re done.
- Egg-cellent Addition: Crack the eggs into the bowl one at a time, mixing well after each one. This ensures even distribution, making your brownies uniformly tender.
- Banana Mashup: Now, fold in your mashed bananas. The riper they are, the more flavor and natural sweetness they’ll bring to your brownies.
- Dry Ingredients Meet Wet: In another bowl, sift together your all-purpose flour, baking powder, baking soda, and salt. Slowly add these dry ingredients to your wet mix. Gentle mixing is key here; we don’t want to overwork the batter.
- Milk It: Time to pour in that luscious sweetened condensed milk! This is the secret ingredient that makes these brownies irresistibly moist and rich.
- Into the Pan: Pour your batter into the prepped baking pan and smooth it out evenly.
- Baking Time: Pop it into your preheated oven for 30-35 minutes. You’ll know it’s ready when a toothpick inserted in the middle comes out clean. Allow it to cool completely because we have one more step.
- Creamy Finish: Spread a generous layer of whipped cream on top of your cooled brownies. This adds a light, airy contrast to the dense brownies, making each bite a heavenly experience.
Tips for Success
- Choose Ripe Bananas: The riper, the better for maximum flavor and sweetness.
- Butter Temperature: Make sure your melted butter is cooled to room temperature to prevent cooking the eggs prematurely.
- No Overmixing: Mix your batter just until combined to avoid tough brownies.
- Customize with Extras: Dark chocolate chips, chopped nuts, or a half-cup of sour cream can personalize your batch.
- Prep Your Pan: A well-greased and floured pan ensures brownies will slide out effortlessly.
- Test for Doneness: A toothpick inserted in the middle should come out clean. Don’t overbake!
- Cool Completely: Wait until the brownies are fully cooled before adding the whipped cream topping.
- Whipped Cream: Use an airy whipped cream to add a delightful contrast to the dense, moist brownies.
- Storage: These brownies keep well, making them a great make-ahead option.
- Serving Ideas: They’re versatile enough for casual get-togethers, birthdays, or even holiday gatherings.
Nutritional Highlights (Per Serving)
Calories: 350, Fat: 18g, Carbs: 45g, Protein: 5g
Frequently Asked Questions (FAQ)
Can I use frozen bananas? Yes, just make sure they are thawed and well-mashed before adding them to the batter.
How long can I store these brownies? They can be stored in an airtight container in the fridge for up to 5 days.
Can I freeze the brownies? Absolutely! Wrap them tightly and freeze for up to 3 months. Thaw in the fridge before serving.
Happy baking, my friends! 🍌🍫👩🍳
So, dear readers, let’s waste no more time. Scroll down for a step-by-step guide to creating this sumptuous dessert that is bound to turn you into the star baker of your circle. Trust me; you won’t want to miss out on this blissful culinary journey.
Ready? Aprons on! 🍌🍫👩🍳

