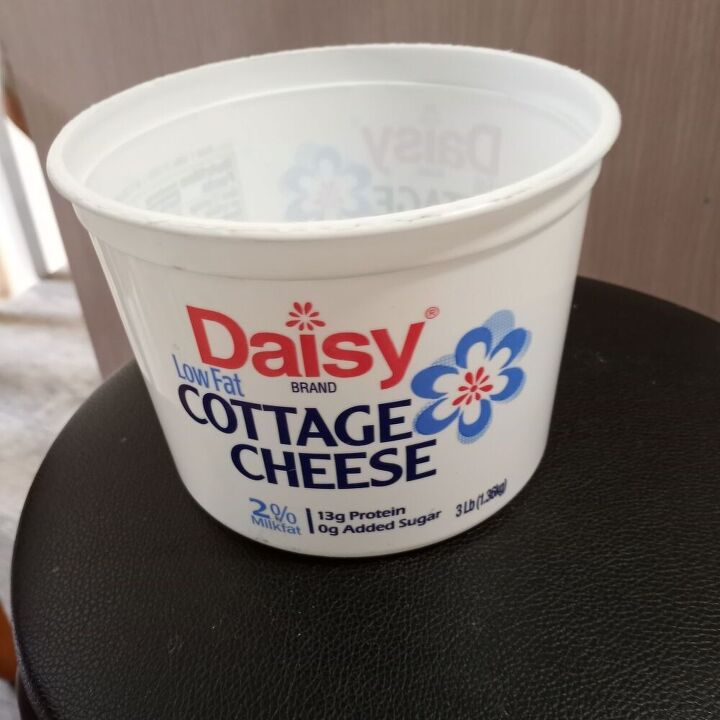
Super Easy Planter Upcycle


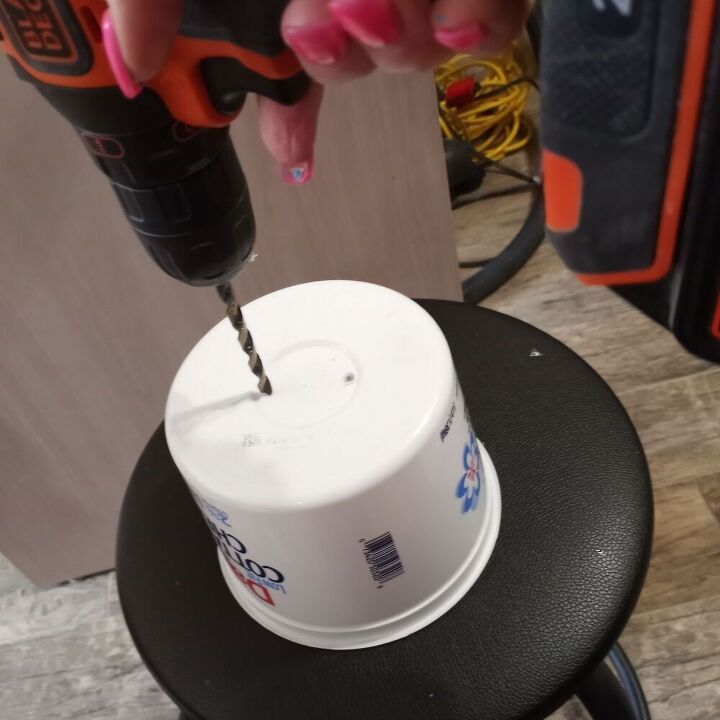
Turn the container over and drill a few holes in the bottom. These will be for drainage. Be sure not to drill them too close to one another otherwise they could tear.
Trending Videos

These are some of the materials I used- all of which I already had
- Weldbond multipurpose white glue
- Clamp form Dollar Tree
- Sissors
- Xacto knife
- Brown Rope

I started at the bottom and worked my way up. Apply a dot of hot glue and press the rope to the surface. Once it’s secure, wrap the rope repeatedly around the container and add a dot of Weld Bond periodically as you go. Some may prefer to use hot glue all the way but in my experience hot glue don’t adhere to plastic well enough long term.

This step is not necessary but I wanted to add a little color to the inside so whatever isn’t covered with soil wasn’t white.

I used painters tape as a precautionary measure to hold the rope in place while the glue was drying. I then turned it over again and glued a few beads on as seen above. These will give the container a little more lift so water can drain more freely

I decided to add a little paint sporadically onto the rope itself. It’s completely painted and dry.

This particular rope we have has a lot of course strings on it and I’m not a fan so I decided to burn some of them off.
** I used items that I already have in my home so your cost could vary. There is no wrong way to do this. You can simply drill holes and be done, paint it, attach fabric etc. Use what you have and have fun!

Here it is done and outside on my lanai holding a spider plant. I hope you enjoyed this and got some great ideas. Please share them if you did, I’m always experimenting.
