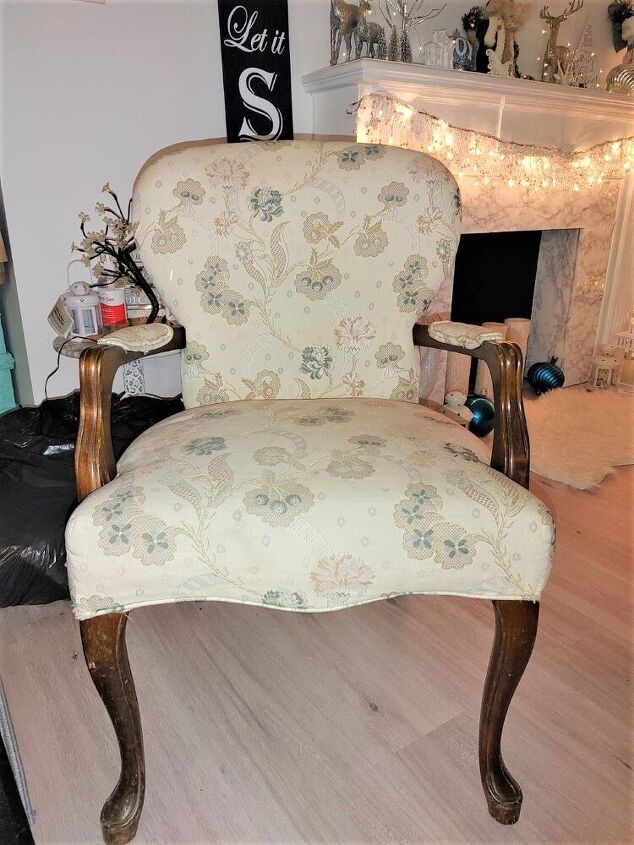
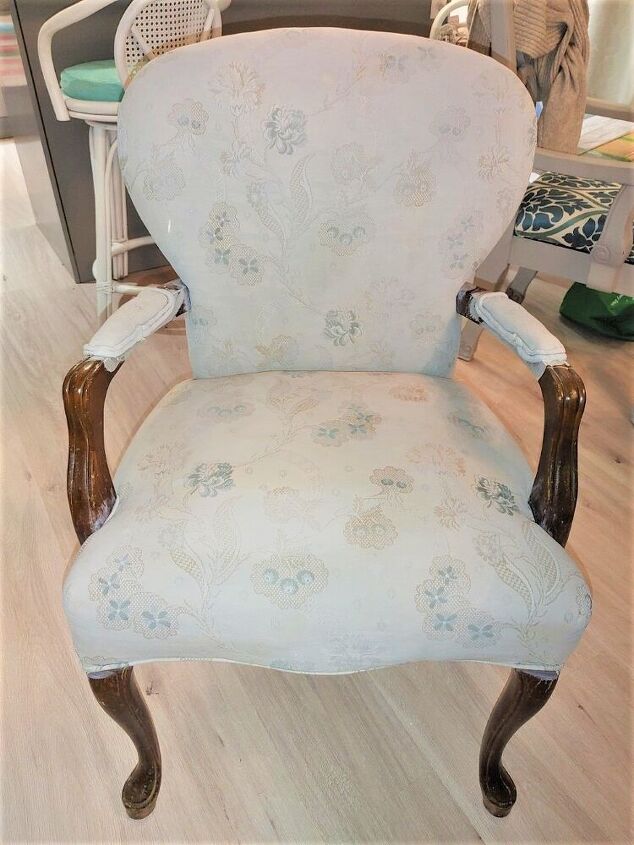
Once the first coat was on, I let it sit for 24 hours to fully dry.

Once the first coat was on, I let it sit for 24 hours to fully dry.

Once dry, I gave it a quick sand. Very lightly, this is just to take off any rough areas you may feel.
Once wiped off, I mixed the grey chalk paint with 2 parts paint, one part water. Using the same process as before, I gave it another coat.

Second coat looked good, could’ve left as so depending on what look you are going for but after waiting 24 hrs again, I gave it another coat after a quick sand, adding a bit more paint into the mixture then I used for the second coat. I wasn’t too worried about getting the paint on the wood part as I knew I’d be painting that as well.

Satisfied with the third coat, I did another quick sand. For those of you who have done this before, would you agree that after the last sanding the material feels so smooth and neat? It’s almost like leather.
Time to paint the chair. I wiped the wood down and made sure I got off any dust and grime.
I used left over cabinet paint I had, it’s worked well on so many projects.


After the first coat, I let it dry for a few hours and then did another. Don’t mind the mess in the background, I usually have many projects on the go at once!
Here’s the final look before waxing.


I did one coat of wax on the material to protect it. For some reason, parts of the chair had white streaks on it after waxing, maybe someone on here knows why?
Thankfully my look at the cabin is beachy shabby chic so it didn’t really matter this time. I left if as is and for me it works!
Here it is in it’s new home!

I could’ve done it in the same color as I painted the little lounger to match but knowing me, I will move this chair many times so I figured the more neutral, the better!