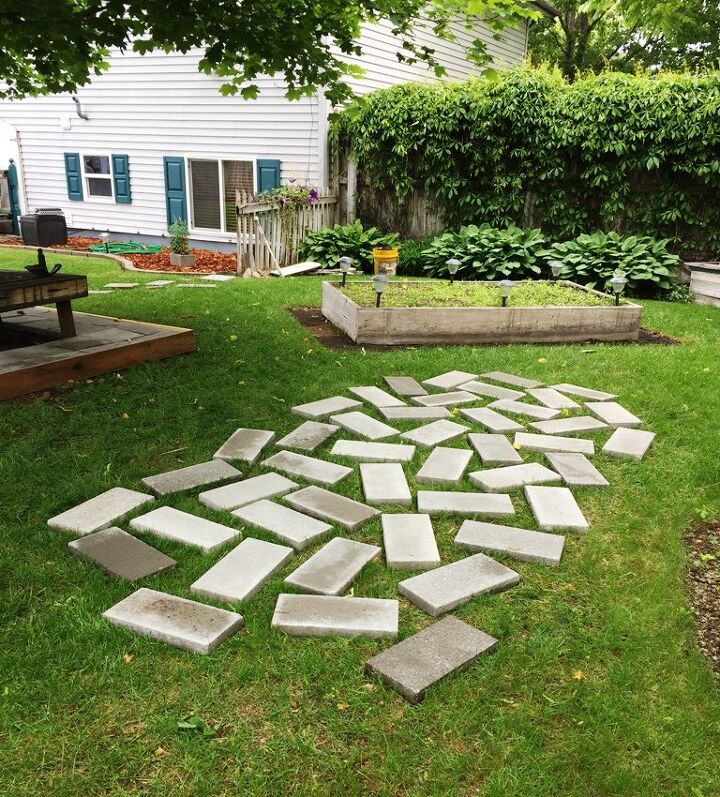
I Created a Heart-shaped Patio


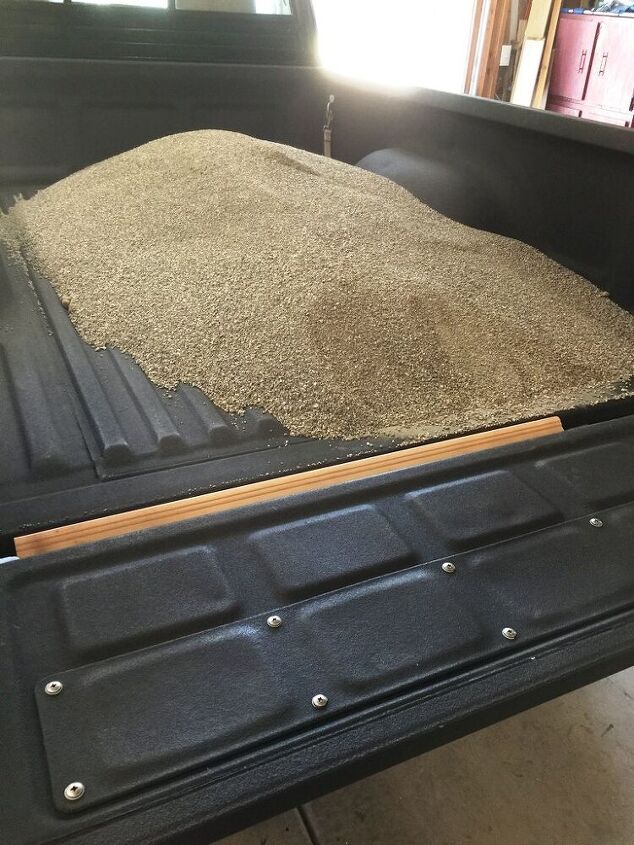
Bulk sandSince some of the flagstones were thinner than the bricks, I used extra sand to bring them level.

Bricks in placeWhen all the bricks & flagstone were set, it was time to bring in the rock.

Bulk rockI use a garden wagon to bring the materials to the backyard from where the truck is parked in the garage.

Adding rockI bought both the sand & small landscape rock in bulk from a local landscape company; 1/4 yard of each.

SealerAfter all the rock was set between the bricks & flagstone, it was time for the finishing touches. I like to use a sealer on my rock & flagstone for a couple of reasons: it gives them both shine and it ‘glues’ the rocks together a bit which helps prevent them from shifting when walked on. Don’t get me wrong, they still move sometimes and end up on the bricks or flagstone, but only a few of them here and there.I buy the sealer at the same landscape place where I get the flagstone. It is $49/gallon but goes a long, long way! To apply the sealer, you just need an applicator. If you are only using it on the flagstone, you can use a small roller or paintbrush but if you are also using it on small rocks, it’s best to use a sprayer. I bought this sprayer at Walmart for around $7 and have used it several times. The sealer is water-based so it doesn’t clog up the spray mechanism. When applying the sealer, a couple of thin coats are best. If you put it on too heavily, it will be cloudy when it dries. To prevent cloudiness, I keep a foam paintbrush in hand and dab up any areas where the spray is too heavy.

Finished patioOnce the sealer was dry – it only takes an hour or so in warm weather – I added a border of dark mulch around the edges of the patio. I added the mulch to keep in the sand and small rock in place since I didn’t use a landscape border. I say this on all the landscape posts I write, our soil is very rocky so installing the borders that need to be secured with stakes is just not feasible so I usually find other options to border my projects. The dark mulch really set off the heart shape and hubby and I loved it! I already knew that I’d be adding a lighter mulch to the surrounding area but until then, this mulch helped hold in the sand and little rocks.

Here is the patio after I added the lighter mulch and before the furniture was brought out.

Furniture addedWith the rest of the mulch around the patio, it was time to add the furniture. Normally, I wouldn’t have this much furniture on a patio this size; but, for some reason, we have a LOT of chairs in the backyard.

Hubby’s seatOn top of that, hubby bought himself a rocker to have on the patio. We’ve set out there several times already!

Lots of shadeIt stays cool in the shade of the Maple tree and you can’t beat the scenery!Since I had the rectangle bricks, tools, sealer & sprayer, weed barrier and dark mulch, the cost of this patio was only $60. I think the sealer & weed barrier are optional but you would have the cost of additional bricks.Instructions:Remove grass or use product to ‘kill’ itNatural solution: 1 gallon white vinegar, 1 cup salt, 1/4 cup Dawn dish soapLay down weed barrierAdd a layer of sand over barrierSet bricks/flagstone in the pattern of your choiceIf bricks and flagstone are different thicknesses, level with sandAdd small rock between bricks/flagstoneSurround patio with mulch or add landscape borderApply sealer with garden sprayer (*optional)
