
How to Paint a Winter Scene
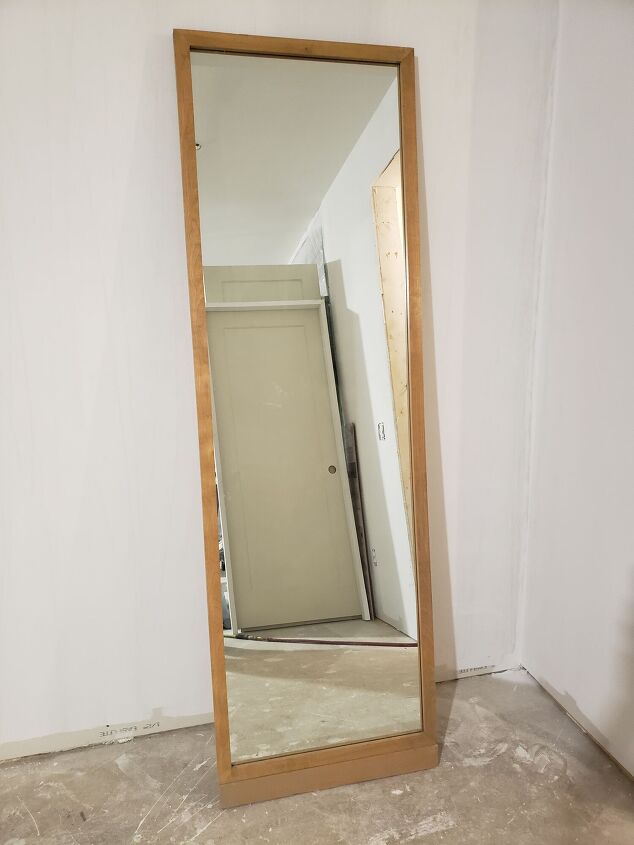

2. Spray the frame
I used Rust-Oleum’s Chalked Ultra Matte paint in Charcoal as I did not want any sheen on the frame. I had used this paint on other projects and fell in love with it because it left a perfectly flat finish that looked so rich.

Spray lightly to ensure that you do not get any runs. Allow it to dry and spray another coat. Use a blade to cut between the tape and the frame to ensure a clean border. Gently remove the tape and film.

3. Create your scene
I wanted an evening scene in the forest with the moon shining brightly above. I looked through photos of forests to check the colors so that I could achieve depth. I found that the trees furthest away were light greys and that the trees got darker in color the closer they were. I wanted this to be a simple project, so I was not looking to depict trees accurately in great detail, but rather in a simple form. Above is a piece of art that will give you an idea of what I was hoping to achieve.

Search the internet for scenes that you like and print them off to be guides. Sketch out your design roughly on a piece of paper so that you can refer to it and then begin to transfer the design elements to the mirror. Above is my plan for the mirror – please don’t laugh, when I say a rough plan, I mean a ROUGH plan. I just sketch out the basics and go from there. Also, don’t forget to place painters tape on the black frame where it meets the mirror so that you can paint freely and not worry about messing up the frame.

4. The Moon
The first element I transferred was the moon. I used a large bowl and flipped it upside down against the mirror and traced the circle with a silver marker. It is very important to select a marker that will be good enough to see but light enough that it won’t bleed into your paint and discolor it. For a white moon, you should not choose a black sharpie but a silver metallic marker was perfect. Above is a photo of the mirror and you can lightly see the tracing of the moon.
The next step is step is to completely paint the moon. I had to do this is several light layers to get an even coverage. As my mirror is quite large and the other elements are hills of snow and a white birch tree, I got a large tube of good quality acrylic paint. I used a sponge brush to get the job done more quickly. Remember to let it dry completely in between layers and do not press too hard as you will end up removing the previous coat from the mirror.

6. Rolling hills covered in snow
I created rolling hills of snow by using the white paint and a sponge brush. I started at the bottom and made sure that at the top of the hill the paint was the thickest and it was lightest at the bottom of the hill. This creates dimension between the hills. If you are a more advanced painter, you could add shading between the hills to give it more definition. For this project, I truly wanted it to be simple and not too fussy so I simply left it with the white fading out to the bottom and in between each hill.

7. Birch tree
On the right hand side you will see that I have lightly began to form the birch tree in to the scene. If you have ever seen a birch tree, you will know that their bark is like paper and it can peel off in sections like thick ribbon. Using a wide sponge brush for this application in a swooping motion will result in a simplified version of what birch bark looks like.

Load your sponge brush in a slightly light fashion. As you will see the edges are very light and the paint is a bit thicker in the middle.

Start at the bottom and on the left side of the tree as we are going to make the paint the thickest on this side so it stands out beside the snow. Drag the sponge brush to the right in a slightly swooping fashion to create the roundness of the tree.

As you will see in the photo above the paint looks very patchy and dragged on. You can go back and give some more coverage but always make sure the left side of the tree is the thickest, and make sure there are plenty of drag marks to create the look of birch bark.

Allow some areas to be see through to the mirror (those are the darker spots you see). Birch bark has white areas and darker areas, it even has some black running through it which we will add later. Continue working your way up the tree to the top.

To create the haze around the moon, we will be using a dry brush technique. I used a size 8 paint brush. I dabbed the brush into white paint and then ran the brush back and forth on a paper towel to remove the excess. I then lightly painted the haze around the moon. It is best to start off very light and add more until you are happy with the look. As you paint around and around the moon, make sure that the haze gets lighter and lighter the further you are away from the moon until there is none at all.

9. Finishing Touches
First add a few more trees in black on a few of the hills more up front. Spend some time with these trees and give them more details – fine branches, hanging boughs, dead branches, height, and thicker trunks.

Next add random stripes of black to the trunk of the birch tree. I have noticed that sometimes the birch bark has opened up in areas. To give this effect paint an oval on it’s side with lines extending from it. Make sure the oval is not perfect, make it a little rough. Always make sure that the lines of black a slightly swooping to give the illusion of a rounded tree.

Next add branches. I base coated the branch in very thick paint, that was the lightest of greys. I created this paint by taking one part of my lightest grey paint and adding it to two parts of the pure white and mixing them together. Painting this on very heavily gave the whole picture a little more dimension as the branches started to lift off of the back ground.

I then mixed an ample amount of pure white paint with white glitter to form the snow. Keep adding the glitter so that basically the paint is just there to hold it in place and it is a very glittery substance. I placed the glittery snow very heavily on the top of the branches. Think logically of where snow would land and where it might build up, such as were two branches meet and form a bit of sheltered area.

I painted two black two small birds cuddling on a branch that runs in front of the moon so they were silhouetted and became the focal point. The birds are created by painting two round circles at the top for their heads, an oval in the middle for their bodies and narrow triangles for their tails.

Here is the finished product! Doesn’t it look great? I love that it is a unique piece that no one else has in their home. You will be even more satisfied because it will be your creation!