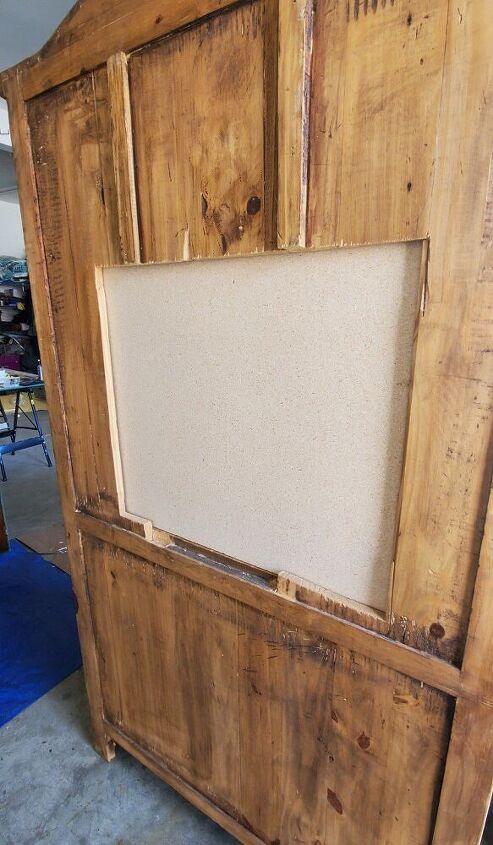
This is a view from the outside back of the armoire. It gives you an idea of the hole we covered.
Paintable wallpaperI had this roll of paintable wallpaper leftover from another project. I liked the pattern, and decided it would be great for this project.
cutting the wallpaperI measured the area I planned to cover with the wallpaper. After doing so, I cut two pieces of wallpaper, one for the top and one for the bottom. I made sure to line them up, before painting to see if they matched up right.
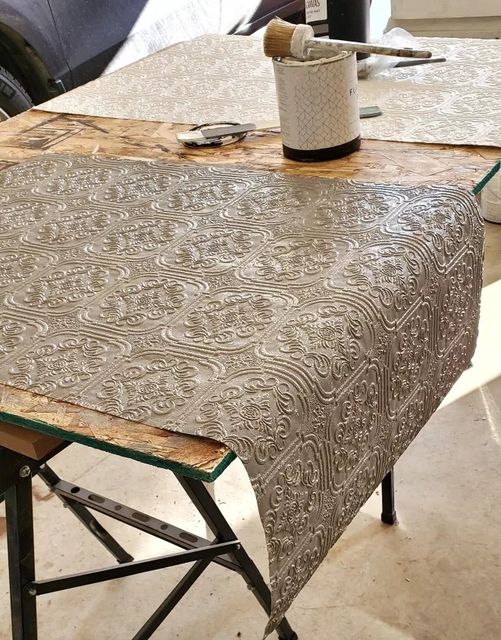
Painting the wallpaperI wanted a patina, tin-ish kind of look. To achieve this, I first applied House&Canvas chalk paint, in River Rock, to both sheets of wallpaper. This is a really pretty grey; and was perfect for this project!
You can find a discount code for House&Canvas paint on the blog below:
https://www.houseandcanvas.com/diy/2020/05/how-to-create-a-faux-patina-using-paint.html
After I applied the grey paint, the wallpaper looked like this. I let it dry completely before applying the white paint.
Applying white paintin order to create a patina look, I applied a good amount of paint on my round brush. I wanted it to have a textured feel; and decided using a blotting effect would work.
Blotting the paintI literally blotted the white paint on top of the grey. I did this all over both sheets of wallpaper.
Finished effectafter the paint has dried, you should have a pretty patina appearance. I used House&Canvas clear wax to seal it.
Completed projectI used tacky glue to attach the wallpaper. I chose this method because I had it on hand, and it holds up well.
I really love the white patina against the wood!


