
Furniture Hustlers Kitchen Cabinet Refresh

This method seemed to really work well!
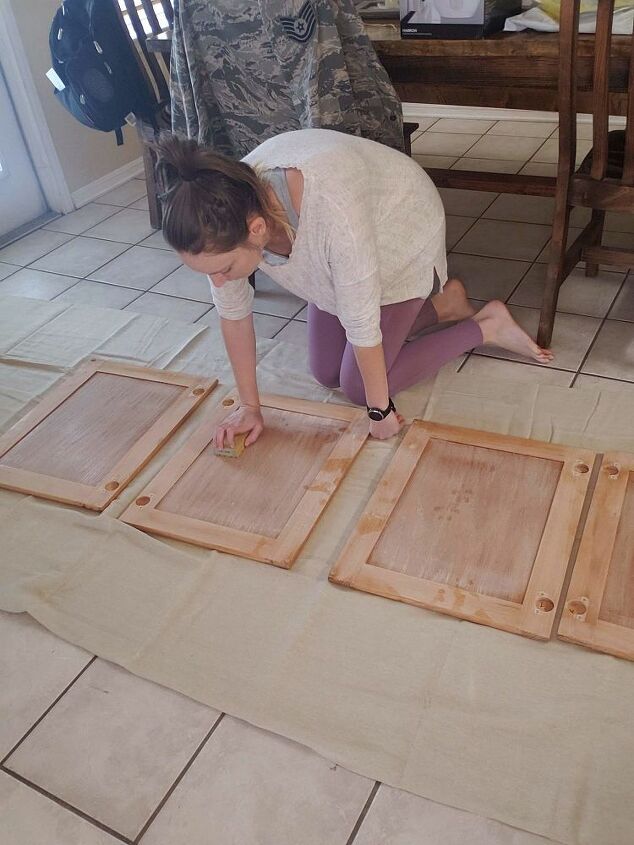
Step 5: Sand
While this particular paint claims you don’t have to sand, I still did just to get a more porous surface for the paint to grab onto. Plus, I wanted smooth edges around the new holes that I had drilled and a smooth surface where I had filled in the previous hardware hole.

Once you have sanded, wipe all of the dust off with a wet cloth and clean up your area well.

Step 6: Paint!
You are going to be painting a lot. I started with the backs of the cabinet doors first. That way, if I accidentally was too impatient and turned them over too soon, it would be hidden inside.
I first went over the uneven edges with a paint brush. Then, I followed it up with a small Mohair roller.

While the doors were drying, I took on the bulk of the cabinet frames.

All of my dogs were kicked out of the house during this process. But, I soon discovered that they don’t even need to be around to cause dog hair to just magically show up in my paint.
So, part of my painting quality control was to make sure no hair floated into my paint! 
After your first coat is dry, paint on your second coat.


Looking back – I would have found something to prop the cabinet doors on to paint them, so that you could get to the edges at the same time you are working on the front. But, lesson learned. Even without propping the doors up, I am really happy with the way the paint came out.
With Valspar Cabinet Enamel, you don’t have to worry about brush strokes either. Little to no prep work, no brush strokes and it hardens with time, leaving a slightly glossy finish that is easy to wipe down. It is perfect for high traffic cabinets!

Step 7: Re-attach your hardware and hang your doors and drawers.
Attach your cabinet door and drawer hardware – hinges, pulls, etc. – with the screws that were associated with them. Then, attach the hinges that go on the frame to prepare for hanging your cabinet doors.
This part was a little tricky, but I did discover something that really helped me out. I would loosely attach the portion of the hinge that the doors snapped onto first (the ones that attach to the frames). Then, I would snap the cabinet doors on. While lifting it up to where it needed to be, I would tighten only maybe two (of four) screws. I would repeat the process on the other side. Close the doors and you can tell which door needs to go up or down in order to match up with the other. Adjust by loosening the screws (not removing them) and adjusting your door height. Then, when both are in line with each other, tighten completely.
As you can tell, I chose to not paint the inside of the cabinets – wasn’t worth it to me! Plus, I thought the contrast looks nice.
Once everything is in place, you can touch up any areas that have gotten scratched (mistakes happen) and step back to admire your brand new kitchen. It really does feel like a whole new space!
Please Head On Over To Next Page Or Open button and don’t forget to SHARE with your Facebook friends