
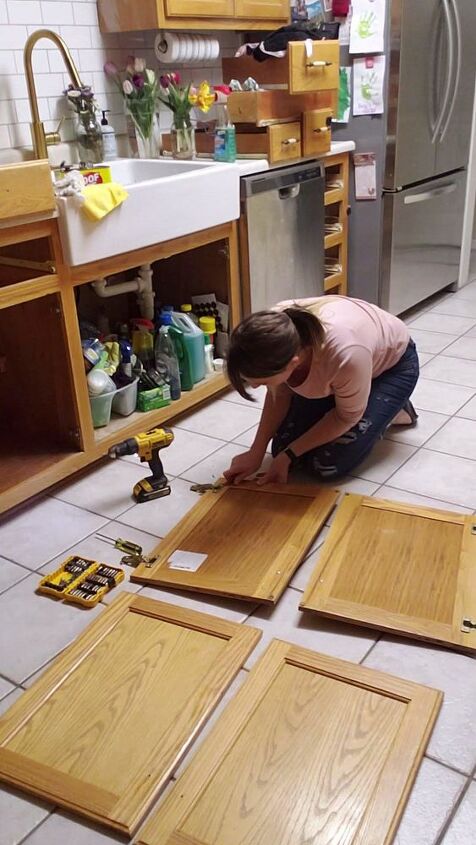
Step 1: Remove your doors and drawers.
Since it was my first time tackling cabinets, I had no idea those doors can just pop off! It was an exciting new discovery for me. I have that little hack stored away in my Instagram highlight about these cabinets if you, like me, didn’t know about this trick.
Step 2: Remove all hardware.
I would recommend a power drill here, because there are A LOT of screws. I stored the hinges, child safety locks, etc. in a plastic container as I tackled one side of the kitchen at a time. The door and drawer pulls I pitched because I was replacing them with different hardware.

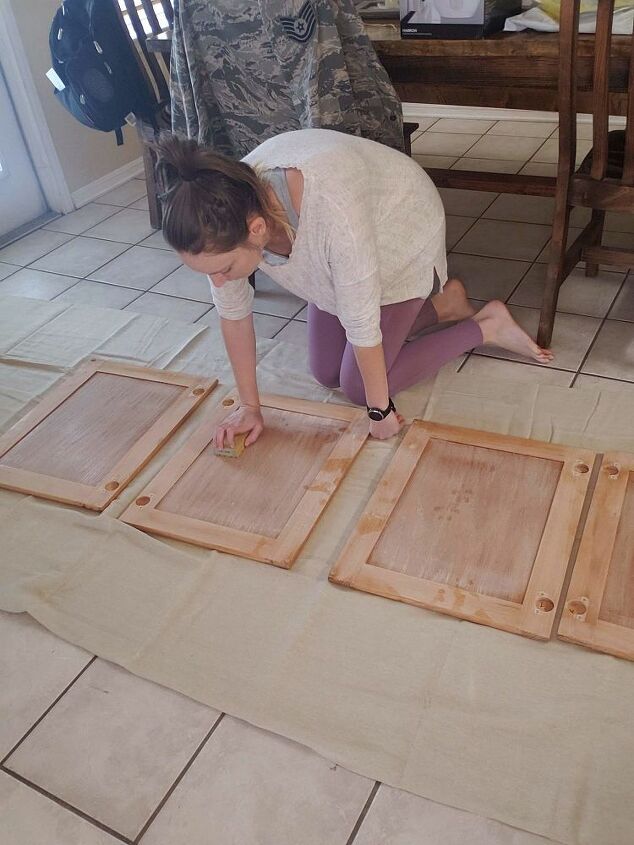
Step 3: De-grease and clean your cabinets.
Go ahead and clean your cabinets and doors thoroughly. I used a de-greaser to help break up the build up of cooking oils that have probably built up over the years of cooking, children and animals that have paraded past my kitchen cabinets.

Step 4: (Optional) Prepare for your new hardware.
If you are leaving on your existing hardware, you can skip this step. If you are updating them, however, you might need to prep for your new pulls. I was moving away from a single knob on my cabinet doors to a bar-like handle, so I needed to fill in the existing hole with wood filler. From there, I measured 1.5″ down from the middle of the old hole, marking that spot with a pen.
I marked a guide dot on my speed square to help me with the spacing from the outer edge of the door. That way, when I marked the new holes, they would be exactly the same distance in from the edge.

I drilled the first hole with a drill bit that was the same size or slightly larger than the screw that came with the hardware. I usually went with the one on the bottom first. Then, I used the actual hardware to mark for the second hole.