

Drilling in the pocket holes
Once I got all the boards cut, sanded and stained it was time to drill the pocket holes in. Some times I will drill the pocket holes in before I sand and stain, it doesn’t really make to much of a difference in my opinion since its on the back and nobody will see it.
I used 1 1/4 in pocket hole screws and drilled 3/4 in holes. As you can see in the photo that I put them back and forth to make sure its a sturdy hold. Before I screwed in the pocket holes I made sure to put gorilla wood glue in between the boards to give it an even stronger hold.
Trending videos

Last few steps
After I cut all the pocket holes and assembled the two shutters together I then flipped them over to the front side and used my brad nail gun to add the front 1×3 pieces that I cut at 10 inches. I used 1 1/4 inch brad nails. I added them all 3 inches from the tops and bottoms of each shutter and added some gorilla wood glue before I nailed them down to ensure a sturdy hold.
I then took my sander and sanded all the edges to give it more of a rust look!
I also added some hooks to the back so that I could hang them on the wall. I used the hooks that hold 20 lbs just to ensure that they wouldn’t fall.

Final product
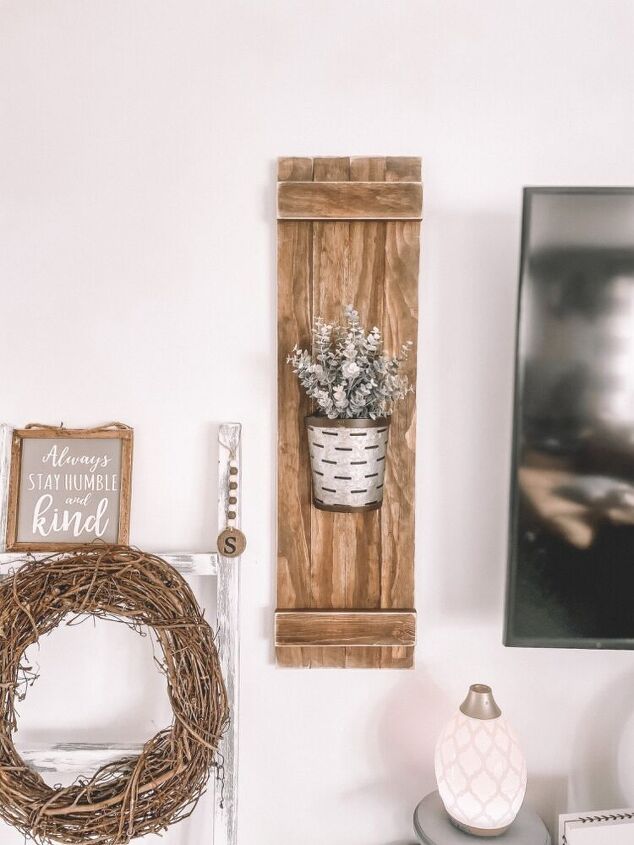
Here you will see my shutter hanging on the wall next to me TV. I added these cute olive baskets that I found on amazon and added in some floral picks. I hung them on with sticky hooks so that way I didn’t have to put any holes in the middle of the boards and I can change it up if I wanted to add something different. I do love that I can change out the floral for each holiday!
These put the perfect touch next to our TV and to our home!