
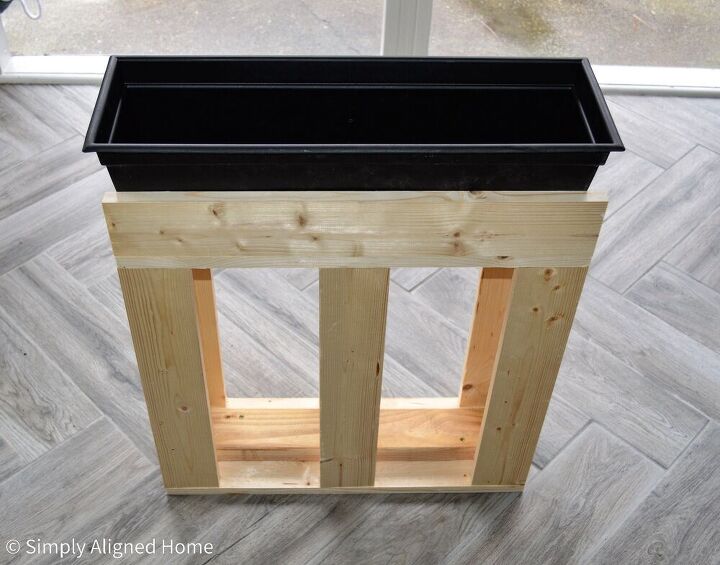

STEP 2: Add Planter BoxOnce the frame was complete, I placed the planter box on top. It fit snugly on top of the frame, so I didn’t bother securing it in any way.

STEP 3: Add Shiplap to the FrameOnce I had the base complete, I glued and nailed the shiplap to the base. I made the front and back pieces of shiplap the full width of the frame. I overlapped the end pieces so that they were flush with the front and back shiplap pieces.

STEP 4: Add TrimI also used the trim pieces that I had left over from my shiplap project to trim the planter. I started by wrapping the base of the planter with flat trim.
I then trimmed out the top of the planter with an outside corner moulding. I added the outside corner moulding to the four corners as well.
Once all of the trim was on, I caulked all of the joints.

STEP 5: Paint it BlackI finished off the planter with some flat black paint. I used a small paint brush for the spaces and a large paint brush for everything else.

STEP 6: Add PlantsThe final piece was the snake plant. I bought a pot that had three different snake plants in it. I separated them and evenly spaced them in the planter.

The planter ended up being just under two and a half feet tall. The snake plants complemented the planter well and added just a little more height. It is the perfect addition to our entryway!