Dill Pickle Ranch Chicken Wings
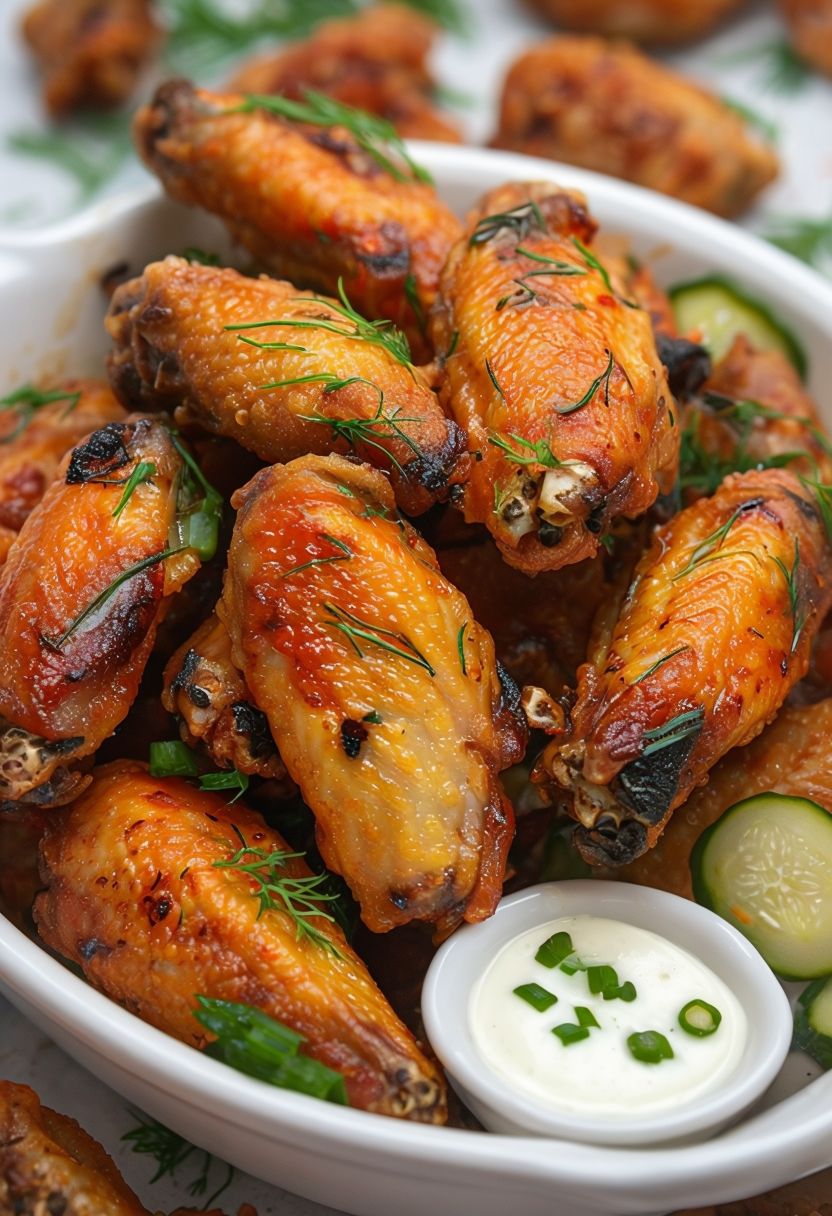
Welcome back, foodies! Today, I’m thrilled to introduce you to a recipe that will tantalize your taste buds and elevate your game day spread: Dill Pickle Ranch Chicken Wings. This irresistible fusion of tangy dill pickle and creamy ranch flavors will have your guests coming back for more!
Who is This Recipe For?
This recipe is perfect for anyone who loves bold flavors and finger-licking good chicken wings. Whether you’re hosting a game day gathering, planning a backyard barbecue, or simply craving a savory snack, these Dill Pickle Ranch Chicken Wings are sure to hit the spot. Plus, they’re incredibly easy to make, making them ideal for both novice and experienced home cooks alike.
Why You’ll Love This Recipe
What sets these Dill Pickle Ranch Chicken Wings apart is the unique combination of flavors. The tanginess of dill pickle pairs perfectly with the creamy richness of ranch dressing, creating a harmony of tastes that will leave you craving more. Plus, the wings are baked to crispy perfection, making them a healthier alternative to traditional fried wings without sacrificing any of the flavor.
Kitchen Equipment You’ll Need
To whip up these delicious Dill Pickle Ranch Chicken Wings, you’ll need:
- Baking sheet
- Parchment paper
- Mixing bowl
- Measuring cups and spoons
Ingredients
To make these mouthwatering wings, you’ll need:
- 2 pounds of chicken wings
- 1/2 cup dill pickle juice
- 1/4 cup ranch dressing
- 2 tablespoons olive oil
- 1 teaspoon garlic powder
- 1 teaspoon onion powder
- Salt and pepper to taste
- Fresh dill for garnish (optional)
Step-by-Step Instructions
- Preheat your oven to 400°F (200°C) and line a baking sheet with parchment paper.
- In a large bowl, combine the dill pickle juice, ranch dressing, olive oil, garlic powder, onion powder, salt, and pepper. Mix well.
- Add the chicken wings to the bowl and toss until evenly coated with the marinade.
- Arrange the chicken wings in a single layer on the prepared baking sheet.
- Bake in the preheated oven for 35-40 minutes, or until the wings are golden brown and crispy.
- Remove from the oven and garnish with fresh dill, if desired.
- Serve hot and enjoy!
Tips for Success
- Ensure the wings are spread out in a single layer on the baking sheet for even cooking and maximum crispiness.
- Marinating the wings for a few hours or overnight can enhance the flavors.
Additional Tips or Variations
- If you prefer, you can use chicken drumsticks or thighs instead of wings. Just adjust the cooking time as needed.
- For a vegetarian twist, substitute cauliflower florets or tofu for the chicken wings and follow the same marinade and baking instructions.
Nutritional Highlights (Per Serving)
These wings are not only delicious but also a lighter option compared to their fried counterparts. While specific nutritional values will vary, baking the wings helps reduce excess fat and calories.
Frequently Asked Questions (FAQ)
Q: Can I use chicken drumsticks instead of wings?
A: Absolutely! Feel free to use chicken drumsticks or even chicken thighs if you prefer. Just adjust the cooking time accordingly.
Q: Can I make these wings ahead of time?
A: While these wings are best enjoyed fresh out of the oven, you can prepare the marinade in advance and let the chicken wings marinate in the fridge for a few hours before baking.
Q: Can I make a vegetarian version of this recipe?
A: Certainly! You can substitute cauliflower florets or tofu for the chicken wings and follow the same marinade and baking instructions for a delicious vegetarian alternative.
Conclusion
I hope you’re as excited to try these Dill Pickle Ranch Chicken Wings as I am to share them with you. They’re the perfect blend of tangy and creamy flavors, guaranteed to be a hit at your next gathering. So gather your ingredients, preheat your oven, and get ready to indulge in some seriously delicious wings. Don’t forget to share this recipe with your friends and subscribe to my blog for more mouthwatering recipes delivered straight to your inbox. Happy cooking!

