
Curbside Cedar Chest Becomes Multi-functional Furniture
Trending videos

After switching to a much higher bed last year, my pooch was having a hard time jumping into bed. I made the mistake of lifting him in one night and that was it, he never even tried to jump up again! He simply barked for assistance. Which would have been fine, except he started doing it at 3am! This situation needed a resolution, fast! So I temporarily placed two little storage totes at the end of the bed to use as make-shift stairs. Which served the purpose, but I was worried if they worked apart he might get a leg wedged in the gap mid-jump and hurt himself.

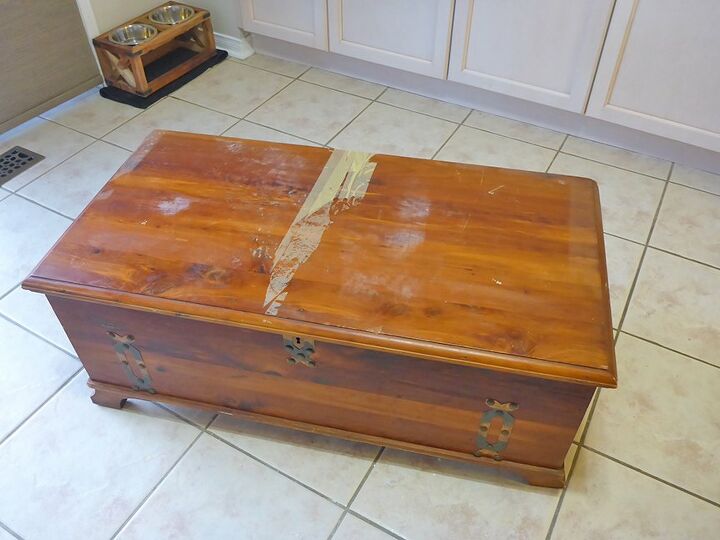
The height of the boxes and the cedar chest was the same, so I decided the chest could function as a more stable doggy stair.
In order to give the top some traction I wanted to add padding. I really wanted to do something cushiony and splurge on a beautiful fabric…but since this was going to get a lot of (dog related) use, I didn’t think it made sense to spend the money right now. So I found stuff around the house to use.
For the padding I used a yoga mat. It was ridiculously easy to cut to size, using an exacto knife! The anti-slip nature of the yoga mat made it an ideal choice for this project! I then used a small bead of hot glue around the edges to keep it in place.

Then I removed the top from the chest using a screwdriver. I found a bed sheet to use as the cover. I attached it to the lid with a staple gun. I thought this was a good solution for now, as I wouldn’t be able to remove this for washing. I can occasionally cut out a new replacement piece from the remaining sheet set when it requires a freshening up.

PAINTING THE BOX
I just decided to have fun with it and layered colours, with barely any paint on the brush. I started with Liberty blue. Then I did a layer of liberty blue mixed with white. Then another layer with teal added to the blue/white mixture.

Basically I just kept layering colours until I liked the look.

I found the overall tone a tad dark, so I did one final dry brush with white. I love how that turned out! It really gave it a rustic vibe and helped the base gel better with the top. It also made all the knots and scratches in the wood show through.


Then I re-attached the lid and brought it to its new home, at the foot of my bed. It’s great storage. I also use it as a bench. And most importantly, Charlie now has a safer step-up to bed. 🙂
I didn’t spend any money on this make-over, but accounting for the glue, staples and a few TBSP of paint I used roughly $5 worth of product.


