We drew our plan out & measured the space in between so we’d know exactly how much material we needed AND exactly where things would go when we get to that part of the project
Order & pick up your materials. This is best during these times and always order a little extra.
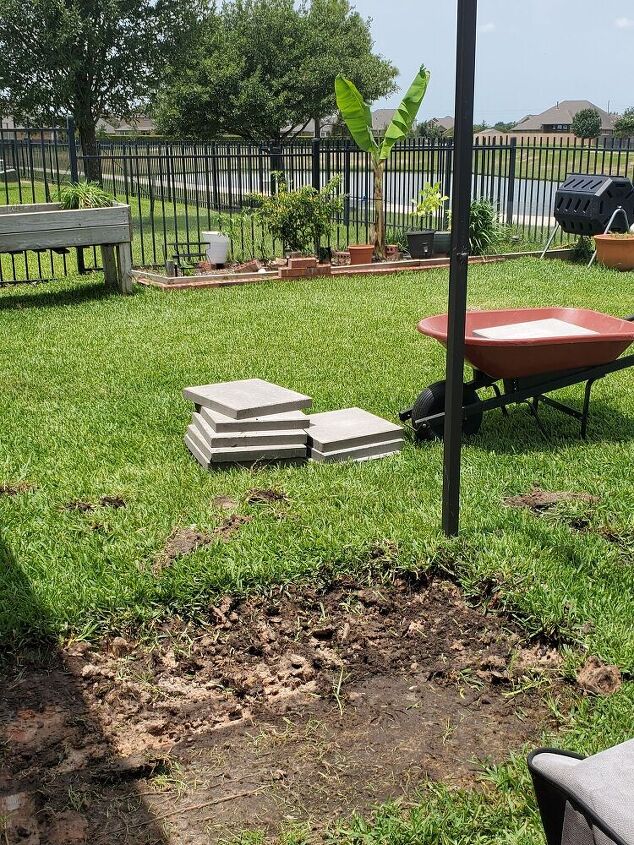
We didn’t account for breakage & after a happy accident, had to head back to the store for an extra paver or 2. And more rocks.
Get the grass outSorry but you can’t skip this part. If you have grass in the area, dig it out completely to at least the thickness of the paver. Our’s are just under 2″.
We used a combination of a square & pointed digging shovels – pointed to start the process of getting through the clay dirt & square (shovel or spade) to get under the grass in mostly even “strokes”.
This left us with a fairly even dirt pad to start with.
Normally you would tamp down at this point, start back filling & leveling.
But here’s where we did things a little differently than I’ve seen before & differently from what we did in our previous home…
The clay underneath is serving as our base.
Lay out weed block fabric and/or heavy duty black plastic. Pull it fairly taut & secure with landscape pins. Bricks or other heavy objects will work in a pinch to hold everything in place.
Back fill & start levelingNow add your choice of top soil, sand, or a combination in a thin layer. Start by filling in the low spots left from the initial dig.
Use a garden rake to spread the dirt & a board the width of the landing pad to smooth & level it out.
You WILL have lots of extra dirt using this method because it’s basically just filling holes at this point.
Once the 1st pass is complete, set a paver in place & check for depth (or height, depending how you look at it). Take note of how much space you have left to fill.
Continue back filling & leveling until your test paver is exactly perfectly level at the exact height that you need it – whether it’s even with the grass or an existing patio (like our’s) or any other structure.
** Note: The other way I’ve done this before, and seen other’s do it, is to tie string or rope to posts in a grid pattern over the area to be paved & use that as the leveling guide. **
Start placing the paversYou started with a plan right? We drew our plan out & measured the space in between on paper before we began. So this part of the project is purely execution
As you lay the pavers, be sure to use your trusty level to get each individual paver level, and then level with it’s neighbors. Add or remove dirt as needed.
Also, depending on the location of your landing pad, you will want to pay attention to grading. Ours is adjacent to the existing patio which slopes slightly downward to allow for drainage.
So our pavers had to slope ever so slightly as well.
Check & double check your work.After all the pavers are set in place according to plan, go back & check both the spacing AND the leveling of the entire thing. Better safe than sorry – you don’t wanna have to redo all of this later.
Add decorative rock.
Try to keep the rock at or slightly below the level of the pavers. And make sure there are no sharp edges facing up – that would not feel good underfoot.
Clean up.Trim any exposed edges on the landscape fabric or plastic.
Hose down your new landing pad. We hosed our’s quite a bit just to be sure that the drainage was dead on perfect. Again, better safe than sorry. Plus this makes the rocks really stand out.
Put the grill in place and test it out!Surf ‘n’ turf is a great way to test out your handiwork!