Antique Cabinet’s Interior Makeover


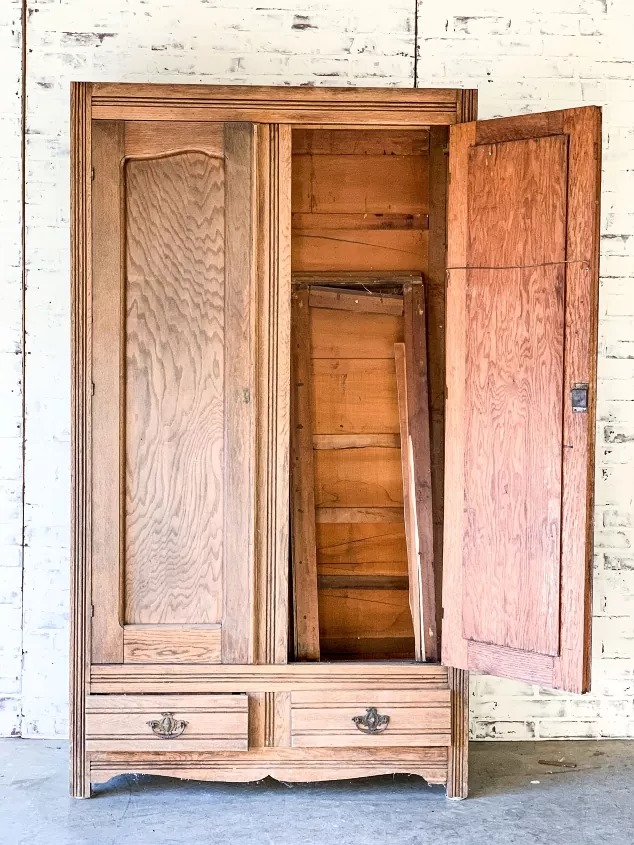
First step was ridding the cabinet of every single spiderweb with some deep cleaning.
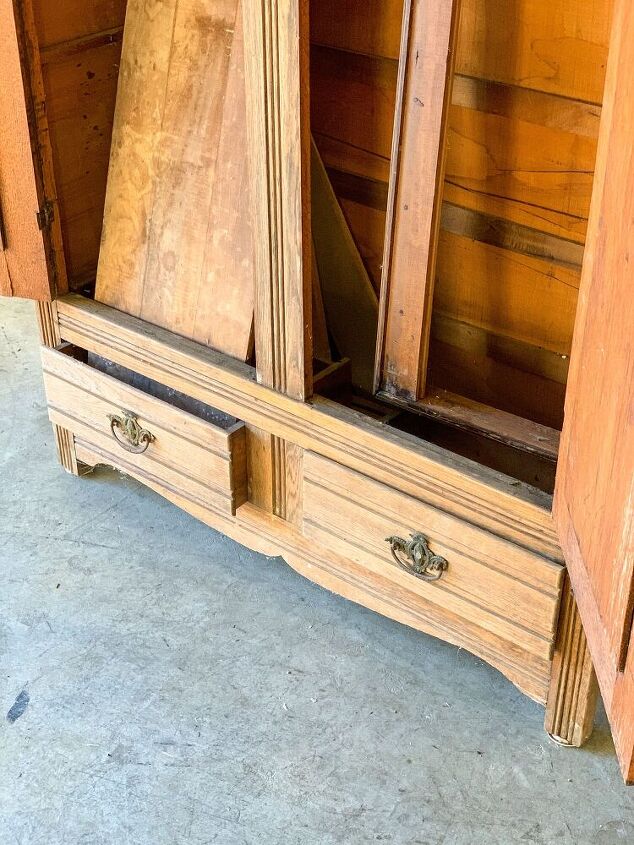
Uh… Little hiccup. While I was scrubbing the door split.

I will admit I wanted to march the whole piece straight to the dump at this point.


But I didn’t and worked on putting it back together.


While the door was on the mend It was time to prime the interior of the cabinet. JUST THE INTERIOR.
Nobody fret I’m not going to be touching the beautiful exterior.


I covered the interior with one coat of KILZ Original interior primer in the white that it comes in. One is all it takes before applying your paint color of choice and be warned it is very thick to work with. I used the whole quart for this one coat of paint.


This is the interior of the cabinet after one coat of the KILZ primer and one coat of Valspar Satin Interior paint in the basic white that it comes in.
Here you can see splits in two of the back panel pieces. They didn’t affect the structure or function of the piece so I wasn’t too worried about them staying.

I did the same steps to the cabinet shelves. Primer then Paint.

Okay, now for the fun part.
I really wanted the inside of this piece to pop when somebody opens the doors but not in a crazy way. We’re shooting for understated yet beautiful. I decided to go with my hand-painted detail design that I’ve done in the past for a whimsical look. Yes, you could probably get a similar look with a stencil but, to me, this way looks much more custom and put together.
To start this process I sketched out a bunch of light, wispy lines. I weaved them around each other. Some touching and coming together at a point but not too tightly together. Just enough so there weren’t any huge gapes of white space in-between.

After sketching out my lines I consulted my paint stash for something that I could used for the leafy design.
lucky I found this sample of Valspar’s Aesthetic White that I had grabbed a few weeks back from the discounted paint rack at Lowe’s.


I did a paper-plate test to make sure that the base color and the detail work’s color would play well together before I committed to the combination. In this picture you can’t even see the base color because it is so close the same color as the paper plate.

Then I ran to Micheal’s and picked up a set of round brushes.
Which brush you use will determine the size of the leaf you paint.

And I got to work. I wish I could say there is a secret to how do this design but there isn’t. Its actually really simple to do and you can easily get into a rhythm.
I start the tip of a vine with one big leaf and then go back & forth with little, quick strokes down the vine towards the connecting point. I would suggest watching my YouTube video on this project (Channel: Amanda’s Mercantile). It will help give you an idea on the hand motion if you are confused.

Don’t worry about it being perfect.
This design is very forgiving when comes to making a few mistakes here or there.

As you can probably imagine this design, although simple, can be a little time consuming. I would work on it for 30 mins to an hour, take a break, run some errands and then come back to it.

For the final steps I covered all of the detailed work with one coat of Minwax’s Water Based Polycrylic Protective Finish in Clear Matte and reattached the top.


This was the final product without the shelves.


And with the shelves.


I hope y’all try out this design!
I think someone could do something similar inside a small closet or, if you’re feeling ambitious, an accent wall. Bless you if you decided to do an accent wall but please send me pics on Insta if you do! I gotta see that.
Insta: @amandasmercantile
OG Blog Post: Antique Cabinet’s Interior Makeover

