
Trending videos

I decided to use one of the shelves to make brackets for my new closet rod.

After ripping down the boards on my table saw, I used my hole saw and jig saw to create a channel for the closet rod to fit into. This is identical to what was used as a bracket previously in the closet.
I then placed the brackets in the closet using brad nails to hold it in place until I followed up with screws driven directly into the studs. I used the old closet rod with a torpedo level to ensure that everything was level. In order to have some flexibility with the space, I left the old bracket in place. That way, if I ever want to take the closet back to a single rod, all I have to do is drop the rod into the desired position.

The absolute only expense I had in this project was to purchase a new closet rod. I opted for the 96” solid wood rod that is sold at Lowes for approximately $26. I chose to hang the top rod approximately 8” from the ceiling so that my knee length dresses clear the closet rod below without having to be folded over the hanger. This may be too high for some, but that is the beauty of DIY, you can do what works best for your situation! 🤗
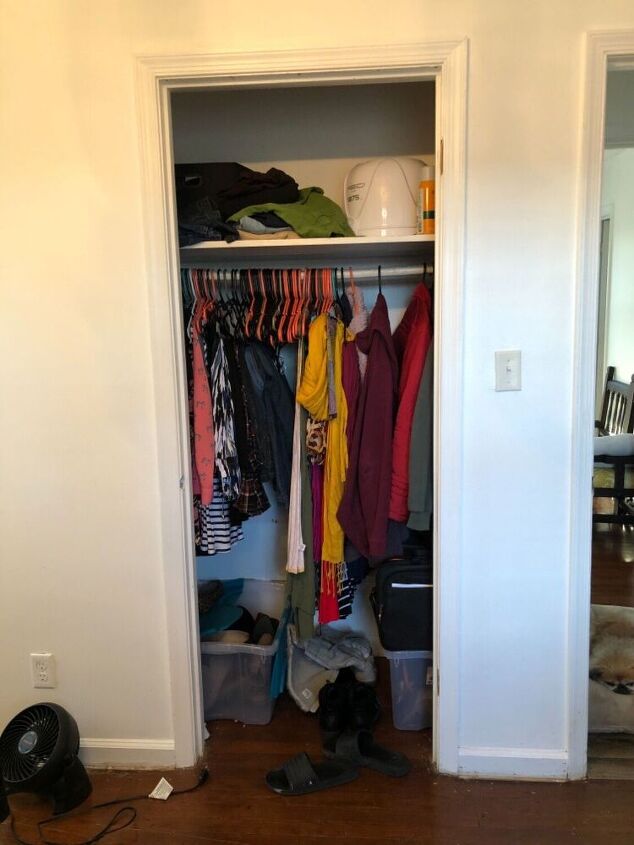
This closet still lacks paint and a door, but for now, I am loving the additional hanging space!!