
I have always wanted to freehand a design with stain, ever since seeing the technique as done by the phenomenal Sawdust and Embryos team – you can see their work here: https://www.facebook.com/SawdustAndEmbryos. I decided to break out my Unicorn SPiT and a clean cotton cloth and just do it! {t-shirt fragments work well…so save those old t-shirts}. After seeing the tutorial videos by Sawdust and Embryos {definitely go check them out on Youtube}, I was feeling intimidated, so, I decided to use chalk to roughly outline the design first…believe me…not a bad idea – this little artistic “hack” helped !!!! (A dry cloth was later used to wipe away the chalk when the Unicorn SPiT was dry)

I sat on the floor and began to apply the Unicorn SPiT – heavier toward the middle of the petal and fanned the colored stain outward with my fingers. The SPiT can also be blended or lightened with a damp cloth, in case of a heavy hand.
This was when she was still in the studio missing her legs, but loving her new look !!! We achieved amazing results with Unicorn SPiT ! This pic is the finished artwork – hand-stained using only Unicorn SPiT in the colors MIDNIGHT’S BLACKNESS and just a hint of WHITE NING… and about an hour of sheer concentration – but I loved every minute of it !!! She even looks good before her Polyurethane !! {BTW…I used so many coats of poly, she ended up looking like glass} !!
This was when she was still in the studio missing her legs, but loving her new look !!! We achieved amazing results with Unicorn SPiT ! This pic is the finished artwork – hand-stained using only Unicorn SPiT in the colors MIDNIGHT’S BLACKNESS and just a hint of WHITE NING… and about an hour of sheer concentration – but I loved every minute of it !!! She even looks good before her Polyurethane !! {BTW…I used so many coats of poly, she ended up looking like glass} !!

The first coat of Minwax gloss polyurethane changes everything, really allowing the stain to pop against the wood!!! Before each coat of poly is applied, I highly recommend a very light sanding with very fine 220 grit sandpaper. Make sure to wipe the dust off thoroughly before applying another coat of polyurethane, which you can apply with either a brush or sponge. Watch the drips as they tend to “sneak” down the sides, and nobody likes drips! I repeated the sand and seal process five times for this piece, since tabletops, as we all know, get the most daily use and wear !

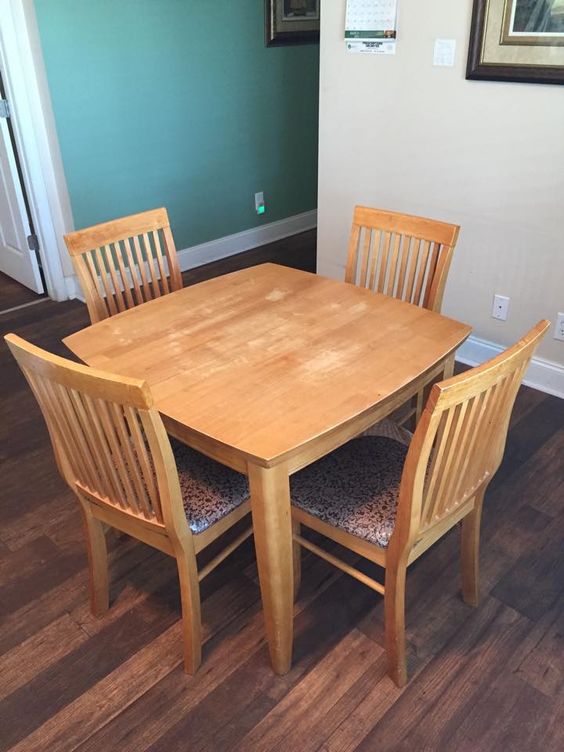
Finished and waiting to make it’s debut ! She looks nervous, doesn’t she ? The SPiT flower finally has her legs back and has been reunited with her chairs !!! I love how the polyurethane helps highlight the natural wood grain of the table ! I also found the perfect material for the chairs – it matched beautifully without taking away from the artwork ! {shhhhh…..don’t tell anyone, but I used my drapes from my living room and, yeah….now I have to get some new drapes!}

She finally made it to the BIG SHOW – Vintage Revival in Melbourne Florida !! {We waited 2 years for an invitation, and finally got one…I wonder if the pics of this set had anything to do with their decision this year?} The work of Sawdust and Embryos is insanely popular and awe-inspiring, but luckily, our flower table was the only piece at the show displaying this unique technique. Again, I strongly encourage watching their videos ! https://www.facebook.com/SawdustAndEmbryos?fr…

We live in sunny Florida, so the glare is inevitable – I wish I could have better captured her shine ! Like glass – told you !! This amazing hand-stained table and her the chairs, which thanks to my curtains complimented her beautifully, generated A LOT of attention around our booth….AND……the set sold before NOON !!!…We had an ALL SPiT Spectacular, but by far, our delicate flower was the SHOW STOPPER !!!! I think I’ll try a dragon next ! for more information on the stain used on this table, go check out www.unicornspit.com or https://www.facebook.com/UnicornSpit