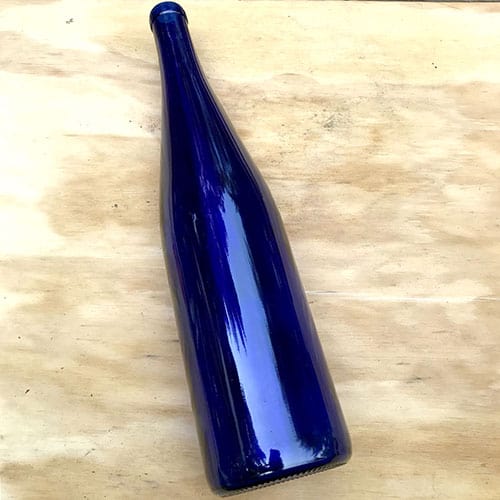
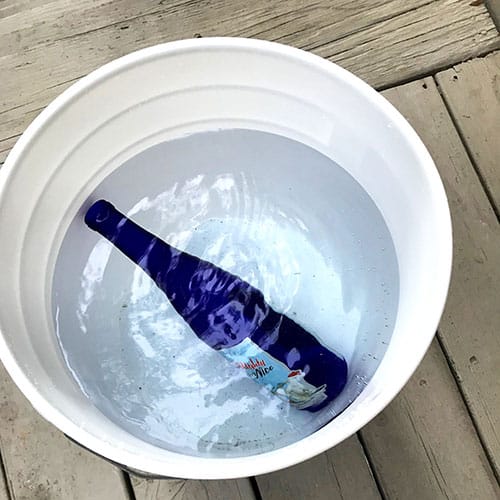
There were some bottles where the label peeled off after just being dampened, so it really will depend on the brand and the type of adhesive and paper used.
As it turned out, a good old-fashioned soaking in warm water worked the best.
Trending videos

*Here’s a really cool one where I made DIY fairy lights with a wine bottle and cement for outdoor patio lighting.* 😃
After soaking, if some of the paper and all the glue still remain on the bottle, just run it under hot water and rub it gently with the stainless pad.
If you still have glue residue, then use something oily like baby oil.
TRIM THE PALLET WOOD TO SIZE
Using a miter saw or hack saw, cut the wood “backplate” to size if needed to 5 1/4″ x 19″.
SAND AND STAIN THE WOOD
Sand the wood. Stain, if you would like (I kept mine natural).
Hint: If you use reclaimed wood and you trim it to size, your edges will be a different color.
I used a tea and vinegar stain I had made a year prior in order to get the edges to look aged like the rest of the wood.

PAINT THE HANGING HARDWARE
Lightly spray paint the ceiling plate, collar and threaded rod.
To make painting the rod easier, stick the rod in the ground, and spray the top 3 or 4 inches. I didn’t do this, as you can see from the photos.

TRIM THE ROD
Once the paint has dried, use a hack saw, cut the threaded rod to 2 1/2″. If you have sawhorses use them, we should have used ours.


MARK BACK HARDWARE LOCATION
To turn it into a wine bottle wall vase, flip the wood over to its backside and place your hanger bracket 2-3″ from the top, and nail into place using the nails that came with it.
Be sure to center the bracket.

*Here’s another project where I used pallet wood to make a super strong wall hung DIY magnetic bottle opener.* 😄
LOCATE POSITION TO HANG WINE VASE
Determining overall placement: Thread the rod into the collar ring and put the ring around the neck of the bottle.
Stand the bottle upright and measure from the bottom, to the center of where the rod comes out from the collar. Mine was 11 3/8″.
Decide where you want your wine vase to sit on the wood backplate.
I set mine low so that the flowers I would use in the wine bottle vase are mostly within the wood sconce’s backplate.

LOCATE THE CENTER OF THE WINE BOTTLE VASE
Now take that 11 3/8″ measurement (or whatever yours is) and mark that onto the wood with a pencil. The top mark is where your ceiling hanger will be.
Put the center of your ceiling plate over that center mark. Use a T-Square to make sure it is level and mark the 2 outside holes.

ATTACH PLATE TO PALLET WOOD
Fastening the ceiling hanger hardware. Carefully drill a pilot hole in the 2 outside holes only, using the 1/8″ bit. Now screw your plate to the wood, using the drill.


FASTEN WINE BOTTLE WALL VASE
Thread the rod and collar and attach it to the ceiling plate.

SECURE THE WINE BOTTLE WALL VASE NECK
Insert the neck of the bottle into the collar, and hand-tighten the collar screws and then mark this location. This is where the collar ring will hold the bottle’s neck.

You’ll be able to see there are some gaps between the collar and the wine bottle vase neck.
Remove the bottle and use the hot glue gun on the bottle’s neck to build up the space a bit so the collar can grab it. This will significantly reduce the chance of slippage (I said it, :0}).
Loosen the collar screws enough to slide the neck of the wine bottle back into the collar and gently tighten with the screwdriver.

