
Wallpaper…How About CEILING PAPER | Powder Room Makeover Part 3

If this is your first time seeing this bathroom here is what we have done so far, you can read about the process in these posts:
and/or watch the video on our YouTube here:
Powder Room Makeover Pt. 1 Video
Powder Room Makeover Pt. 2 Video
and the best place to see the projects is our instagram:
@theransonshome


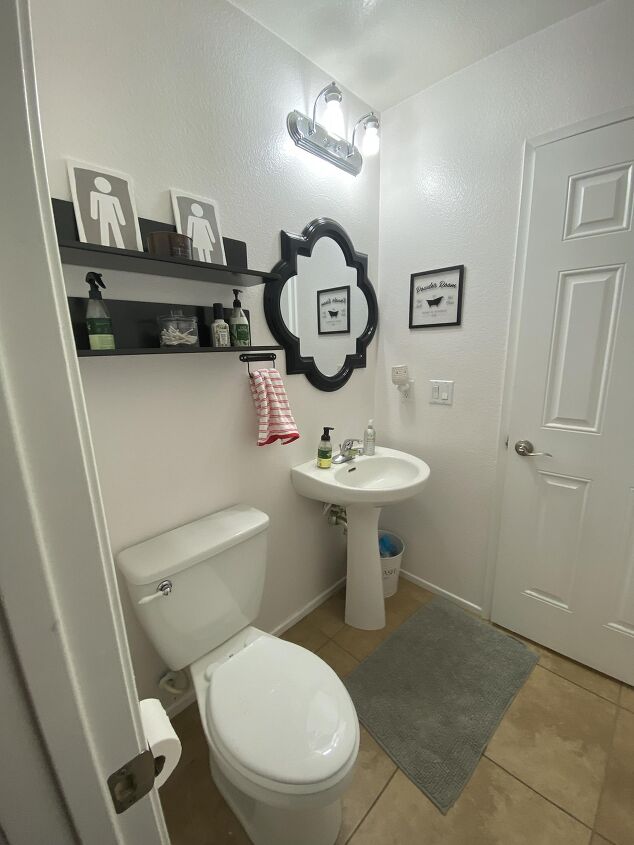
To start we removed the fan and a/v vent (Scott installed a new junction box for the light in the ceiling, previously there was only a light above the sink on the wall)
Peel and stick wallpaper is fairly easy once you get the hang of it, this is our third time using it and definitely the hardest being that gravity is working against you. So make sure you have a partner for this one.


Our ceiling is very textured and this wallper did a great job covering it, you can still seem it through the paper a little bit if you look for it but its not an issue.

I spray painted the vent and a/c cover in a flat black to blend them into the wallpaper.(a must do in my option)

once they were dry I installed them and Scott put up the new light from Signature Hardware

Next step is to add crown molding

The difference the molding makes is insane, it cleans the edges and really makes it so elegant. I wish I could give you a tutorial for molding but wow that stuff is hard to work with and I just have no idea how Scott did it! I still have to finish the molding by caulking and painting it

I love the way this turned out and I truly think wallpaper on the ceiling was the best choice! If you are worried about wallpaper you can paint it with a flat paint and that would also give the same look.
Let me know what you think:Are you team ceiling paper?!

Links:
Wallpaper: Wallblush: Onyx
Spray Paint: BEHR Flat Black
Ceiling Light: Signature Hardware: Javins Flush Mount in Aged Brass
Sconces: Signature Hardware Stanburn Vanity Sconce
For all the products used in this bathroom click the link below:
(pending)
I want to thank Signature Hardware for sponsoring this bathroom makeover, there products have been incredible and incomparable to anything we could have imagined for this space. We absolutely love this bathroom and we hope you all love their products as much as we do!
– – –
If you have any questions about this build please leave me a comment or DM on Instagram and I’ll be more than happy to answer it!
There is always a project to do so I hope you follow along on my social media accounts where I share my life as a Mom of 3 and all things DIY Home!
YouTube
*Links may be affiliate links and if you choose to buy a product through my link I will make a small commission, helping to support these projects.
Thank you for being here with me!