Upgrade Your Kitchen Counters On a Budget – Faux Stone


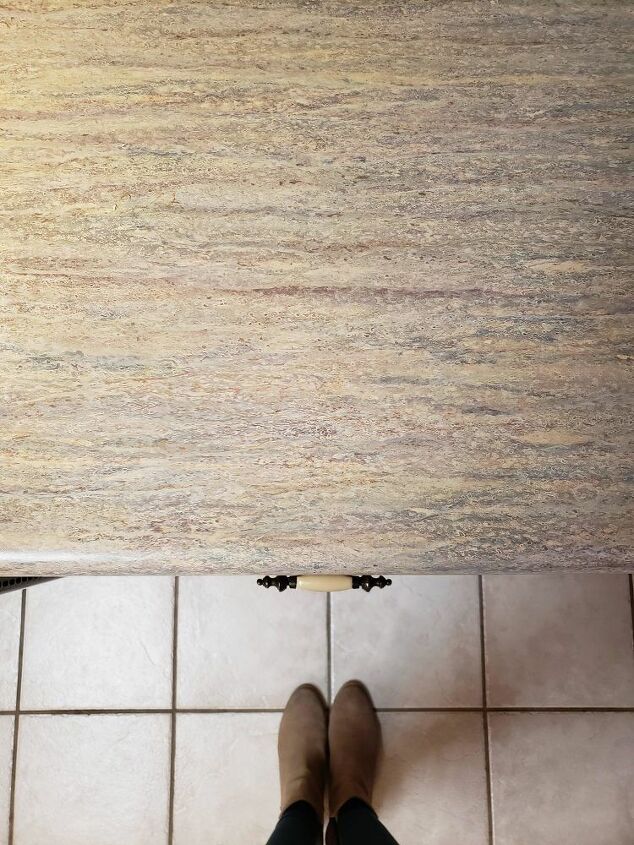
I think I have always been pretty over these counters – they are dark, yellow-ish and included colors like purple, which I don’t really prefer in my kitchen. Replacing them entirely was not really in our budget yet, so I started looking into refinishing kits. I ended up partnering with Daich Coatings to refinish the counter tops using their Mineral Spreadstone kit in Natural White.
Trending videos

The kit is $125 and comes with everything you need to finish about 40 square feet of counter tops. Additional items I used (which you don’t 100% need) included my orbital sander, painters tape and caulk for around the sink.

Step 1: Prep Your Counters
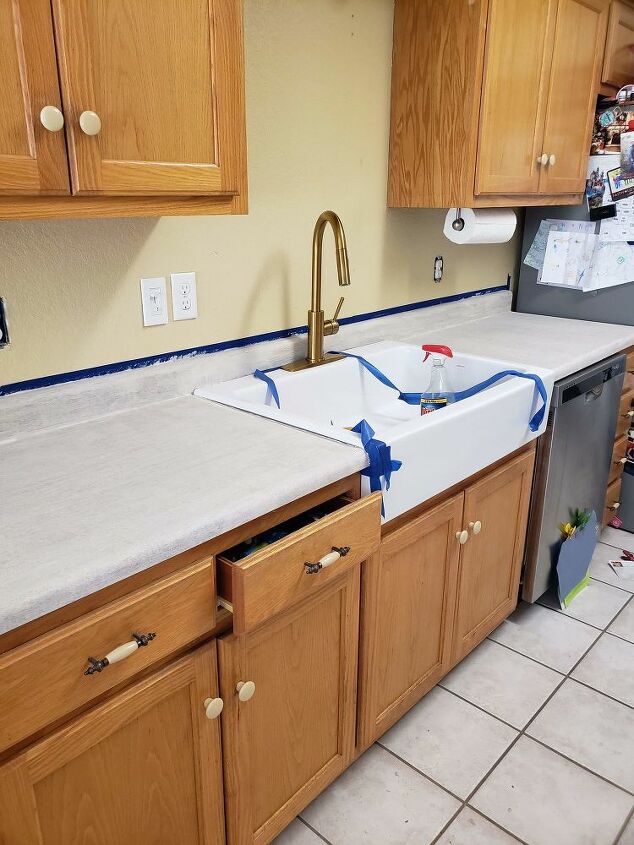
I cleaned the counters and then sanded them down with the 60 grit sandpaper that came with the kit. Using a wet cloth, I cleaned up all of the sanding dust so that we would have a clean surface for the primer coat.
Step 2: Prime Your Counters
Using the primer from the kit and the included paint brush, start with your edges and small spaces to apply a thin coat. Once the edges are complete, use the included roller and tray to roll on the primer. Allow to dry and apply a second coat. I ended up having better luck cutting in my edges instead of using the tape!

Step 3: Apply the Mineral Spreadstone
Make sure your Spreadstone coating is stirred thoroughly so that you aren’t left with all of the decorative stone pieces at the bottom of the can. I shook mine and had really good distribution throughout!
As with the primer, begin with the paintbrush for the edges and small spaces. You will dab it on to achieve uniform stone spreading. Then, with the roller, roll on the Spreadstone coating in an “X” fashion, pressing down as you go to spread the stone pieces throughout.

Allow your first coat to dry thoroughly before you apply the second coat. Then, allow it to cure for approximately 24 hours before sanding.

Step 4: Sand
I used a combination of the 120 grit sandpaper they provided and my orbital sander with 120 grit sandpaper – it makes the job a little easier! Sand the Spreadstone smooth.
Step 5: Apply Clear Coat

The clear coat is the final step! Using the same painting techniques, you cut in the edges and small spaces using the brush and gently roll on the clear coat, ensuring that there are no bubbles or uneven applications. Once the clear coat has been applied, you will need to let the counters cure for 24 hours before the first use. For the first 7 days after that, try to go light on them! From there, you can use them normally.
I have to say, for the price point, this was an awesome option. We are loving how they brightened up the kitchen in just a matter of days. After a few months of use, they are still holding up really well.


I’ve kept on going with my projects in the kitchen but, I have to say, this project was one of the easiest to tackle. These counters got a new lease on life with Daich Coatings! I love how they look with the subway tile and the cabinets. (See below):


If you are looking to update your kitchen on a budget, this beginner-friendly kit should definitely be on your list of options to look further into!
