Upcycled Crib Into Bathroom Vanity


As this was going against the wall, I only needed to close in one side. I used some molding I had on hand and some plywood.


For the plywood I cut out a small gap to allow space for the baseboard.
I then traced around the vanity leaving about 1cm around for the top piece.


I then needed to add the cut out for the pedestal sink. I got this super handy contour gauge off of Amazon and it worked well in getting the shape I needed.


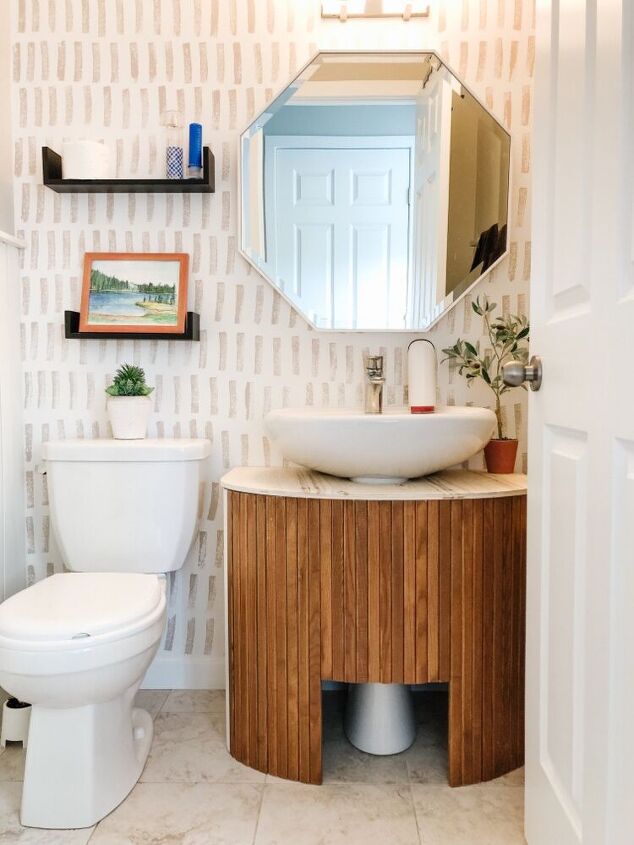
Once that was cut to size, I moved it into place and slid the top on. I then added some nails to attach it to the base.


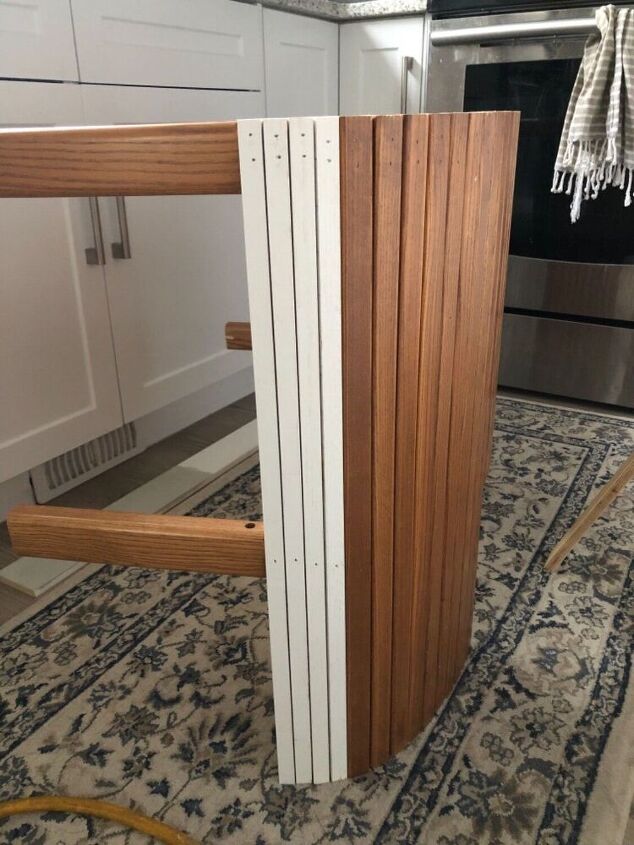
I had cut down the 11 slats for the front of the stool so I used those to see how wide the stool needed to be.

The next step was to figure out the stool. I used the contour gauge to figure out the bottom of the pedestal sink and the level to see how deep the stool could be.


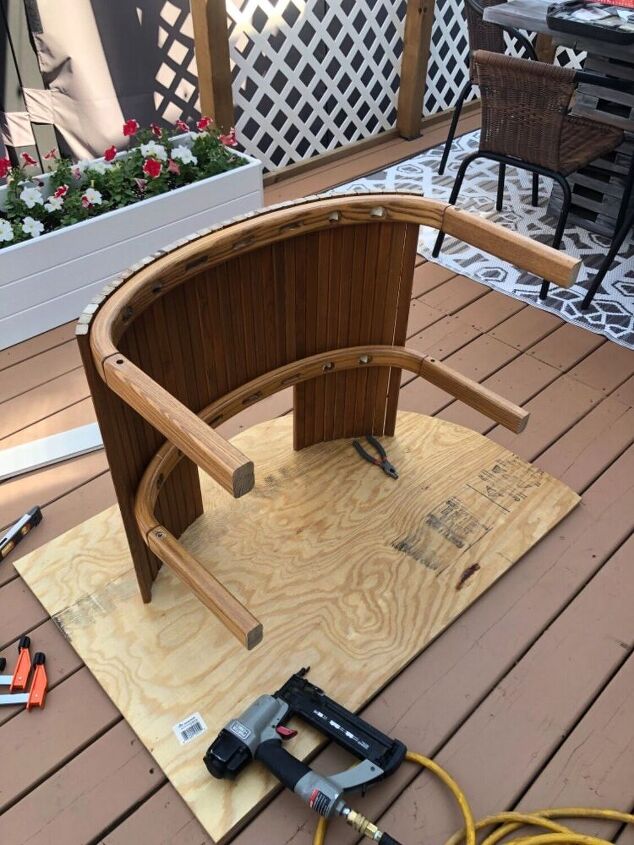
I then nailed the stool together and nailed the crib slats onto the front.

I then used my go-to primer, chalk paint, and antique wax.

Primer allows for no sanding.

The chalk paint covers great over the primer. I always use a cream chalk paint for this finish.


Then a layer of antique wax gives the driftwood look.

I then sprayed the whole vanity with this matte clear sealant.


I finished off the stool with a fun blue accent on the sides and a leather strap to pull it out.
I’ve linked the contour gauge above and also here
