
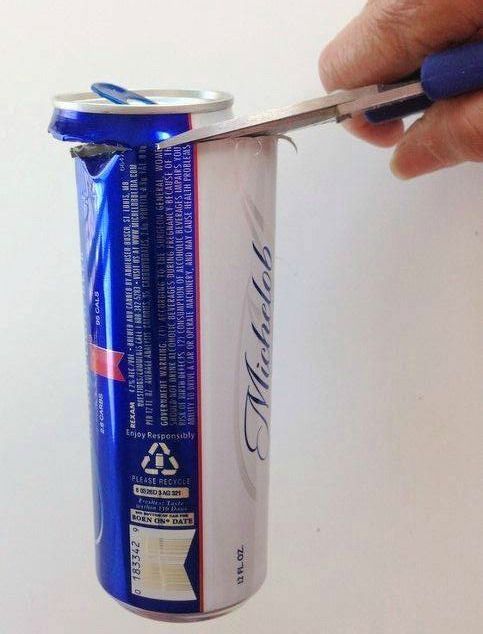
Roll the cut aluminum piece in the opposite direction – smoothing out over something like a counter edge to help remove the curl of the can. Freehand cut out a petal pattern from paper and trace on cardboard for a sturdy template.

Lay the cardboard pattern on the aluminum and trace outline or just freehand cut out petals without tracing for a quicker way since you will need at least 32 petals. Repeat steps for cutting cans and petals to make more.

For the candle holder base, cutout a 6 inch circle from the can and glue onto a cork sheet. Cut out the cork and attached aluminum.

Spray paint the base and petals and let dry.

To add dimension to the petals, roll the edges using the stem of a paint brush or pencil . . .

and glue onto the edge of the circle, creating the first layer, all the way around using super glue gel.


Begin gluing on the second layer, overlapping and between the first row.

Continue adding layers, alternating between petals until satisfied with the fullness. It should look like a lovely rose petal shape. Add the last layer of petals to enhance the candle, leaving an opening to accommodate a candle or jar.


Enhances any decor!

Place a LED votive candle in the center, turn a colorful jar upside down and have fun outdoors with this cool effect!

We want to help you DIY, so some of the materials in this post are linked to sellers. Just so you know, Hometalk may collect a small share of sales from the links on this page.