

This is the ratio I used to make my own chalkpaint for painting and distressing furniture:
1 cup latex paint
1/3 cup Plaster of Paris
1/3 cup warm water
Mix these ingredients well, and use immediately. If you try to store it for a long time, it will harden. I found out the hard way that it does not store well. I had a jar full of hard chalkpaint. I was not happy with that. How am I supposed to create distressed painted furniture if I dont have any paint! Haha,
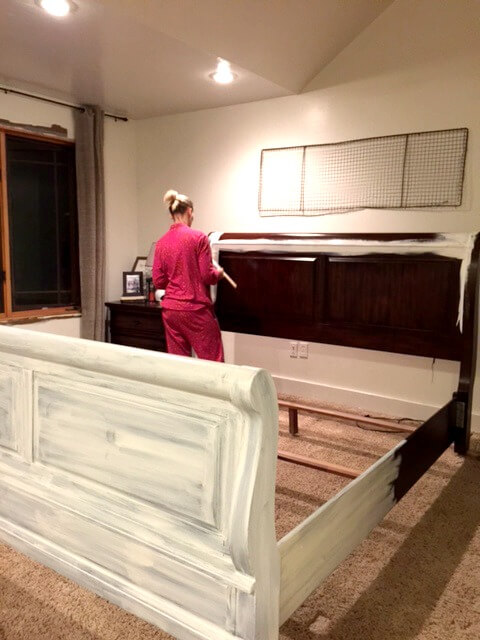
This is my sister. She came the weekend my husband left and she helped me paint and distress my bed. It was a lot of work so I was glad for the help. We did watch quite a big of Jimmy Fallon while we were painting. It definitely makes the time pass quickly.
The secret to painting and distressing furniture:
The secret here is to make your sister do it. Haha, just kidding. But it sure does make it more fun with someone that enjoys doing it too. We started off painting the first coat. I had the round brush and she used the angle brush. The first coat is always the scariest. The furniture will look BAD. You will question why you decided to do this and you will feel pangs of regret.
Ignore them…and keep on going, it will get better, I promise.
Now I was lucky to have my sister there to help, but keep in mind this does not have to be a 2 person job. If I was doing this all alone, I would have started with the angle brush and done all the corners and cracks that are more difficult to get to. I then would use the round brush for the larger areas.
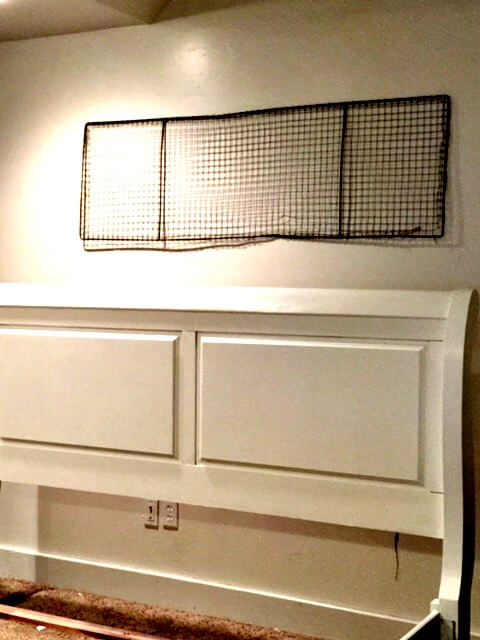 This is after the second coat. Even as dark as my furniture was, it only took two coats and part of a third in certain areas.. While the paint dried, we watched a little more Jimmy Fallon. If I can give you one good piece of advice, this is it. Turn on some good music, or some Jimmy Fallon. It just makes the time pass more enjoyably. I know I said it before…but i will say it again.
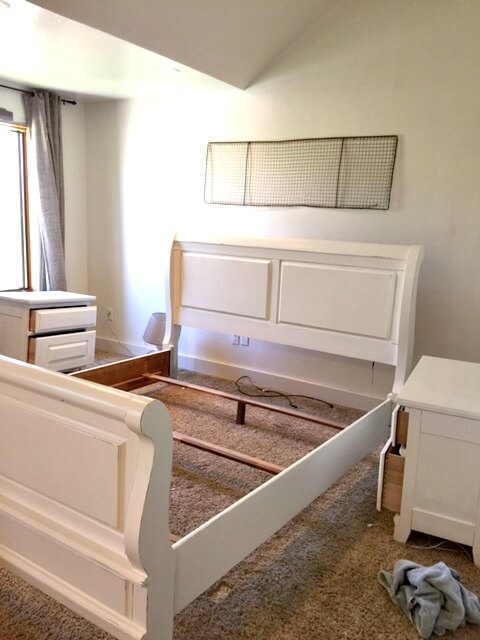
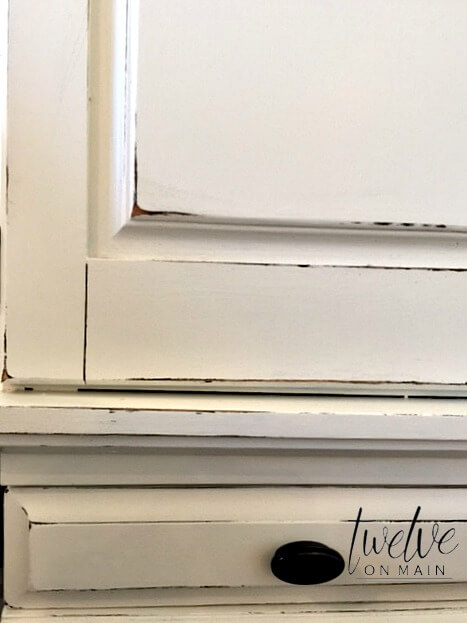
Here is is the next day after a late night of painting and Jimmy. I ended up sleeping on our mattress in our bathroom. It was quite the adventure and I am sure glad my husband was not around for it. He would not have been amused. Now, the furniture is ready to be distressed and waxed. This is where the sanding sponges and wax come into play.
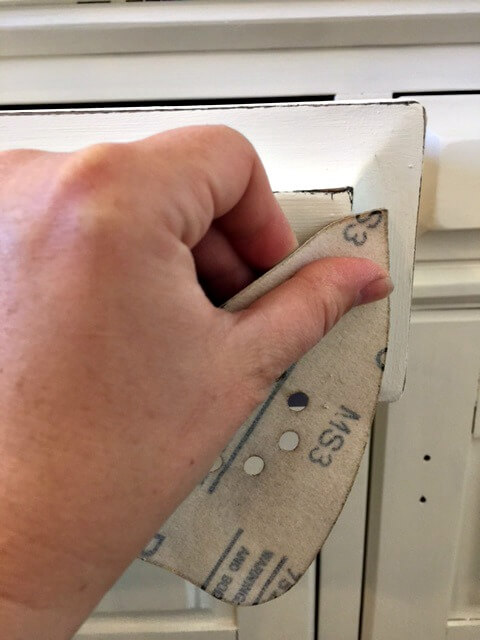
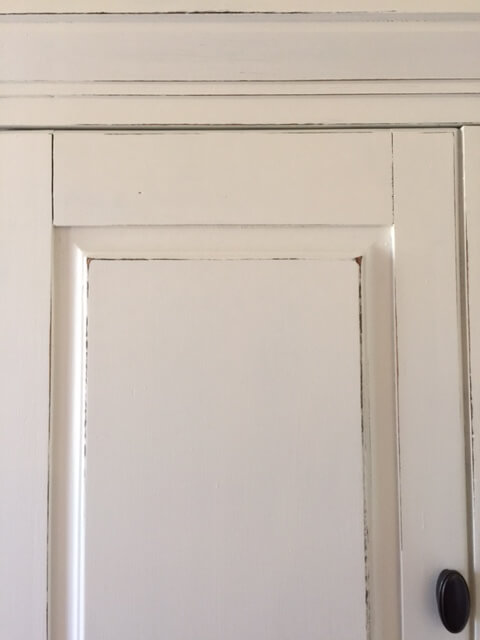
I started by sanding the edges of the doors and most of the raised parts of the furniture. What I like to think about is if this piece of furniture was actually 100 years old, and distressed with age, what areas of it are going to show the most wear. The edges and the raised areas. I start with a little bit at a time. You can always sand more, but I really do not want to have to touch it up with paint because I overdid it on the sanding.
I have used many different techniques to antique and distress furniture including steel wool, a scotch brite pad, chains are a great way to rough up and add dents and dings to a piece of distressed painted wood furniture. I most recently distressed my vintage church pew with my orbital sander….oh gosh it was easy! Check the video out below of how I did it!
This video shows just another method that I use to distress furniture. You just have to be more careful when doing it this way, since the orbital sander can really get away from you. I would only recommend distressing furniture in this way if you are comfortable with power tools and have used an orbital sander before.
Once I was finished adding my distressing, I waxed all the pieces. I have an extra round brushthat I brush on the wax with. By the time I was done applying the wax, it was time to start buffing it. Really this is not so bad. A good, clean rag is all you need. Just start buffing in a circular motion and you will see it start to shine. Once this is cured, it dries to a hard finish. Waxing is the most labor intensive part of finishing the furniture. You have to give it a good rub to get the wax to shine. Painting was easy in comparison…but it still wasn’t that bad.
Now, this is where I started to panic. I had to get everything back in its place! Lance was on his way home! Remember, he had been out of town. This is how we work. He doesn’t seem to mind if I do any of my crazy paint projects, as long as it doesn’t look like a bomb has gone off. Maybe I am just fooling myself, but it makes it easier on us both if that aspect of the project is not an issue. I like to see the look on his face when he walks in after being gone for a few days and sees something transformed! He never disappoints! The look on his face is priceless. Its like a combination of amusement, frustration, and resignation. I wondered sometimes if he is reminding himself that he loves his wife….haha!
Please Head On Over To Next Page Or Open button and don’t forget to SHARE with your Facebook friends