What I learned: The metro hex stencil is GORGEOUS!!! But it is not intended for the perfectionist. There will be mistakes. It will not be perfect. You can do touch ups until the end of time and it would still likely not be perfect. But man is it beautiful. And totally worth it. So if you can live with a little imperfection, totally get this stencil! If you can’t- try a bigger pattern.
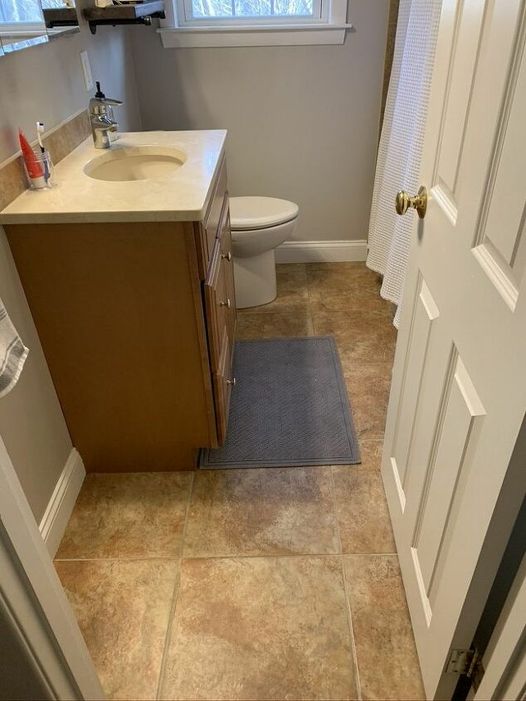
Floor/Tile PrepStart by cleaning the floor really well. I vacuumed and mopped and then got on my hands and knees and into the corners to make sure there was no remaining dust and debris. Once this was complete, the space was prepped with painters tape all along the edges of the baseboards, tub, toilet, and sides of the vanity. Check out a few before shots:
Trending videos
The tile was then primed with two coats of a white primer to help the paint adhere better. I first took a paintbrush and went along the walls and baseboard edges. I also used the paintbrush to get into the grout lines. Then I used a small foam roller to apply a thin coat of primer to the top. Again, two coats were applied in total. (You may notice that the vanity is a different color here than the before shots. I will post about that soon!)
After the primer was completely dried, I painted the tile with white acrylic paint (on hand from previous projects). I used the same technique as above and applied an additional two coats to get nice clean and even coverage.
Stenciled TileNow it is time for stenciling! I’ll admit, this step made me a bit nervous. I knew it would be tough to get crisp clean lines with the stencil in every single spot, so I was prepared for touchups. My plan was to 1) use spray adhesive, 2) reapply spray adhesive to the back of the stencil every couple of applications, and 3) clean the stencil in between to make sure there wasn’t a ton of buildup of paint and spray adhesive. Even with these measures I couldn’t keep the lines super crisp throughout…but it wasn’t too bad.
Then I picked a corner in the far part of the room as a starting point. I applied a gray chalk paint that I had on hand using a small foam roller. Just make sure you get rid of any excess paint to avoid any possibility of paint leaking underneath the stencil.
Chalk paint dries super fast and I was able to remove the stencil after about 30 seconds or so. That said, I actually applied two coats of the chalk paint prior to removing the stencil just to be sure I got the right amount of coverage. BTW- this grey is perfect. It reminds me of the color of concrete and that is exactly what I was going for!
Then just continue the process by moving the stencil over to the side or down below and matching up the pattern along the way. For the most part, this went pretty fast. It did get tough in the tighter spaces and along the wall edges. I ended up cutting my stencil in half to make it easier for me to get into some of those tighter spaces.
Touch UpsOnce the stenciling was done, it looked pretty great! Well, it looked great from far away. When I got down on my hands and knees to look around, there were a ton of little mistakes. I don’t consider myself to be a crazy perfectionist, but I knew if I didn’t fix the majority of these that it would eventually drive me crazy. So I spent the next couple of days, on and off, down on the floor making touchups. I tried using a grout line stencil (I had received with a different stencil set) but I felt like it didn’t really help with some of the edges that weren’t super crisp. So I ended up converting to freehand which actually went a little bit faster. I would recommend using a small flat brush for the grout touchups.
One thing I found that actually works pretty well was a paint pen. I grabbed a white paint pen from my local Joanne’s fabrics and felt like it gave me a little more control in some of those tighter spots. After I touched up the majority of the white paint I also went back and did some touch ups with the gray paint. Finally, I got to a point where I could live with the minor imperfections and then it was time to seal!
Sealing/FinishingThe polyurethane goes on using the same process as the paint/primer and goes really fast! I applied 3 coats of a satin water-based polyurethane. It actually smoothed things out for me and added a light sheen that really pulled everything together. Once the polyurethane was on I was super happy with how great everything looked!
I had quite a few paint supplies on hand so the cost for me for this project was really just the cost of the primer and a few foam rollers. Given the transformation, I think the time I had to put in was totally worth it! It really transformed the space just using paint and I’m super happy with how it turned out. I also painted the vanity and I will do an additional post on that process very soon. This stenciled painted tile floor project may just be my favorite inexpensive DIY update to date! Check out all the incredible stencils at Cutting Edge Stencils! I promise you will not be disappointed!
Finished side by side picture. Isn’t it an incredible transformation?!