
Trending videos
DESIGN AND MEASURE YOUR CABINET DOORS
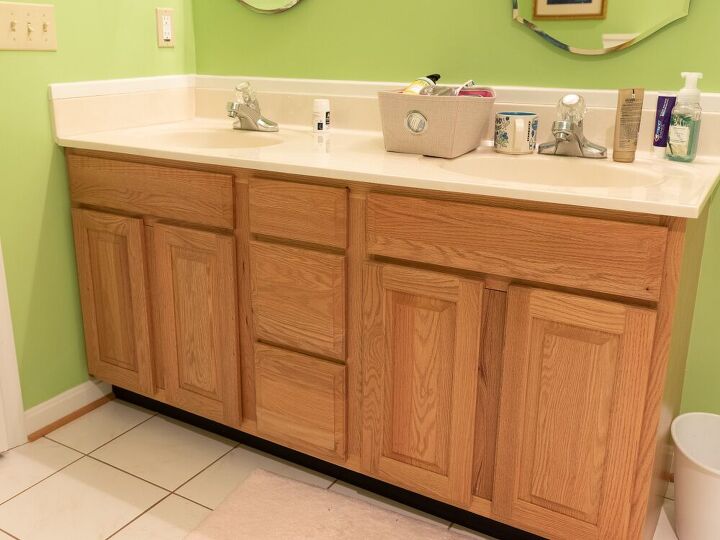
1. Measure the cabinet openings according to the instructions on the website (the specific instructions will vary depending on what kinds of cabinets you have). They have great tutorials to walk you through the specifics and they have tech support that will answer any questions you may have. They’ve also got YouTube videos to walk you through it depending on your type of cabinet!
General overview/frameless cabinets
Here is how we measured our cabinets

2. Pick out your door design and colors. They have sixteen styles to choose from and use Sherwin Williams colors so you can get the paint locally and try it out first if you’d like to see it in person.

We chose the Shaker in Nicely Nautical to modernize the raised panel doors that we had on the contractor grade vanity. When in doubt, pick shaker! They’re decor neutral, modern, and great for resale.
3. Send in your order and the doors come in about 4-5 weeks.
SUPPLIES:
- Paint – Nieu Cabinet Doors will give you the Sherwin Williams paint color, we used Naval (which is the paint that matches the Nicely Nautical doors)
- Bin 1-2-3 Primer
- sandpaper 80-150-220 grit
- Paint brush – we used foam brushes and the zibra square brush
- 4” foam roller
- scraper/spreader for wood filler
- Blue tape
- Denatured alcohol
- Rags

PREP THE CABINET
1. Remove the doors, hinges, drawer faces and false drawer fronts.

2. If you are changing out the vanity top remove it and the faucets/plumbing. The best part is that you don’t have to! You can leave yours right in place, we were just due for an upgrade.

3. Lightly sand the cabinet to ensure good paint adhesion and then remove the dust with a rag and some denatured alcohol or a tack cloth.

4. If you have a contractor-grade cabinet you will want to use a wood filler to smooth out/fill in the grain. We used a product that gave great results but was hard to work with and required a lot of extra sanding because it dried so quickly. Ask your local paint expert for a product recommendation!

5. Sand the filler again – we needed the 80 grit here to start because we used too much. You should be fine with 120-150 and finish with a 220 grit.
6. Vacuum the dust and wipe it down again with denatured alcohol.

PRIME THE CABINET
1. Tape any walls or floors you need to protect.
2. Prime all of the wood surfaces of the cabinet with the primer. Make sure you don’t have any drips or runs to ensure a good surface at the end – if you do, just lightly sand it away with 220 grit sandpaper once the primer is dry.

3. Wipe it all down once again with denatured alcohol.

PAINT THE CABINET
1. Paint inside the door openings first then roll the face of the cabinet. This will ensure a smoother finish on the edges of the door openings. You do NOT need to paint the inside of the false drawer openings because those won’t be seen.

2. Paint the cabinet using light coats to get a nice build up and ensure you don’t have any drips or runs. We did three coats because it was such a dark color.
3. Once the paint is dry, pull off any tape from the walls and floors.
REHANG THE DOORS AND DRAWERS
Tools Needed:
Please Head On Over To Next Page Or Open button and don’t forget to SHARE with your Facebook friends