
How to Make Cut Out Wooden Candle Holders
Trending videos

This is the snowman candle holder that we made with another section of the table leg.
The table legs are actually very special because they were turned by my grandfather. We found them in his workshop after he died and saved them for a future project and this is it!

We knew that not everyone would have a handmade Walnut table leg to use for this project, so we headed to Home Depot and purchased a 1 3/4″ x 1 3/4″ x 2′ piece of wood to make more candle holders.

This adorable gingerbread man candle holder is one of the designs that we made using the new wood. There are two more designs to see on my blog post. (Link below  !)
!)
To make it extra special, I brushed the inside of the gingerbread man with Mod Podge and then sprinkled Diamond Dust on it for glittery sparkle. I prefer Diamond Dust over regular glitter.

Back to my original idea using the table leg!
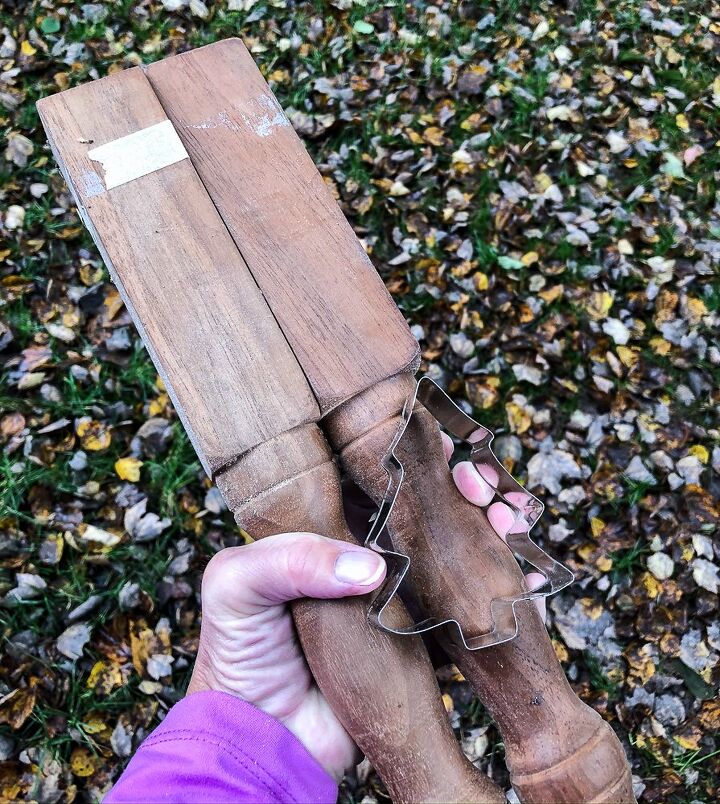
Determine the length of each piece of the candle holder. We chose 6 1/2″ x 5 1/4″. Cut pieces to this size using a chop saw or hand saw.

Trace a design onto the wood pieces and cut out with a band saw.

Using a 1 1/2″ Forstner bit and a drill press or regular drill, make holes in the ends of the candle holder pieces to hold a tea light. (Measure your tea light and use the appropriate size. I found that tea lights come in varying sizes.)

Glue the pieces together, sand, and then paint or stain the candle holders. Clamps and a clamping square help with this step.
Head to my blog post ( link below) for step-by-step directions with LOTS of pictures!