
How to Make a Giant DIY Wall Clock…from a Tabletop
Trending videos

I wanted this to have a bleached wood look without actually bleaching the wood, so I grabbed my can of General Finishes Winter White Glaze, a rag and gloves and applied the glaze – wiping it off immediately.

It gave the oak veneer the coolest look! Don’t you think??

Once the glaze was dry, it was time to add the roman numerals. These rusty numbers are so much fun, I love the character they give the clock!

I weighted each number as the glue was drying. This looks ridiculous, I know, but we don’t have rocks in our yard, so I grabbed anything heavy I could. Lol!

This should go without saying, but check and double check your numbers BEFORE gluing them down.
Also make sure the numbers line up straight across, straight up and down, etc. Those numbers being off will drive you batty otherwise.

When the numbers were in their proper order, I drilled a hole directly through the middle for the clock hands and mechanism. Here is a handy pice of advice, get as long of a shaft as you can. It will save you some time!

The shaft I purchased wasn’t quite long enough, so I used a hammer and chisel (and later my Dremel Multi Max) to create a space for the clock mechanism to fit into.

This step takes a little time to get the right depth for the clock box to fit into on the back of the clock.

Here’s the finished clock – isn’t it fabulous?!

Here’s the wood stained version of it – I used rusty hands for this clock.
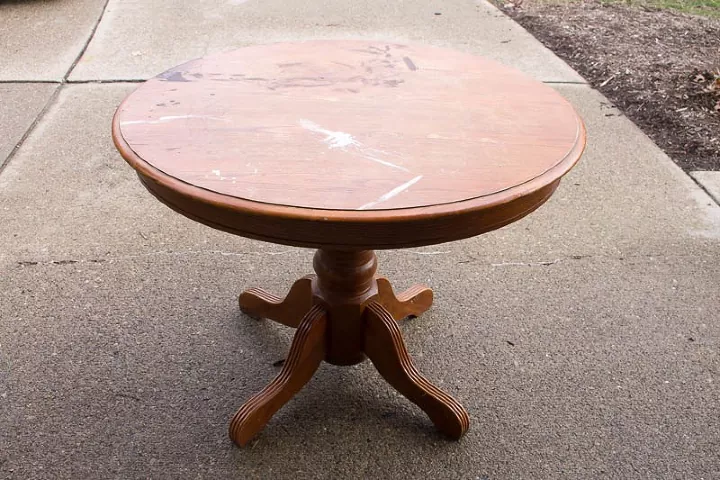
Next time you see one of those little tables at a thrift shop or on the road side, grab it and use some imagination to make a giant wall clock!