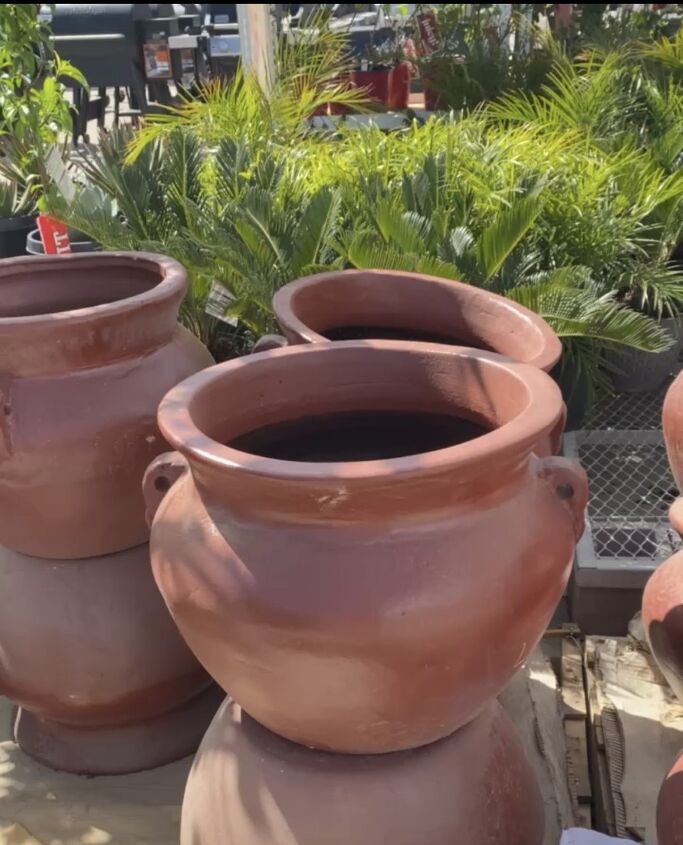
Allow to completely dry.

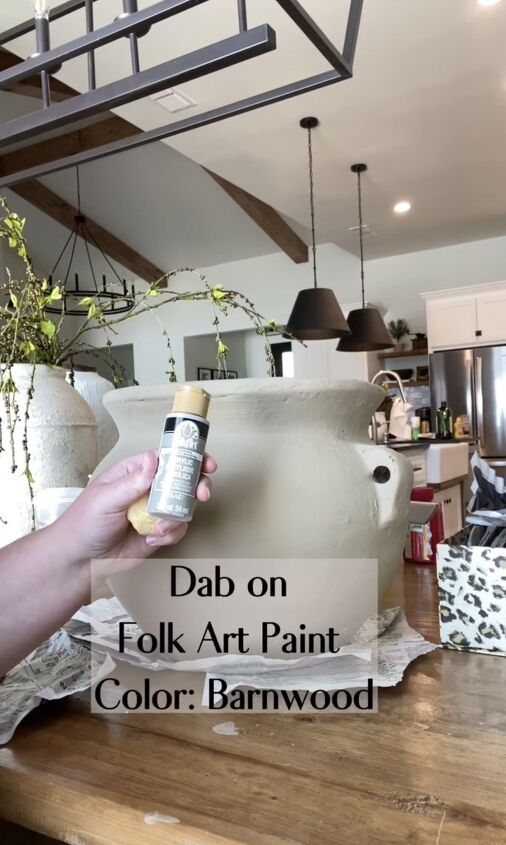
Step 2: Once your first coat is completely dry, you will then apply the following craft paint (pictured above) Folk Art Brand in the color Barnwood with a craft sponge in a dabbing motion in several areas of the pot in no particular area! this part is where you are going to use that crafty mind of yours to start making this piece your own! Dab until your happy!

Step 3: while the paint color you used above is still dewy we are going to start the layering process with the following paint color (pictured above) Deco Art Brand in the color Raw Umber with the same craft sponge in the same places you dabbed the previous paint color so that way both colors start marinating with one another starting to create this aged affect.

Step 4: Almost there, we are going to layer again using the same dabbing motion with this creamy white color (pictured above) Ceramcoat Brand in the color Magnolia White to start creating dimension to our pot using the same craft sponge while all the above paint colors you just used are still dewy.

Step 5: We’ve made it to the Grand Finale, bringing back in the original color you started with Ceramcoat Brand in the color Jute we are going to soften the edges while the 3 other paint colors you used are still dewy but this time using a handled sponge softly adding the color back in making it look seamless like the aged affect you just added has always been there!

Yay! you’ve made it and officially just created a DIY aged pot that saved you hundreds of dollars!
I hope you all found this tutorial helpful and you learned a thing or two about blending paints for a seamless look!

