
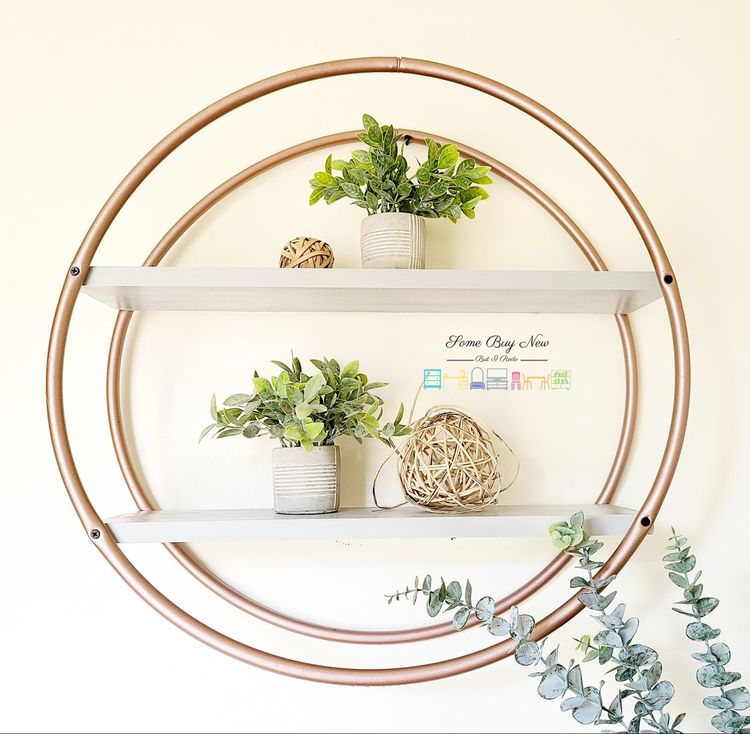
How to Build a Hula Hoop Shelf – A Stylish Storage Solution
Step 1: Gather Your Materials
First of all, I found the main components: the two hula hoops. You might have one lying around already at home, but if not then they are easily bought for around $1. Don’t worry about the color, as they’ll soon be covered in paint. I made sure I had plenty of space to work in – hula hoops are not the smallest craft item in the world, and you’ll want lots of room for painting and drilling to take place. I also made sure that my wooden boards were already cut to size. Most places that sell wooden boards will do this for you, which removes one of the trickier steps in building a hula hoop shelf.
Step 2: Paint the Hula Hoops
I used a Rust-Oleum Hammered Copper Spray Paint, but you can experiment with all sorts of colors. I wanted a rustic feel, which is why I chose a dark copper tone. I also opted for a textured spray paint to add more depth to the finish of the hoops. Where you intend to put up your hula hoop shelf will determine the best color for you. For instance, you could opt for a mix of greys to create something sleek and modern. Before getting started, I laid down a plastic sheet on the floor to protect the surface from the inevitable mess of the spray paint. Once one side was dry, I flipped the hoop over and repeated the spraying process.

Step 3: Measure and Stain the Wooden Boards
I measured two wooden boards to make sure they would fit the length of the hoop. You’ll want the boards to run from one end of the hoop to other: one about a quarter down from the top of the hoop, and the other the same distance from the bottom. I sanded the wood, then coated with the wood stain. I chose a shade of wood stain that would complement the copper spray paint of the hoops. In this case, I used Varathane’s classic penetrating wood stain, but you can use whichever stain suits your shelving unit best. I put on gloves to protect my hands, then stained every side of the two wooden boards.

Step 4: Attach the Board to the Hoops
I made a hole in both the first hula hoop and wooden board with my power drill. I took time to ensure I was making holes in the right place, as the success of the hula hoop shelf relies on precise measurements. I attached a washer to a 1-1/2 inch wood screw, then drilled the screw to hold the hula hoop in place on top of the wooden board. I repeated the process for both hoops and boards, ensuring that the hoops ended up in the same position on their respective boards.
