Flower Pine Cones & Twig Wreath

STEP ONE – WATCH MY YOUTUBE VIDEO
As I mentioned above, I’ve got a YouTube video of this tutorial up on my channel now.
Click on the video above to watch and please consider subscribing for loads of future crafty content 👍🏻
I’ve linked all the products I’ve used in this tutorial in the description of my YouTube video too incase the links Hometalk provides are quite what you’re after.

STEP TWO – PREP PINE CONES
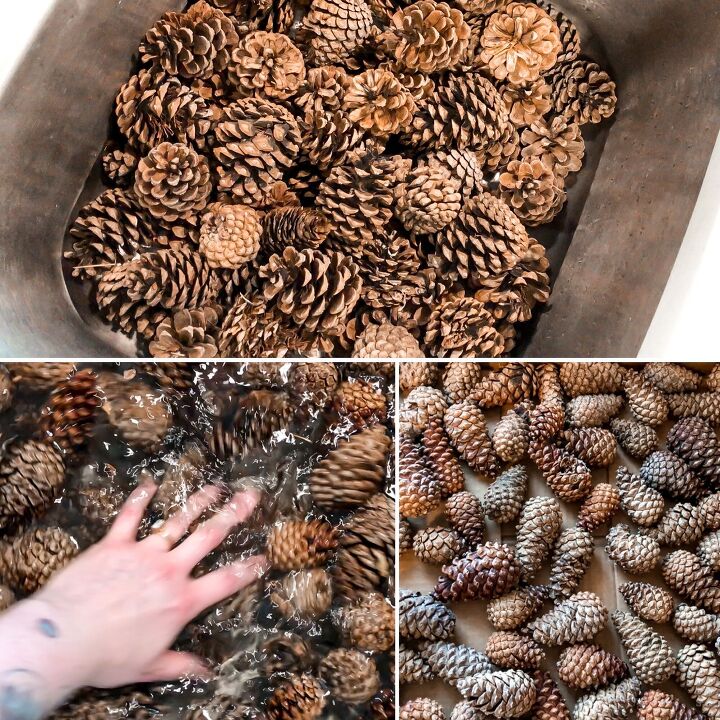
You can of course buy a pack of pine cones and skip this whole step, but if you’re like me and enjoy collecting them, then you’ll want to clean them first.
In a 2:1 solution of water to white vinegar, thoroughly soak the pine cones for about 30 mins.
After 30 mins of the pine cones being submerged, give them a really good rinse with clean water.
Let them dry out in a warm dry area and turn them over occasionally so that they can open up again (they will close up when wet).

STEP THREE – PAINTING THE HOOP
I bought this 12 inch MDF hoop from Michaels. I painted it so that it was less noticeable should parts of it still be visible at the end. A wire hoop would work just as well and could be painted in the same way.
However, It’s not necessary to do this step if this doesn’t particularly bother you.

For this project you will need to collect a bunch of garden twigs of varying lengths and thicknesses.
At this stage, grab a handful of these twigs and examine the main colours in them, then mix up some paints to match these shades.
Paint the MDF hoop, including the inside and outside edges in these colours.
I mixed up 4 colours in total, a dark brown, grey, reddish brown and a beige. I used the colours Burnt Umber, Khaki and Barn Red from Apple Barrel, White and Green from CraftSmart and Maui Sand by FolkArt to create my shades, in case that helps.
