
As the DIY project addict that I am, this room was on my “to-do” list for a while, and I had so many ideas for it! I’m so in love with the look of board and batten and thought that it would work well with the wall sizes in this room.
As the DIY project addict that I am, this room was on my “to-do” list for a while, and I had so many ideas for it! I’m so in love with the look of board and batten and thought that it would work well with the wall sizes in this room.

What you’ll need for this project:
The 1×3’s are used for the top horizontal boards and the 1×2’s are used for the vertical boards/battens.

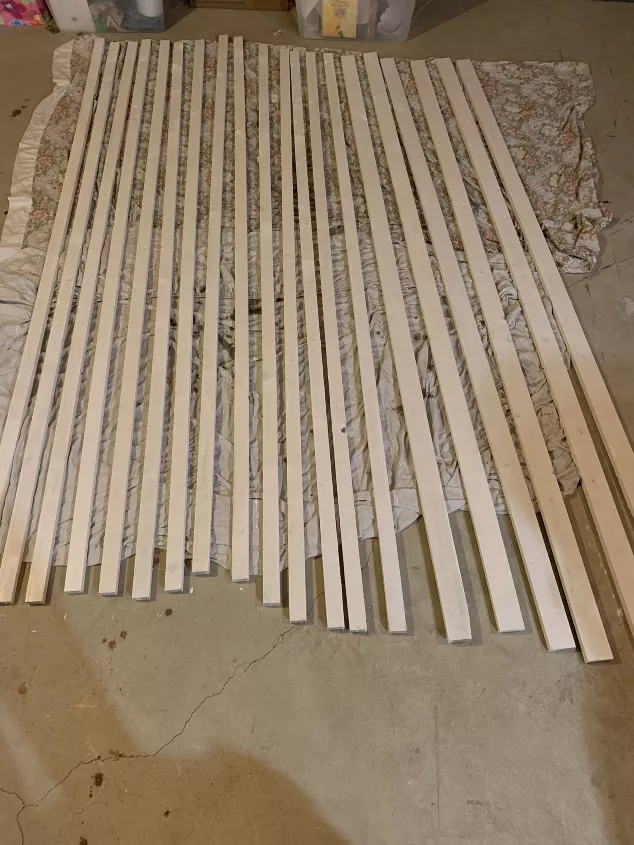
I threw an old sheet down in the basement and got to work. The boards all got one coat of white paint. This is where a small foam paint roller came in handy- it made the whole process go a lot quicker than I thought, especially with this many boards!

Before putting up the top board, I painted the top half of the walls with a light green/blue colour and the bottom got 2 coats of the white trim and door paint.
This board and batten is approximately 4 ft. tall. The only reason this height was chosen was because of our one wall with the sloped ceiling- I wanted the top board to be flush with the ceiling on that wall, which happened to be 4 ft.

Once the top board was up, I placed the “battens”/vertical boards every 18”. This is just the amount that spaced out perfectly on my walls. These could be spaced out anywhere between 12 and 24″ depending on your room and what suits it best.

The wood pieces all got a second coat of paint to cover up the nails and to touch it all up.

*This step is optional*
If you have an old house like me, you’ll know that most walls aren’t flat, straight, or perfect in any way. There was an obvious gap in some places, and this made it look so much better! Using a white painter’s caulking, go along any boards that might not look 100% flush, and fill in the gaps.
This caulking dries quickly, so have a jar of water close by and run a wet finger across the caulking to smooth it out after applying.

Done! Our cat, Jasmine, has decided to claim this room as her own. 

For more ideas and ongoing projects, follow along on Instagram and Facebook!