
Easy DIY Wooden Lanterns

First, cut (4) 2×2 board to 12” each. These will be the leg pieces
Trending Videos

Next, cut (2) 1×6 boards to 6” each.

These will be the bottom & top pieces

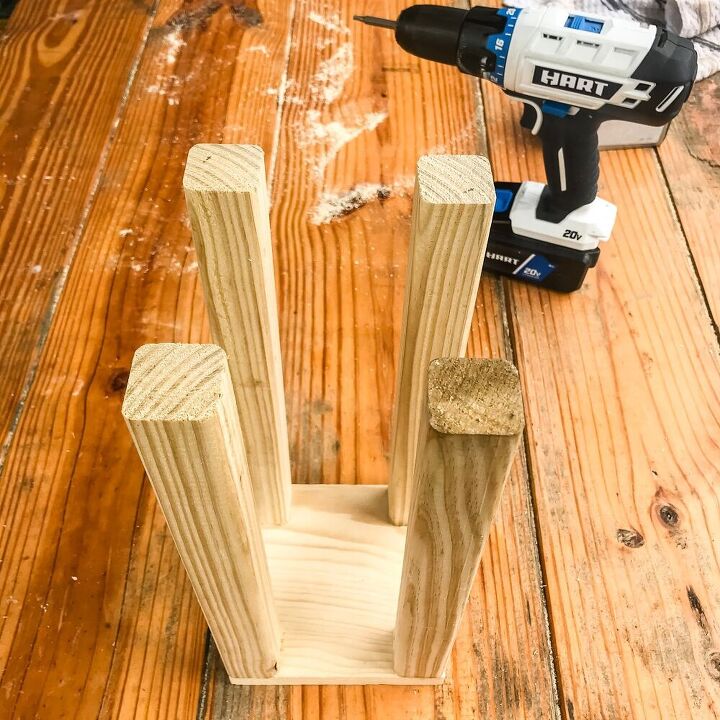
Start by assembling the legs to the bottom base piece

Now apply wood glue, then clamp

Screw 1” screws in through the bottom base


Add 1×6 topper to the top using wood glue & finishing nails


Next, add 1×4 accent piece to the top center using wood glue & nails.

Use scrap 1×2 pieces for small leg pieces. Attach using wood glue & nails.

Screw the finial into the accent piece on the top.

Finally, it’s time to paint the lantern! I went with flat white but feel free to get crazy with the paint colors or even stain.

As a finishing touch I added moss to the base using a hot glue gun.

That’s it, Easy DIY wooden lanterns!
They are perfect for our outdoor dinners & give off such a romantic glow.

Plus they were super cheap to make!

These ones fit nicely on our DIY outdoor dinning table, but I think I might make some taller ones next!

Let me know what y’all think & where you are gonna put yours!
You can also find more DIY wooden lantern ideas here!