

For this project, I purchased 35 bags of gems.

There were really dusty, so I removed them from the bags, placed them in a colander and washed them with a mild soap and water.
After their washing, I dried them on a towel.

Using a level (which I bought at the Dollar Store) I made a line slightly above the back splash.

I then measured to that line from the floor and marked the wall. I continued that line across the entire wall.
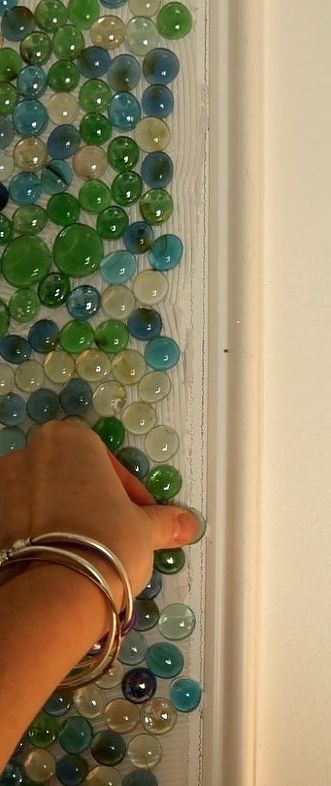
Another comment from the original post was that people wondered why I didn’t create some type of design on the wall. This time, I hand-drew seaweed shapes in various sizes.

Using mastic (which is a tile adhesive), I began the by filling small sections of the the seaweed shapes.

And then applied the green gems. I purchased two different sizes of green to give the “seaweed” a different look then the rest of the wall.
Once the seaweed was complete, I applied mastic to the rest of the wall, working in small sections.

When I reached the point where I had to join the previous back splash with the new mosaic, I simply butted the mastic up to the previous and added gems.

While the mastic was drying, I measured and cut a piece of chair rail moulding.
I used the line I had drawn on the wall as a guide. I nailed the molding onto the wall using a brad nailer.

Once the chair rail was in place, I added a more gems to fill in the gaps. Instead of putting the mastic onto the wall, I applied it onto the back of each gem and put them onto the wall.

Once the mastic was completely dry, I applied the grout and wiped the excess off with a sponge and plain water.
Once the grout dried, the “seaweed” really popped!
