
DIY PVC Pipe Privacy Screen
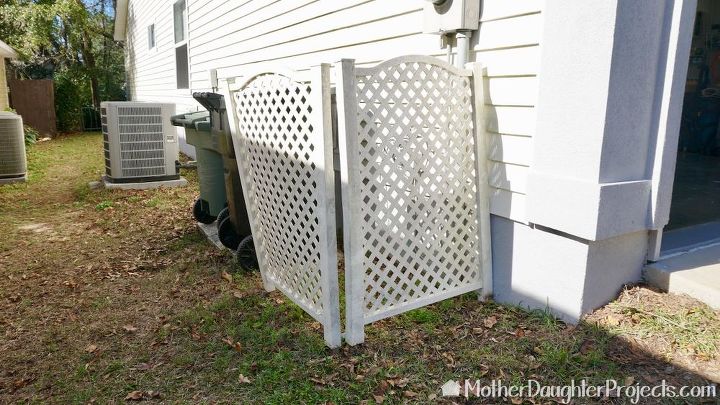
This is Steph’s old screen that we wanted to replace.

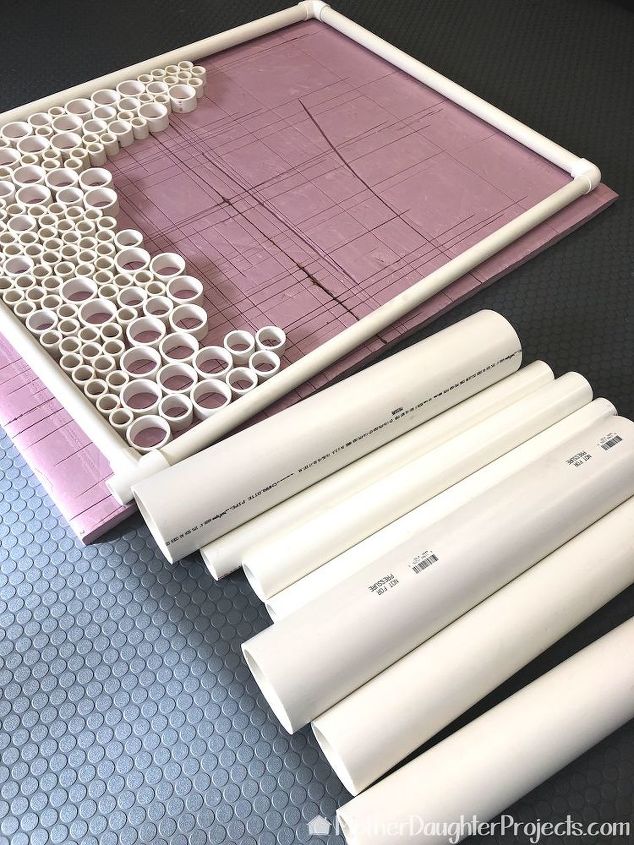
The first step was to purchase various sizes of PVC pipe. I sanded all the pipes prior to cutting to roughen up the surface so the adhesive would hold better once we started to put it together.

All the pipes were cut to about 2″ thick on the miter saw. Smaller pieces of pipe were cut with a portable band saw. Watch the video to see this tool in action.

After we cut what seemed like enough pipe, we started fitting the pieces into the PVC pipe frame we made. (See the video or blog post for frame details.) We soon determined we needed a LOT more pieces. We went back to the store for more pipes and started cutting more slices!

We are working on a piece of insulation foam. We were hopeful that when we started gluing the pieces, the glue would not stick to the foam insulation. (Spoiler: the glue did not stick to the foam–success!)

The assembly process took about 4 hours! We used outdoor construction adhesive to connect the pipe slices.

The screen came off the insulation foam easily and the finished piece was strong and sturdy. We took it to Steph’s house for the installation.

We put a couple of pieces of 2′ long rebar into the ground and set the screen onto the ground. (There are more details on the blog about this part. Also, you can see details about how we dealt with the angle of the ground.)

Here’s the screen from the street. We really like the look!

This is a good representation of the sizes of PVC pieces we used as well as where we glued the pieces to each other.